HOME TOUR
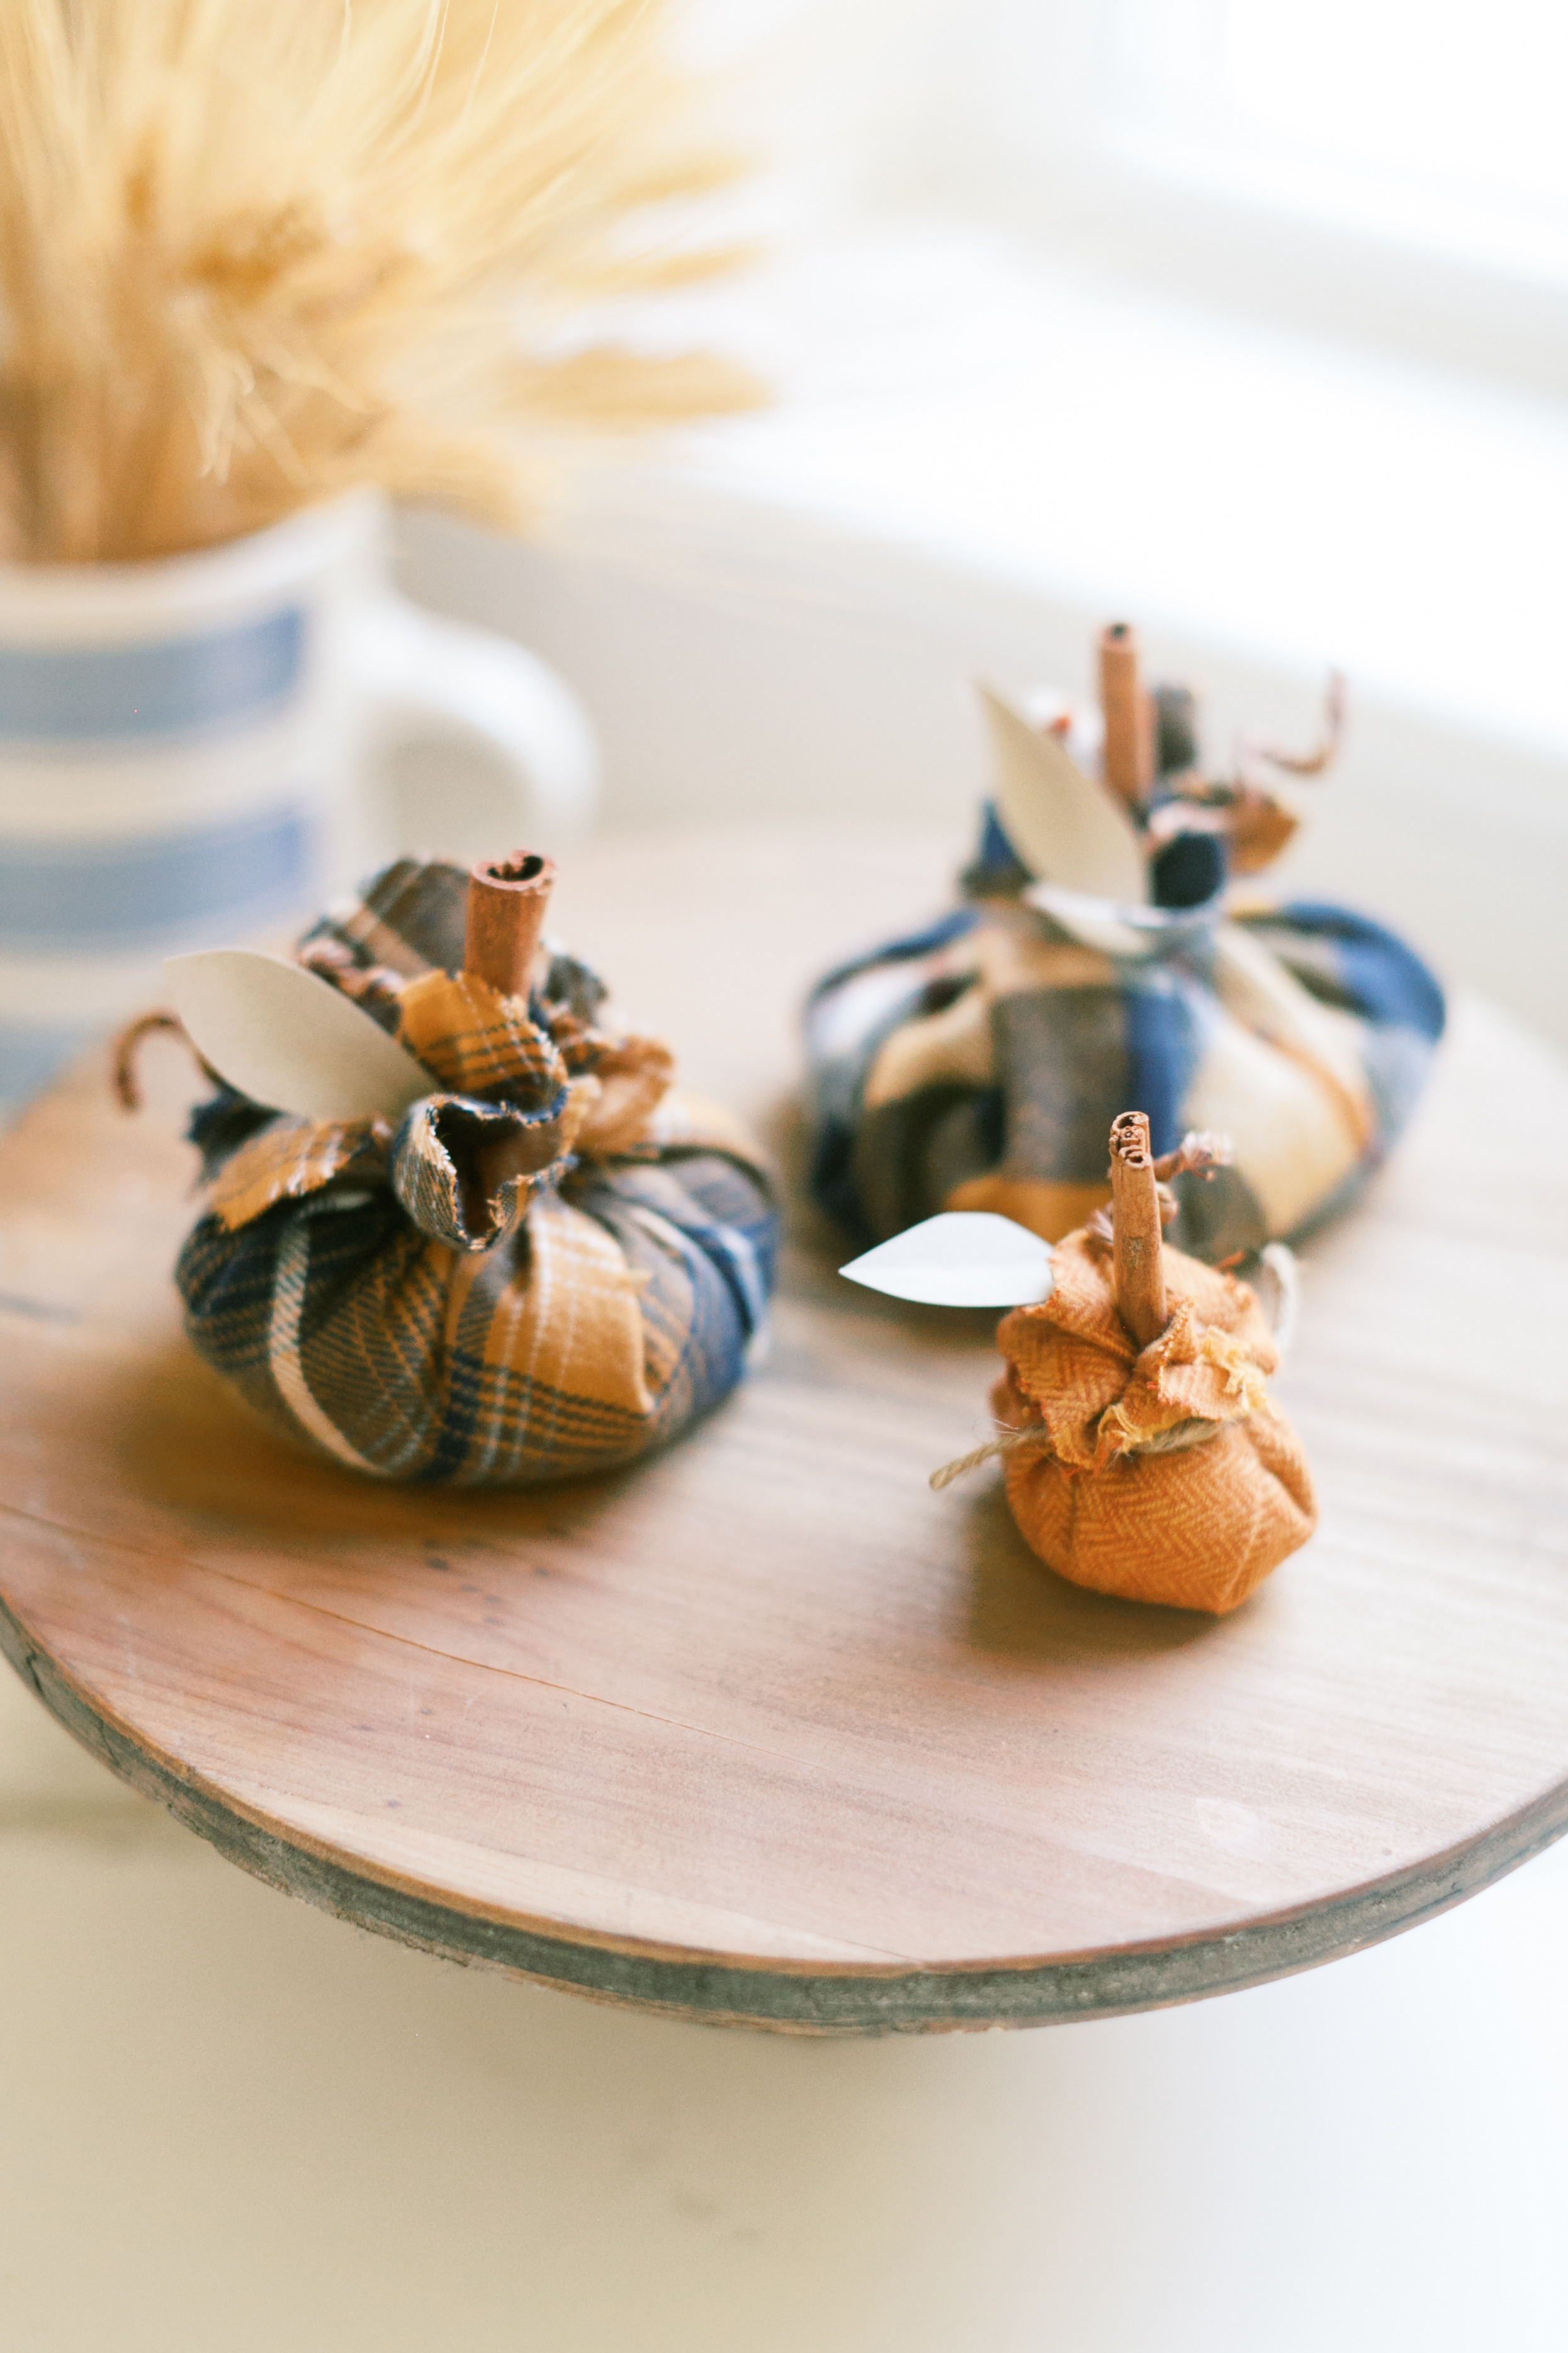

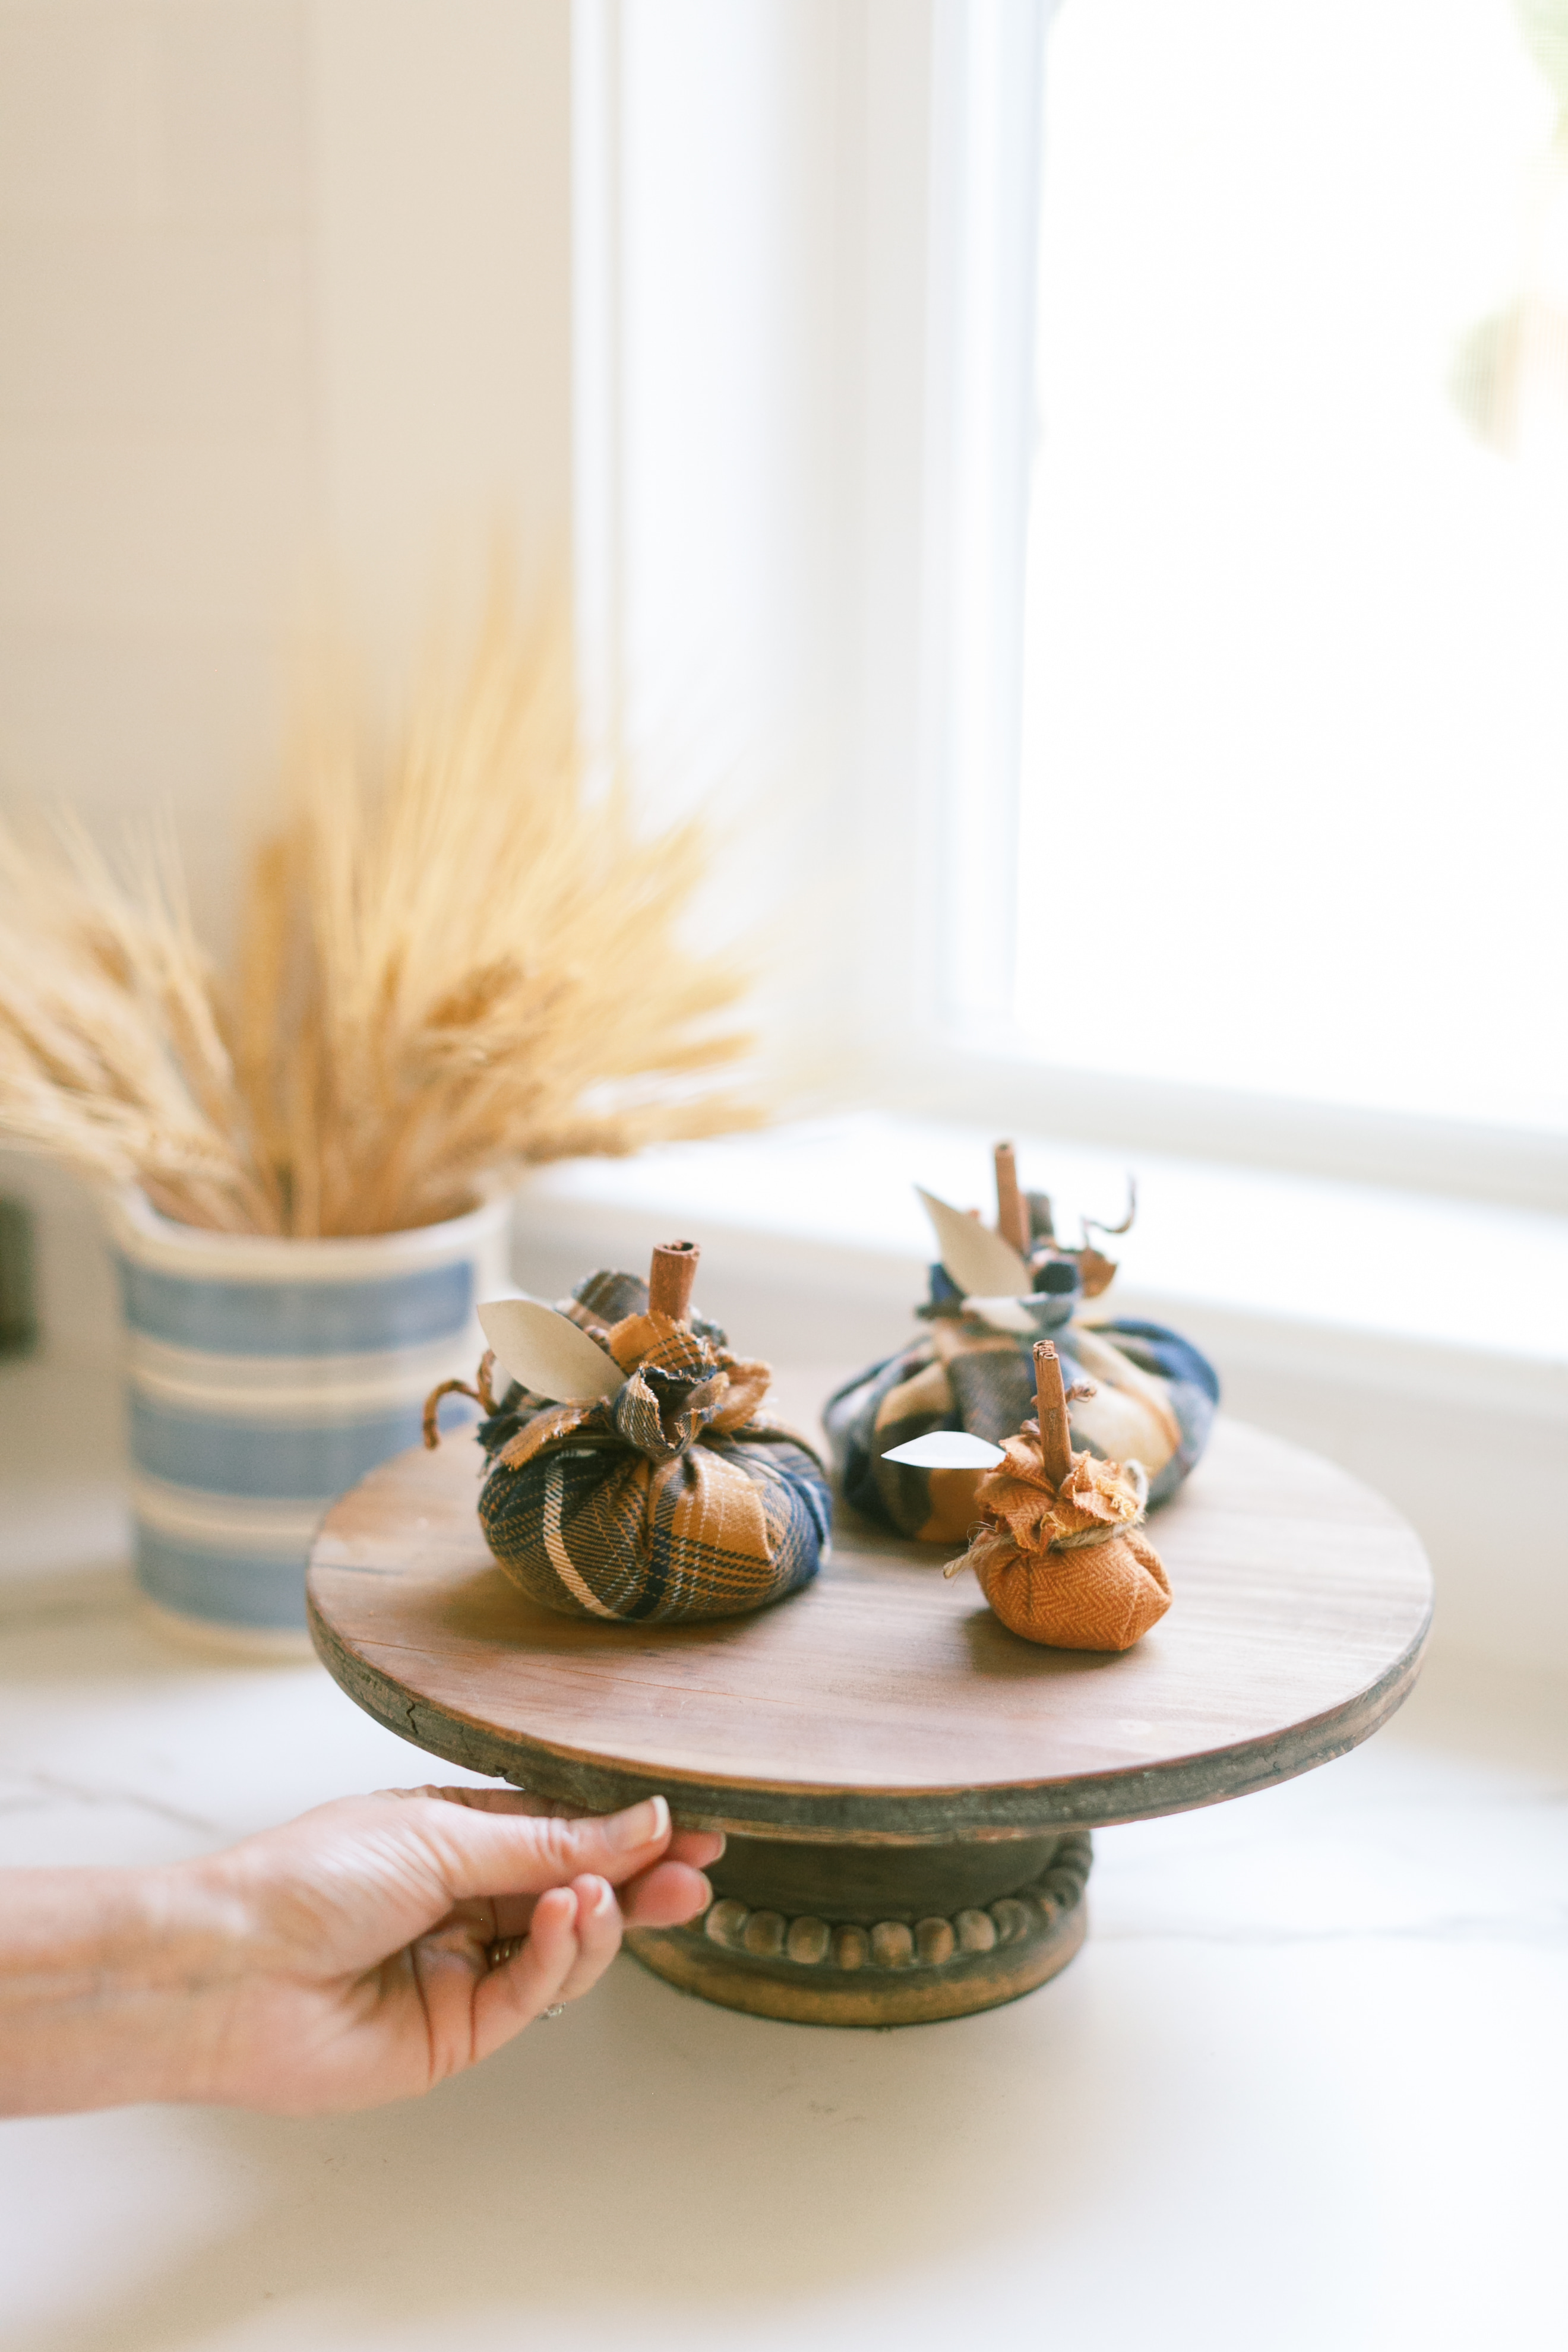
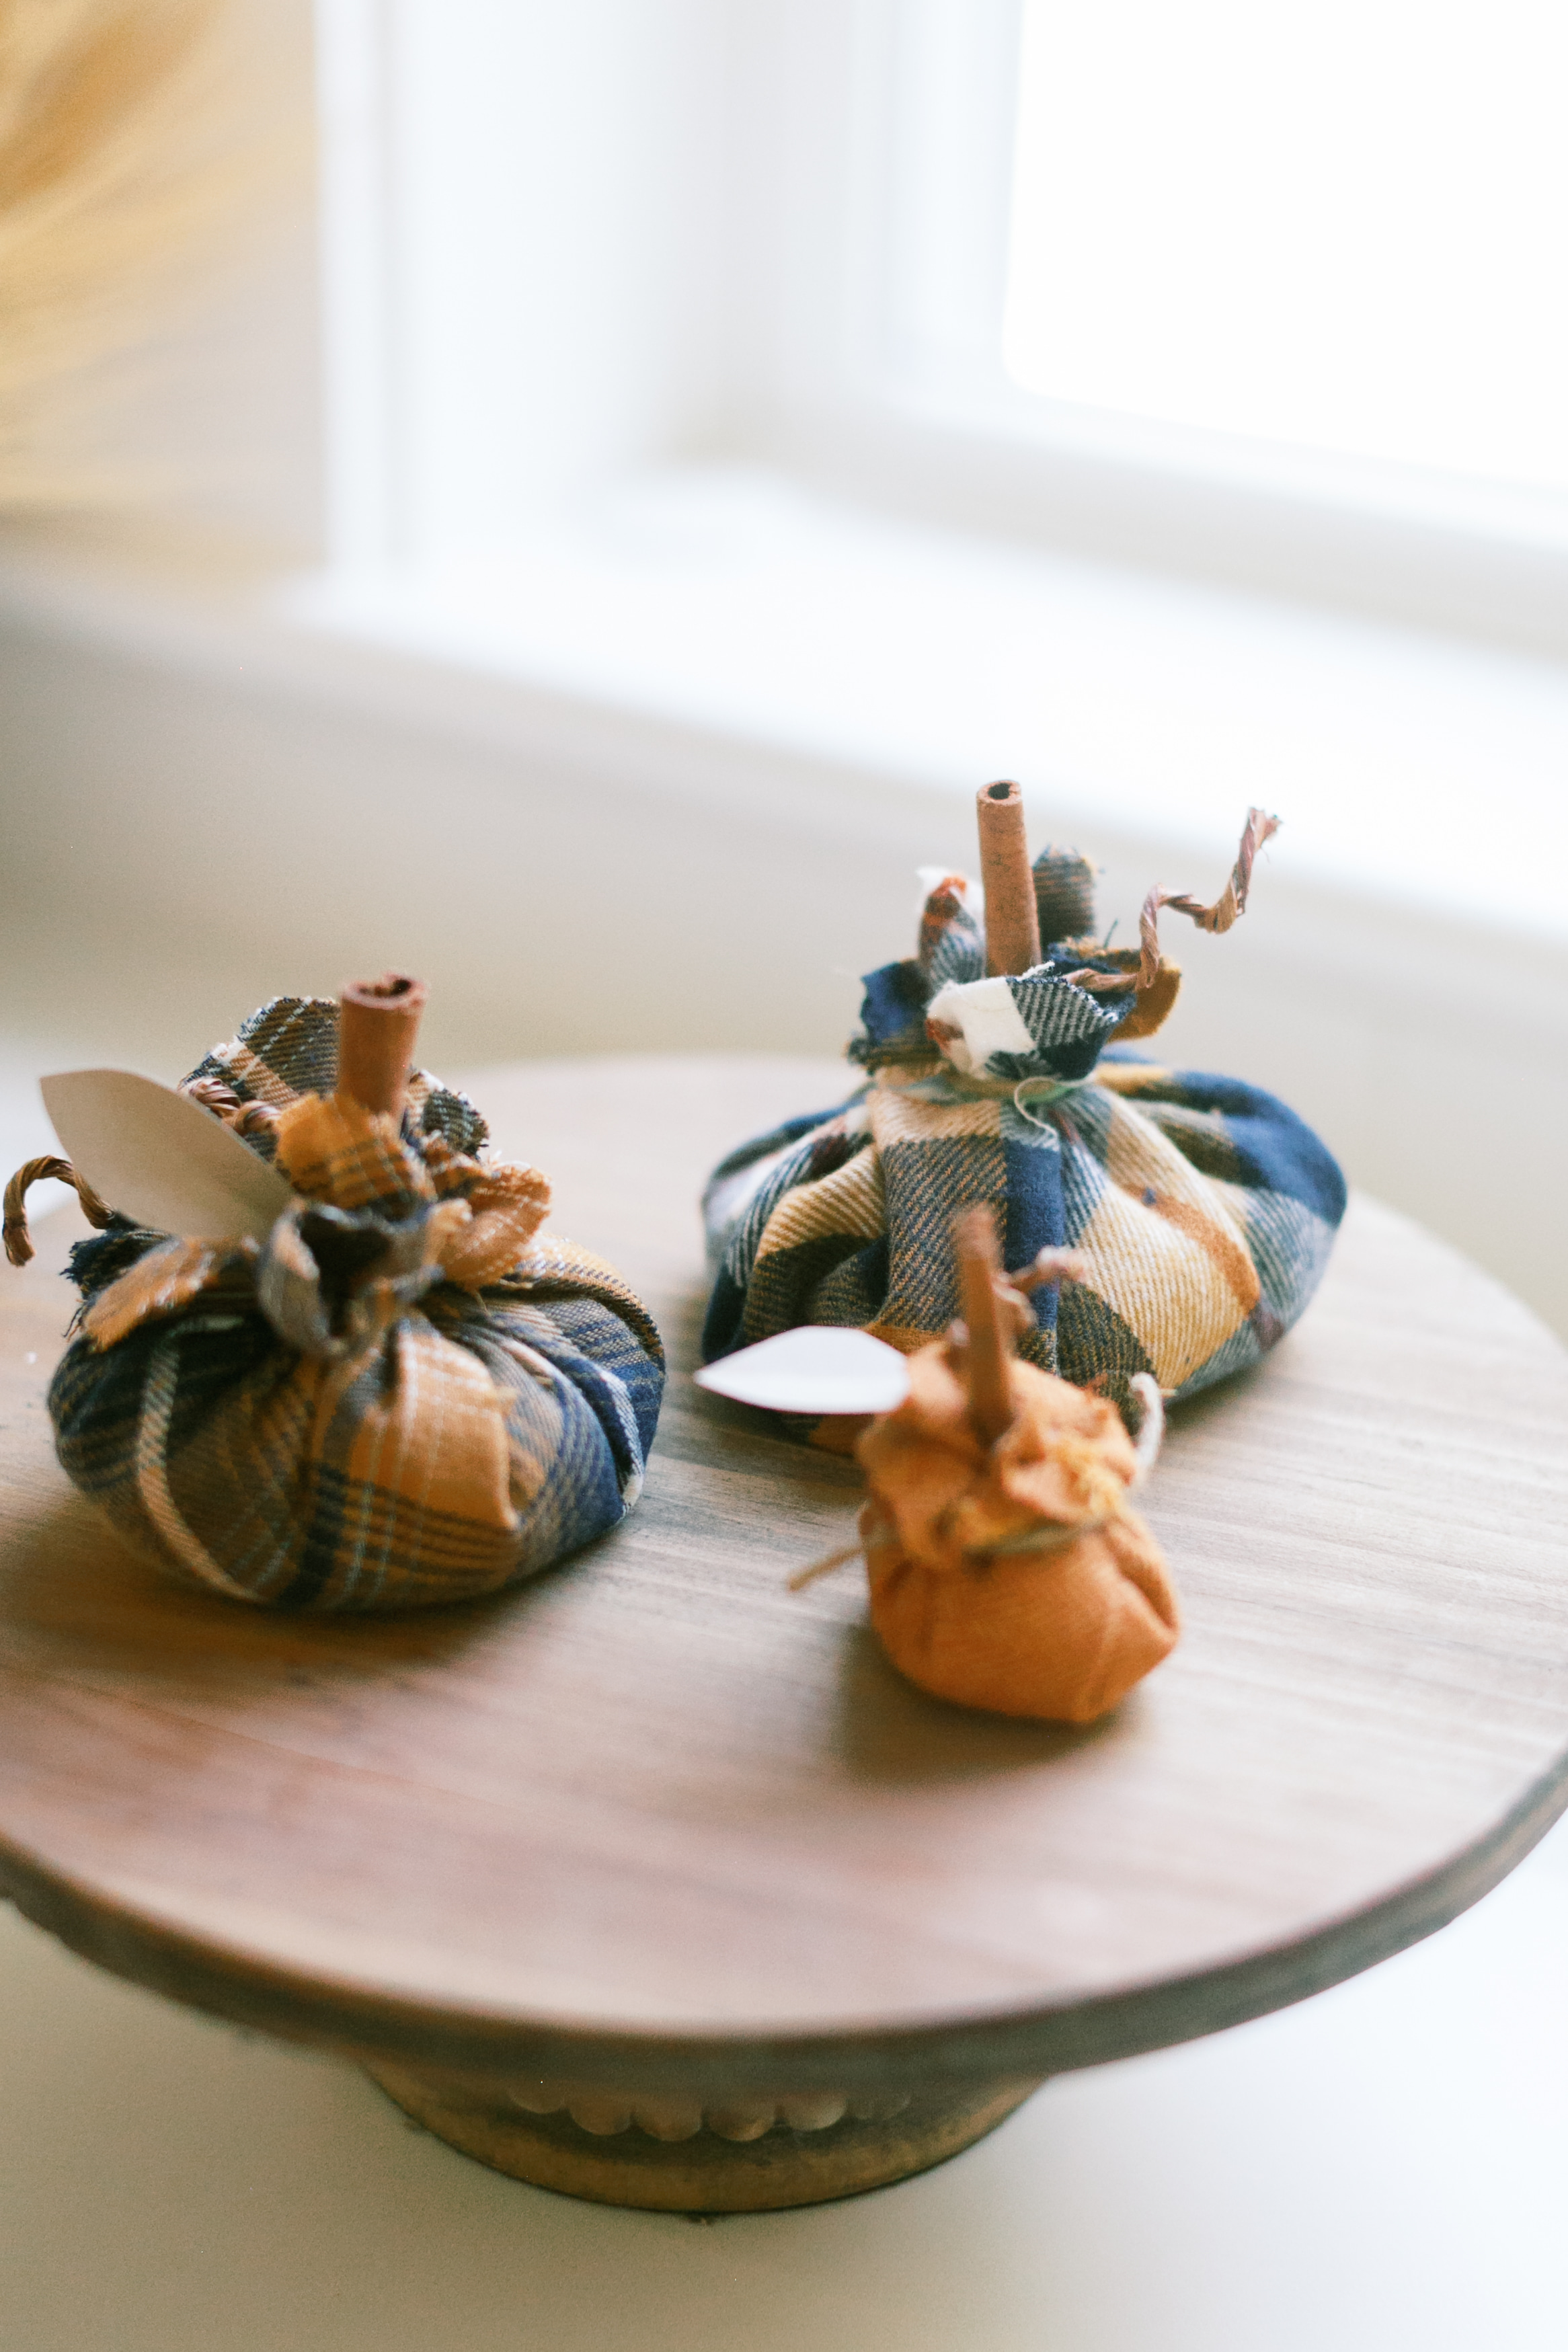
Remember when you use to give the teacher an apple? Well how about a scented flannel pumpkin instead? How cute would this look on a teacher’s desk or your own during the fall season. Or how adorable as a wedding or party favor? You’re going to want to pin this one and save it in your easy DIY arsenal for cute gifts. I’m joining up with my friends to bring you this fun fall idea, so make sure you scroll all the way to the bottom to see all the other ingenious fall ideas using some of these cozy textures.
I swear some of the best ideas come to me as I’m meandering aisles (kid-free) in a craft store with a travel mug of tea. I was actually looking for potpourri. I’m not sure they make that stuff anymore because my store didn’t have anything. But on the end cap to an aisle, I stopped to smell some fall candles. And voila, just like that delicious whiff of cinnamon chai goodness, the idea struck me. They had these wax candle melts sitting there with the candles and I’m not exactly sure what you do with them but I had an idea. I could grate them using my box grater and mix them with sand as filling for a cute flannel pumpkin.
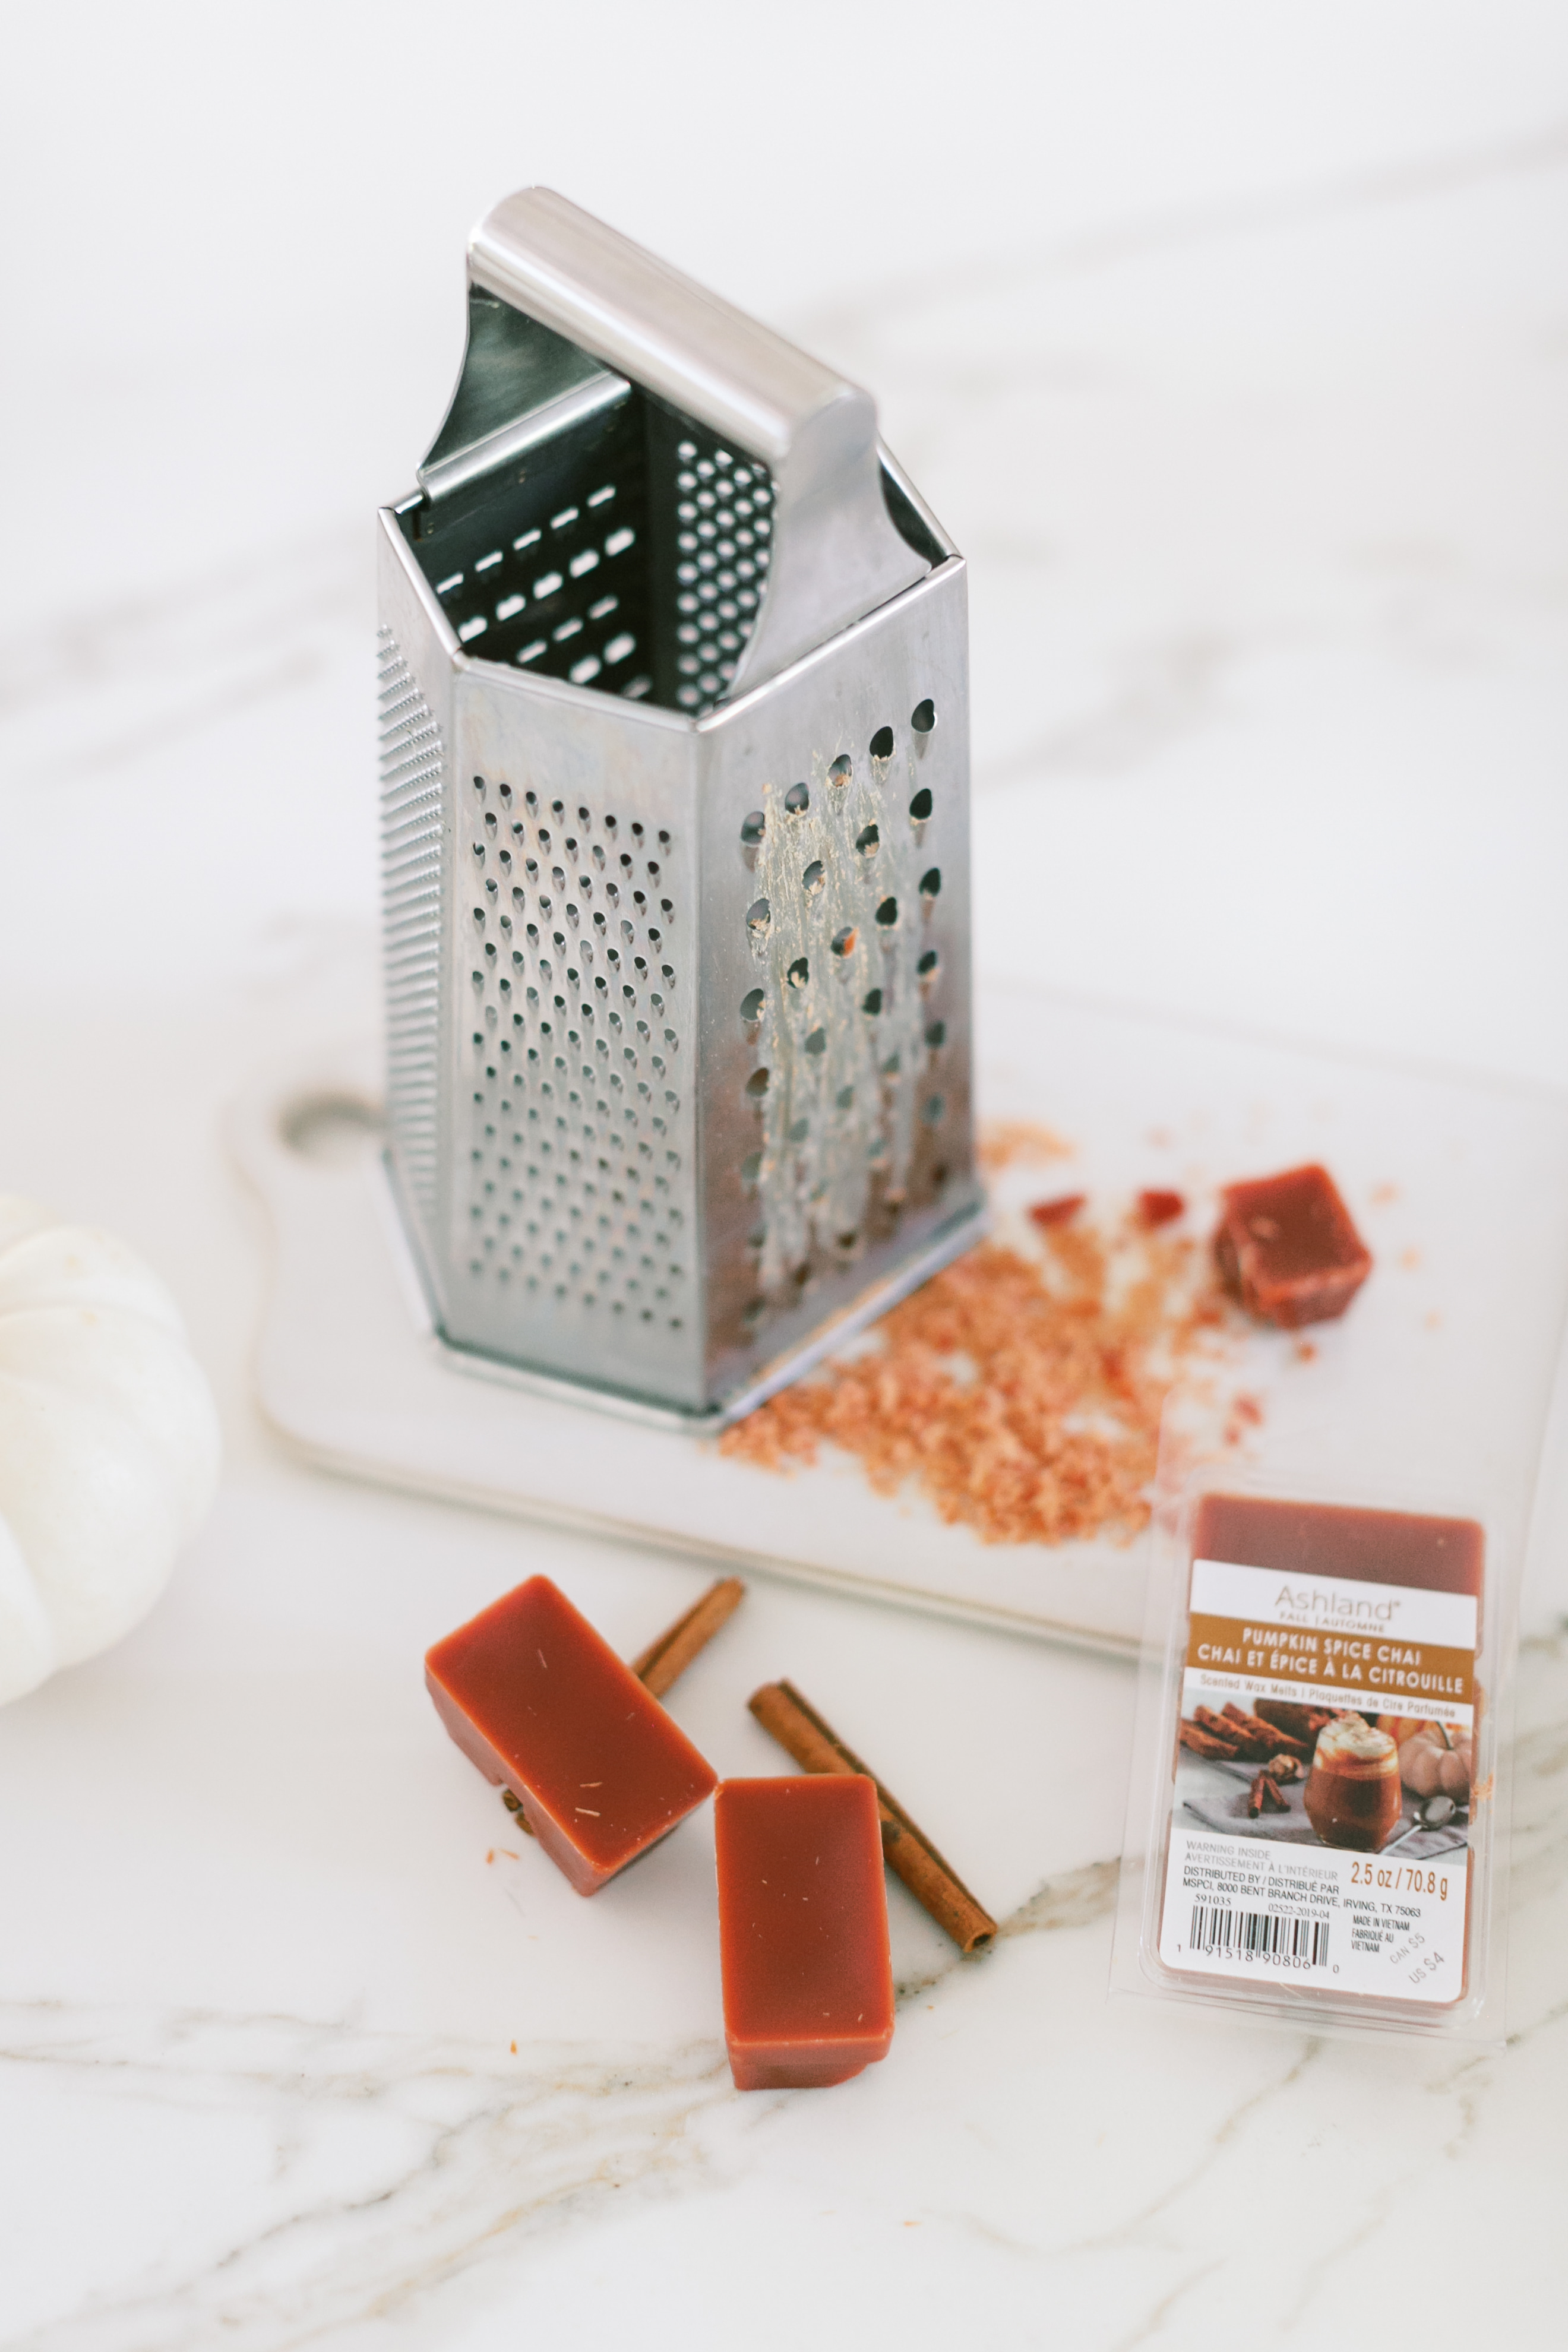
So I smelled my way through the selections ending up with a yummy one, pumpkin spice chai. It smells heavenly. Exactly how you want a scented flannel pumpkin to smell.
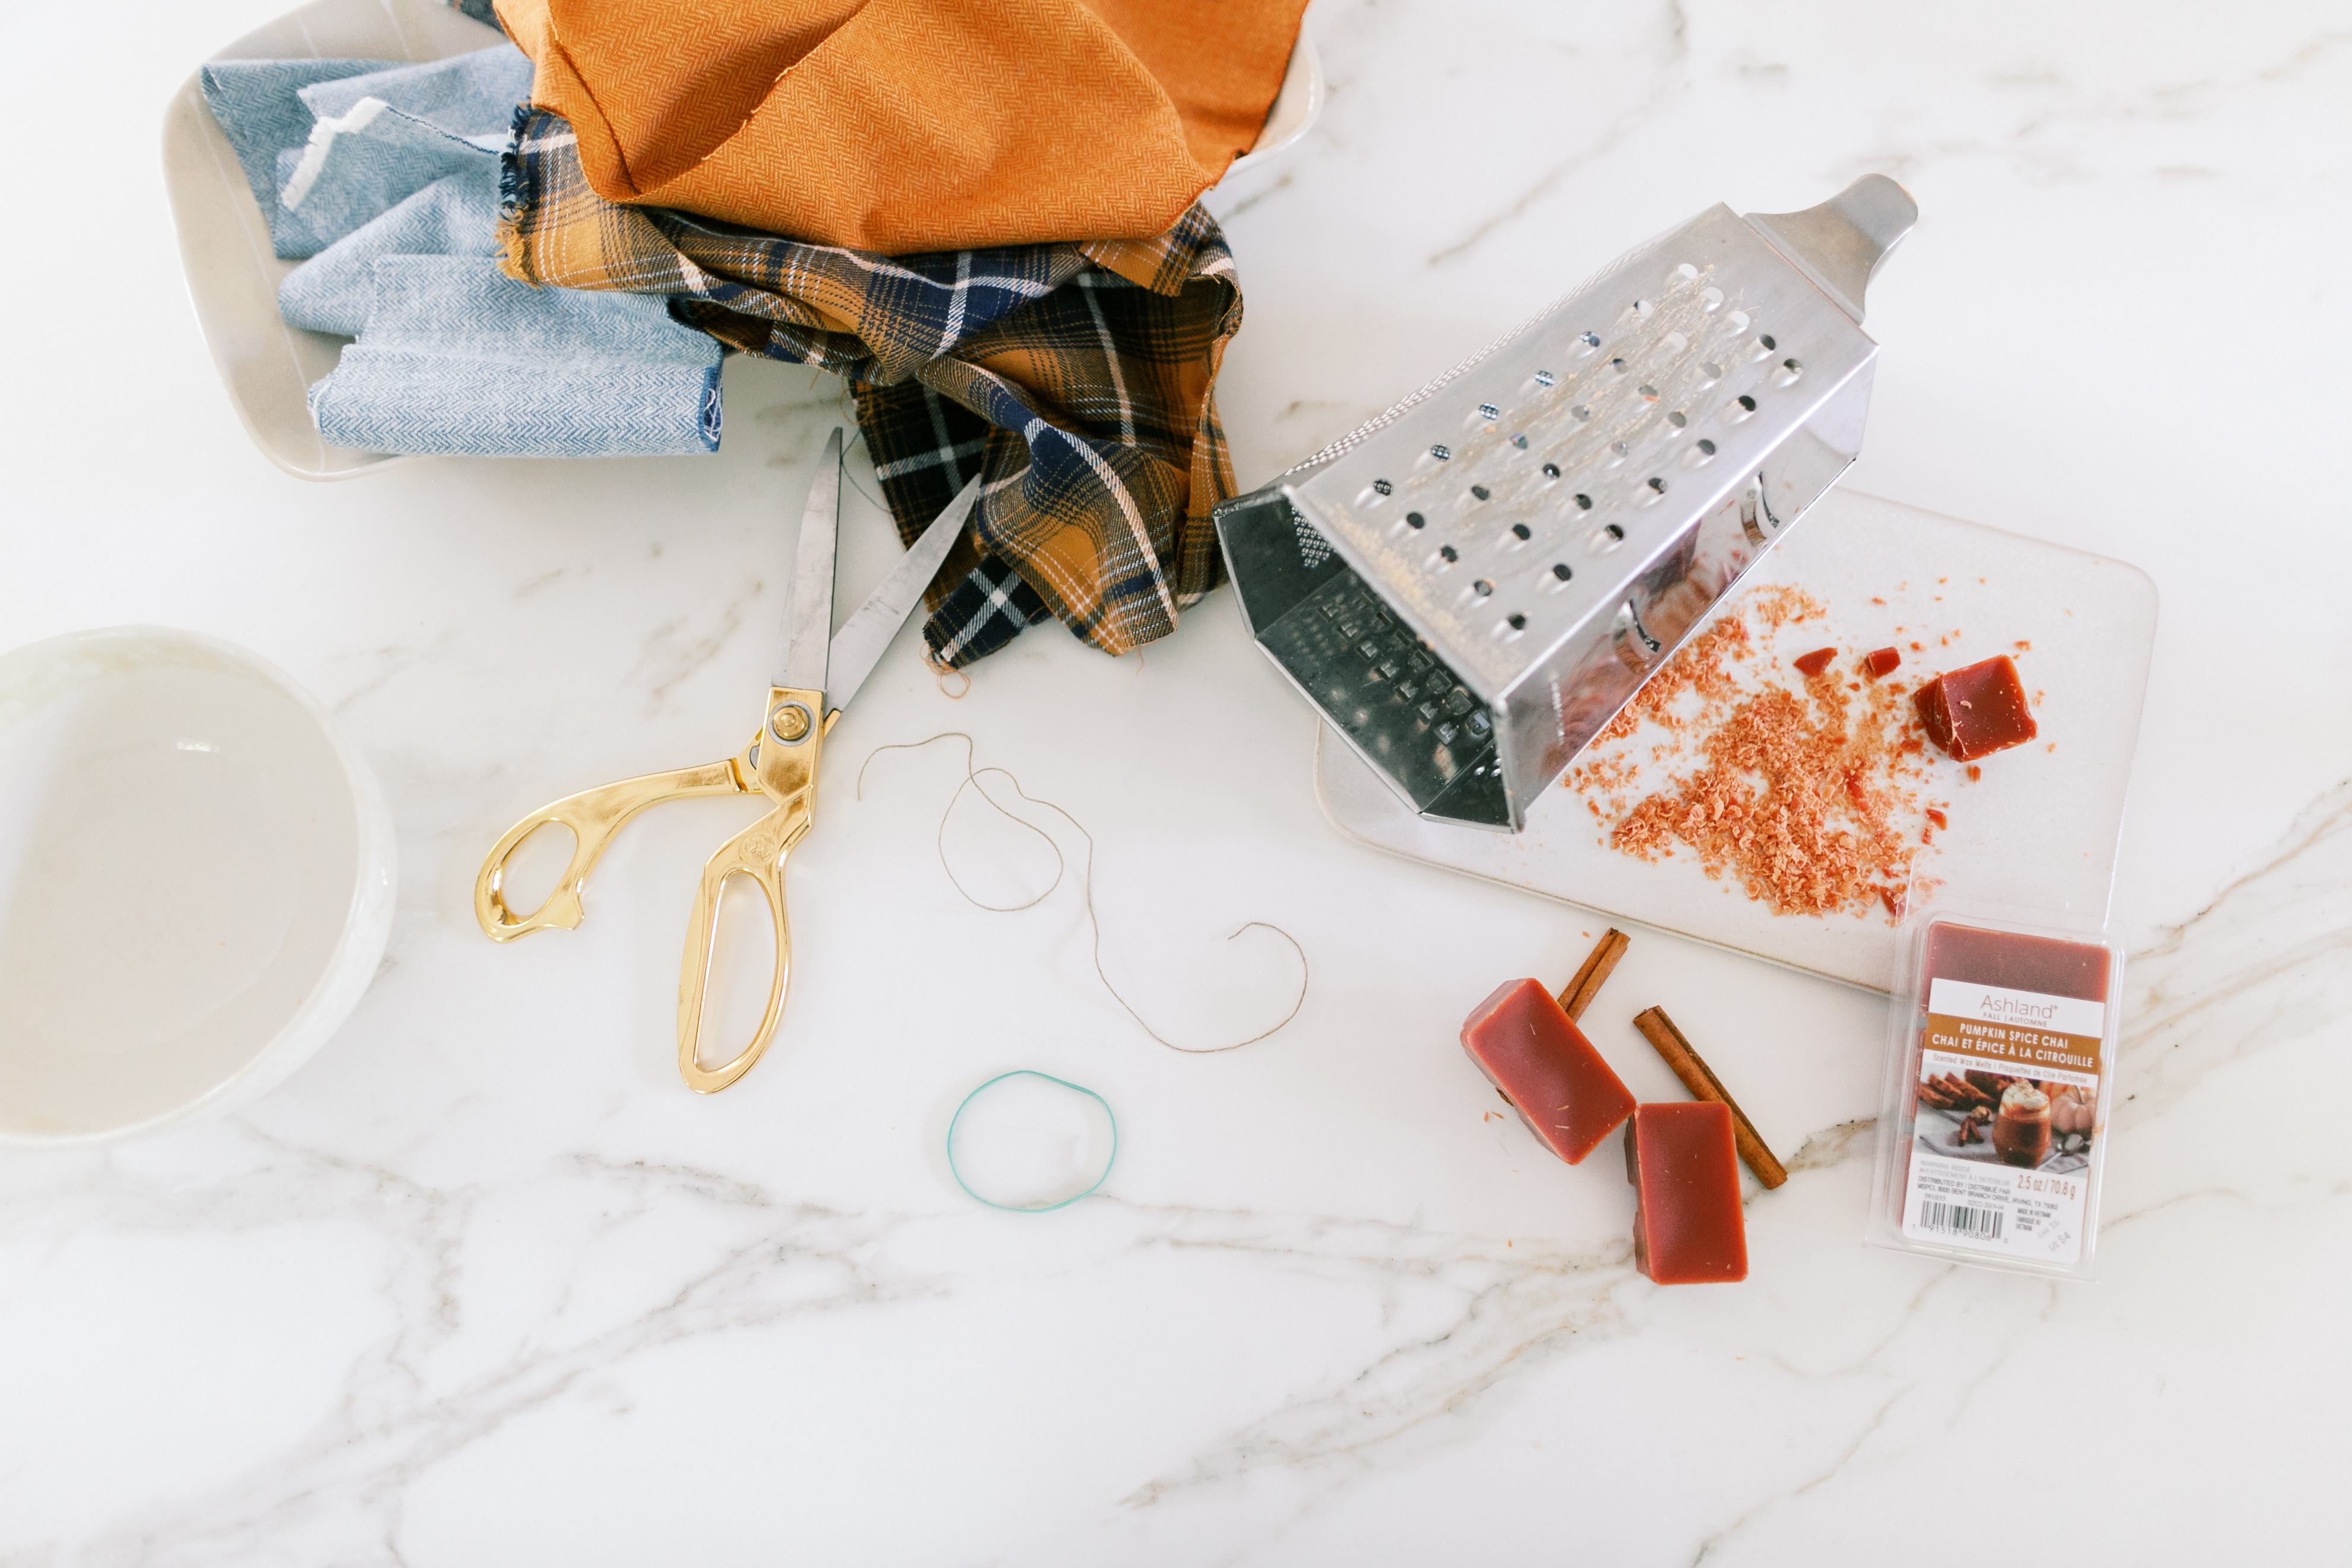
SUPPLIES
Various flannel fabrics, anywhere from 1/8 to 1/2 of a yard each (I got mine at Joanns) cut into squares
Sand (I bought the Ashland brand coarse stone granules in a 28 oz jar from Michaels, one jar made three 3″ pumpkins and one 1″ pumpkin)
Rubber Bands
Twine
Twine-Wrapped wire (this makes the pumpkin vine)
Natural colored paper
Scissors
Wax Melts or small candle you can grate
Cinnamon Sticks
Box Grater
Bowl
The quantities of the supplies needed are based both on the number of pumpkins you plan to make and the size you’re wanting them to be. So use my estimates as a rough guide and extrapolate out for your unique situation.
I bought an 1/8 of a yard of flannel material which was roughly 5″ wide and I cut it into 5″ squares (this makes the 1.5″ wide pumpkin when all is said and done. The 1/4 of a yard which was 10″ wide, I cut into 10″ squares, giving me about 4 squares. These 10″ squares, when filled with sand/grated wax and tied off, ends snipped off the top, gave me roughly a 3.5″ wide by 3″ tall pumpkin (not including the height of the cinnamon stick. I filled it with as much sand/wax as I could while still comfortably being able to gather the ends together enclosing all the sand/wax without any spilling out. The last thing you want is to torture the recipient with sand everywhere.
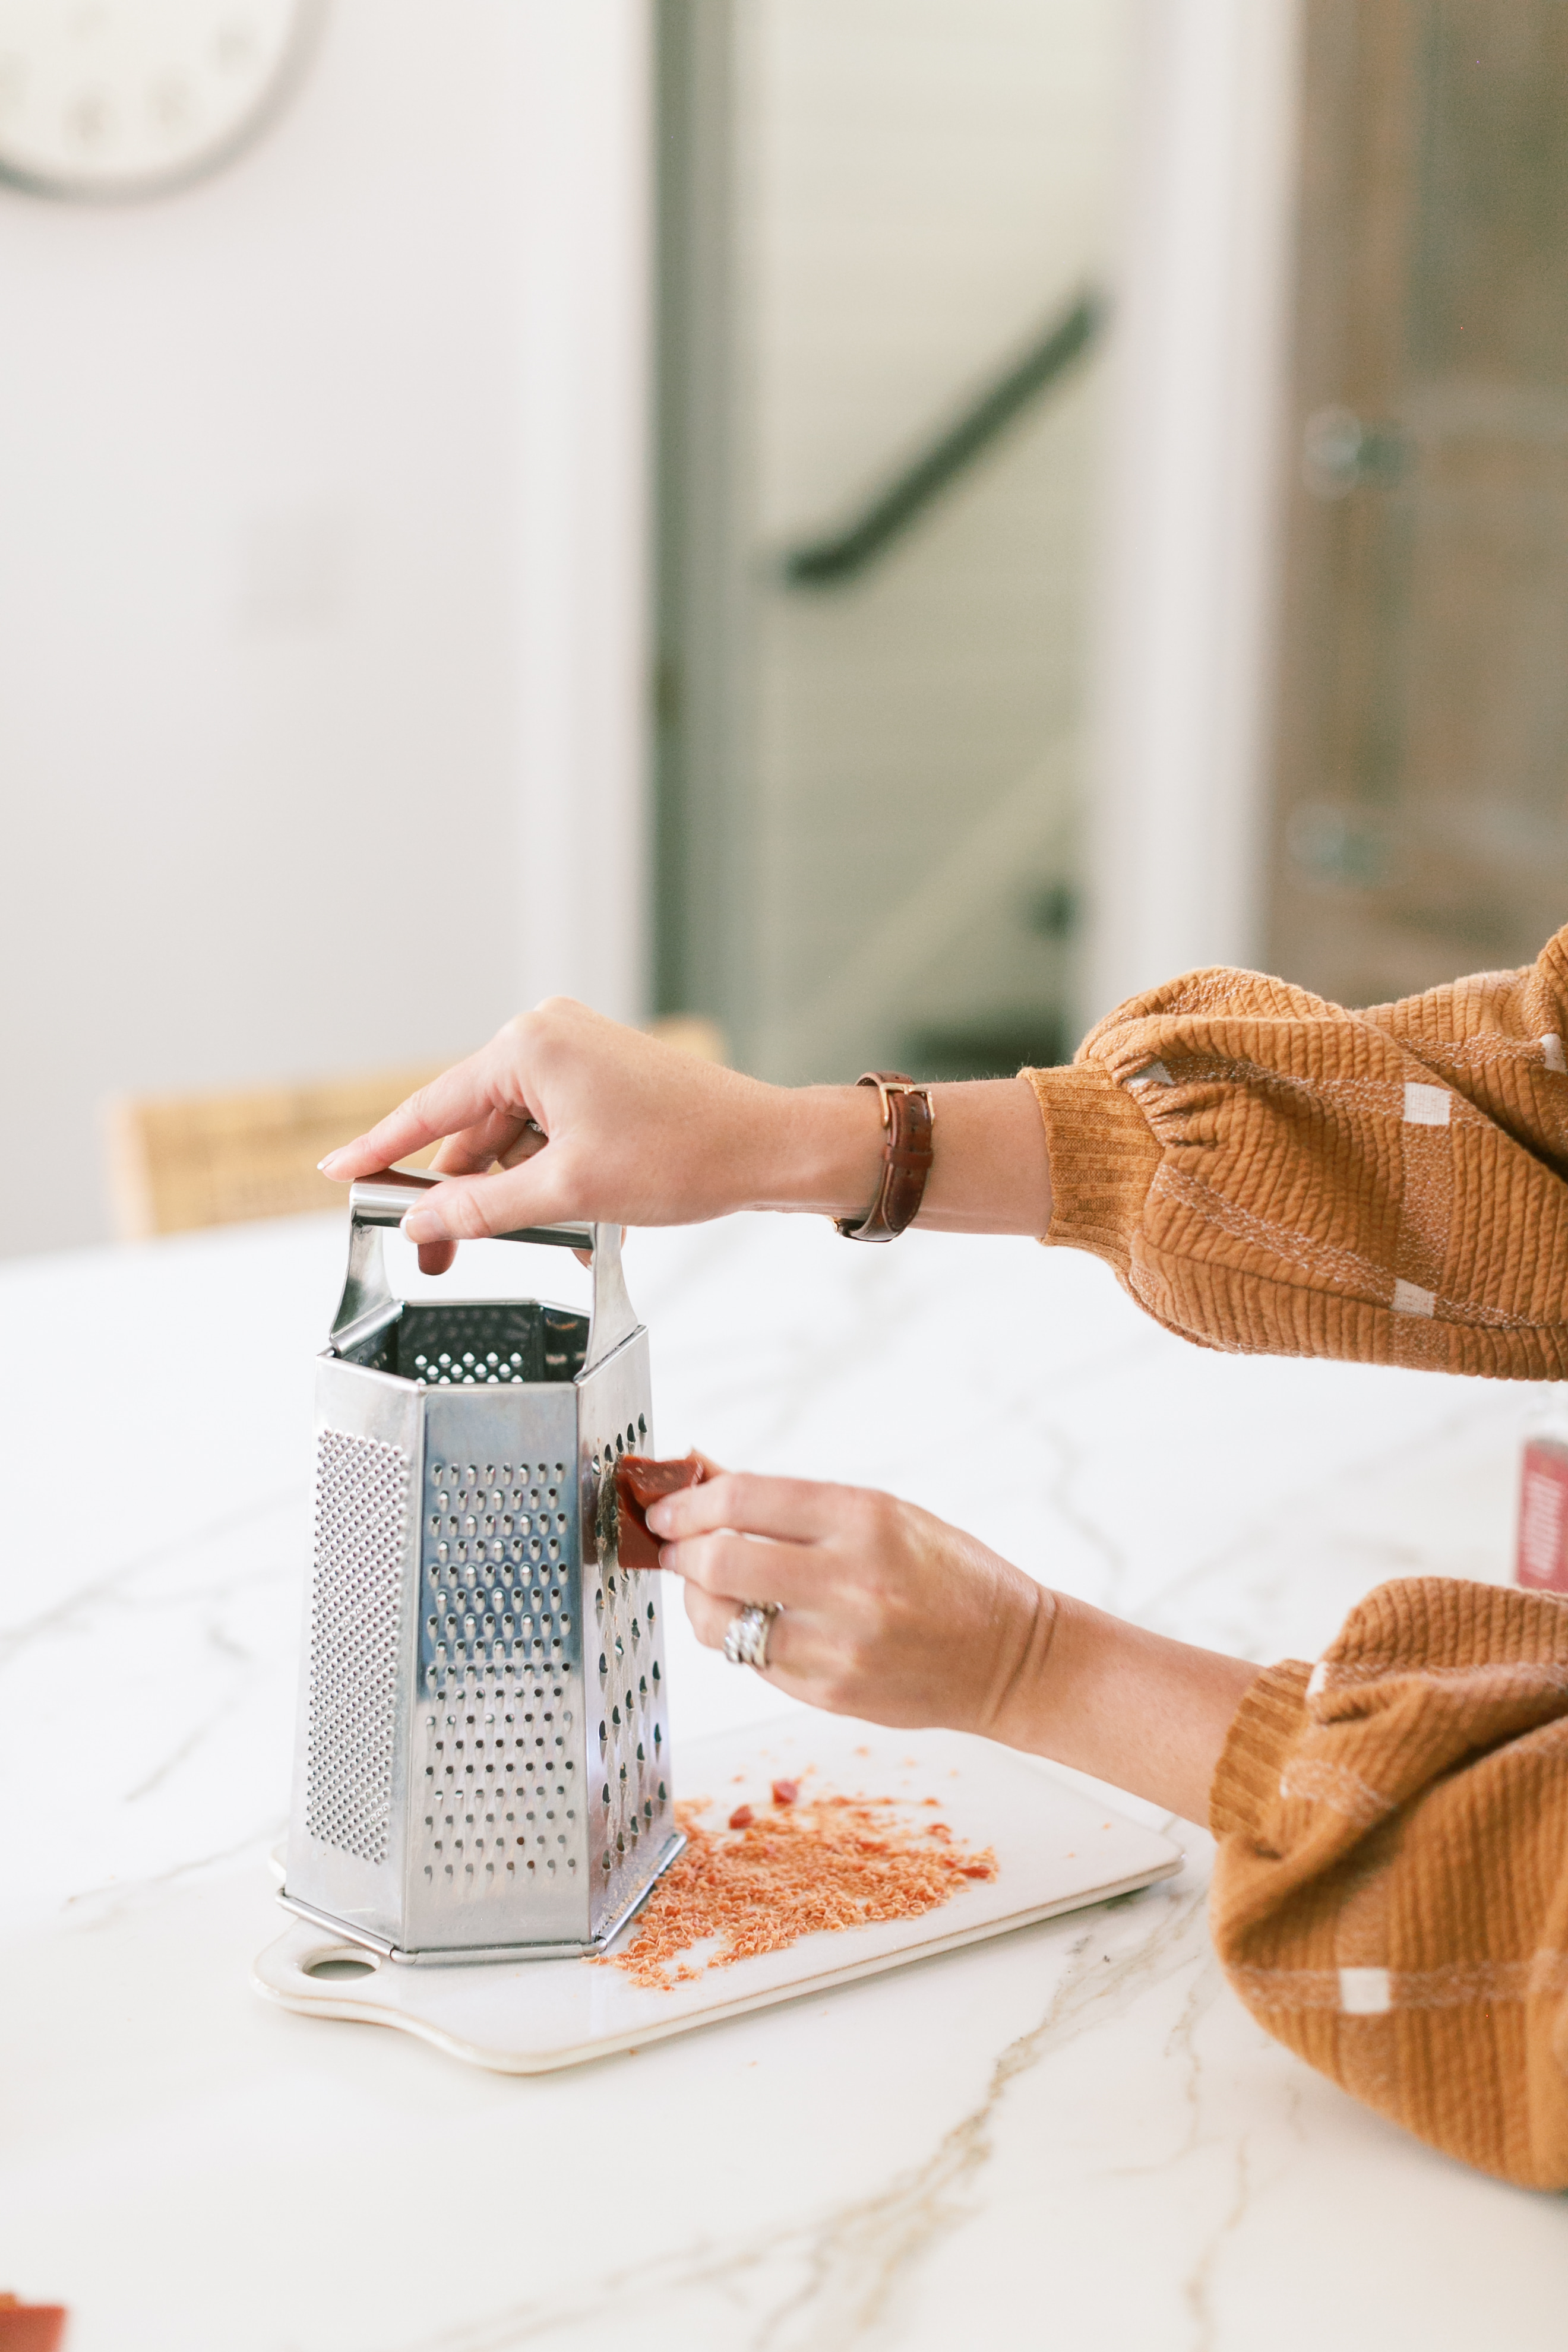
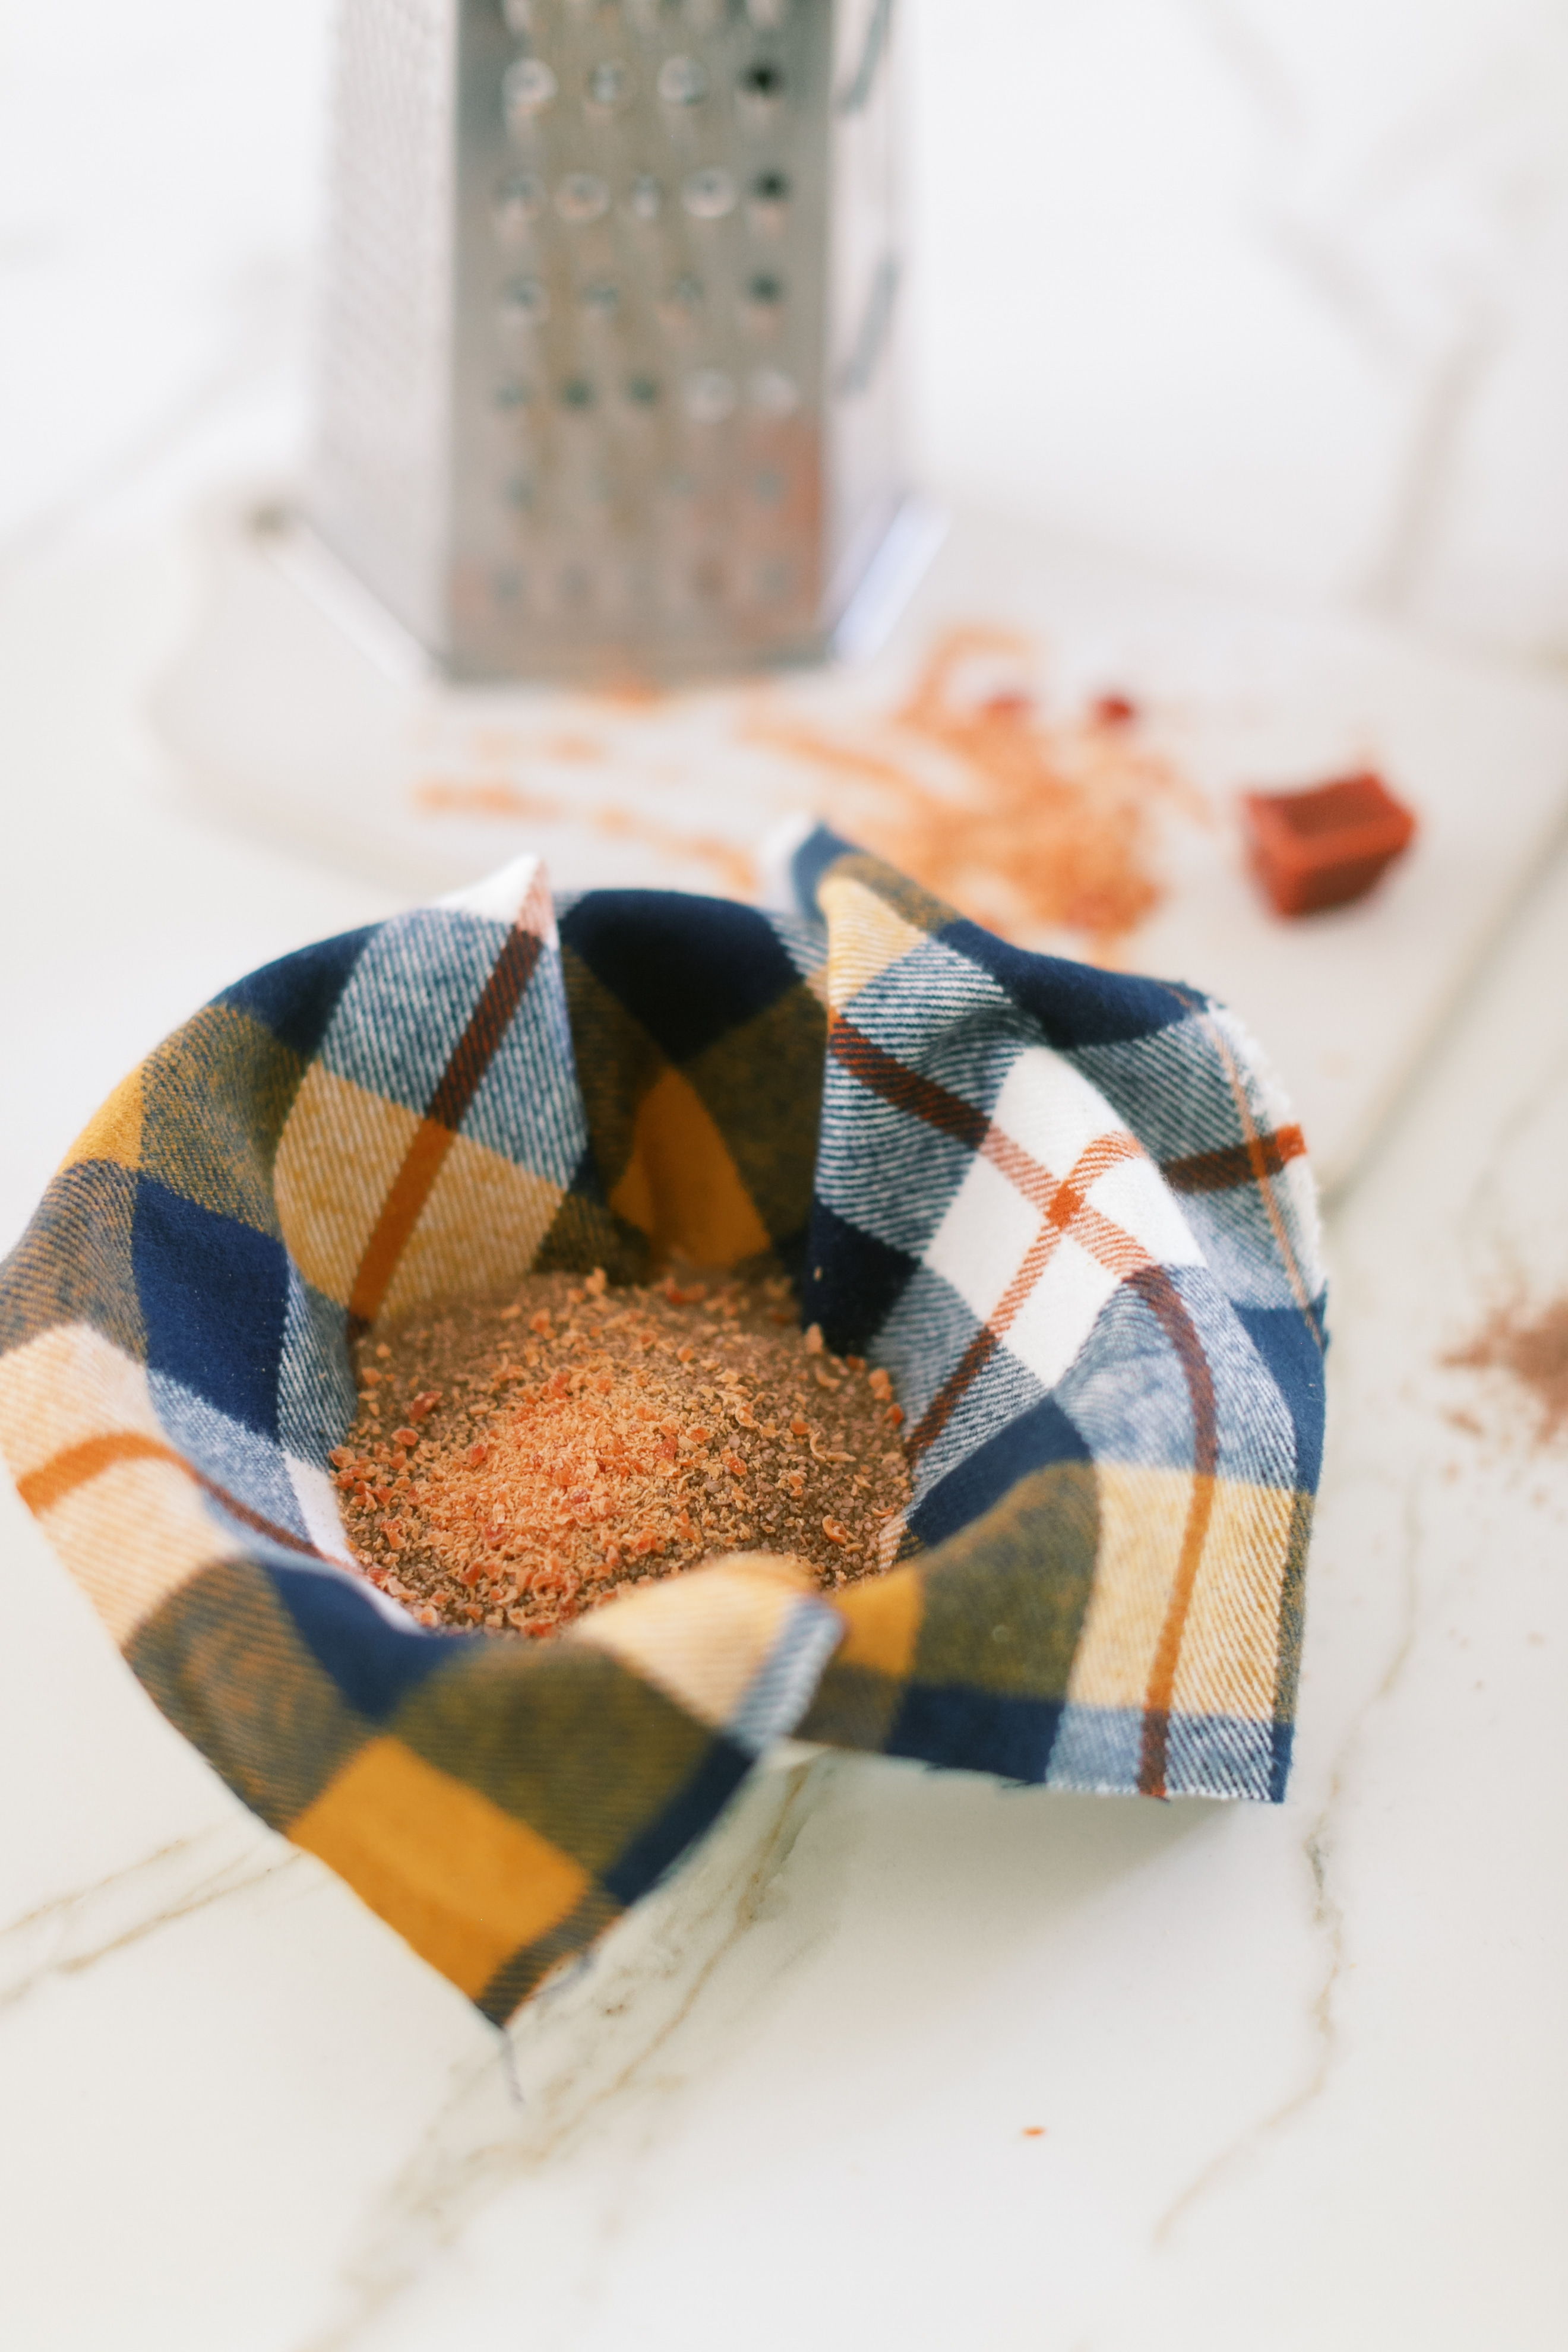
These scented wax melts were sold three pieces to a small container for $2.99 at Michaels, less if you have a coupon. I ended up barely getting through one grated piece out of the three for my three pumpkins shown, adding a nice handful to each pumpkin. Clearly you can add more wax per pumpkin for a stronger smell. Start by grating the wax using the coarse side of the box grater.
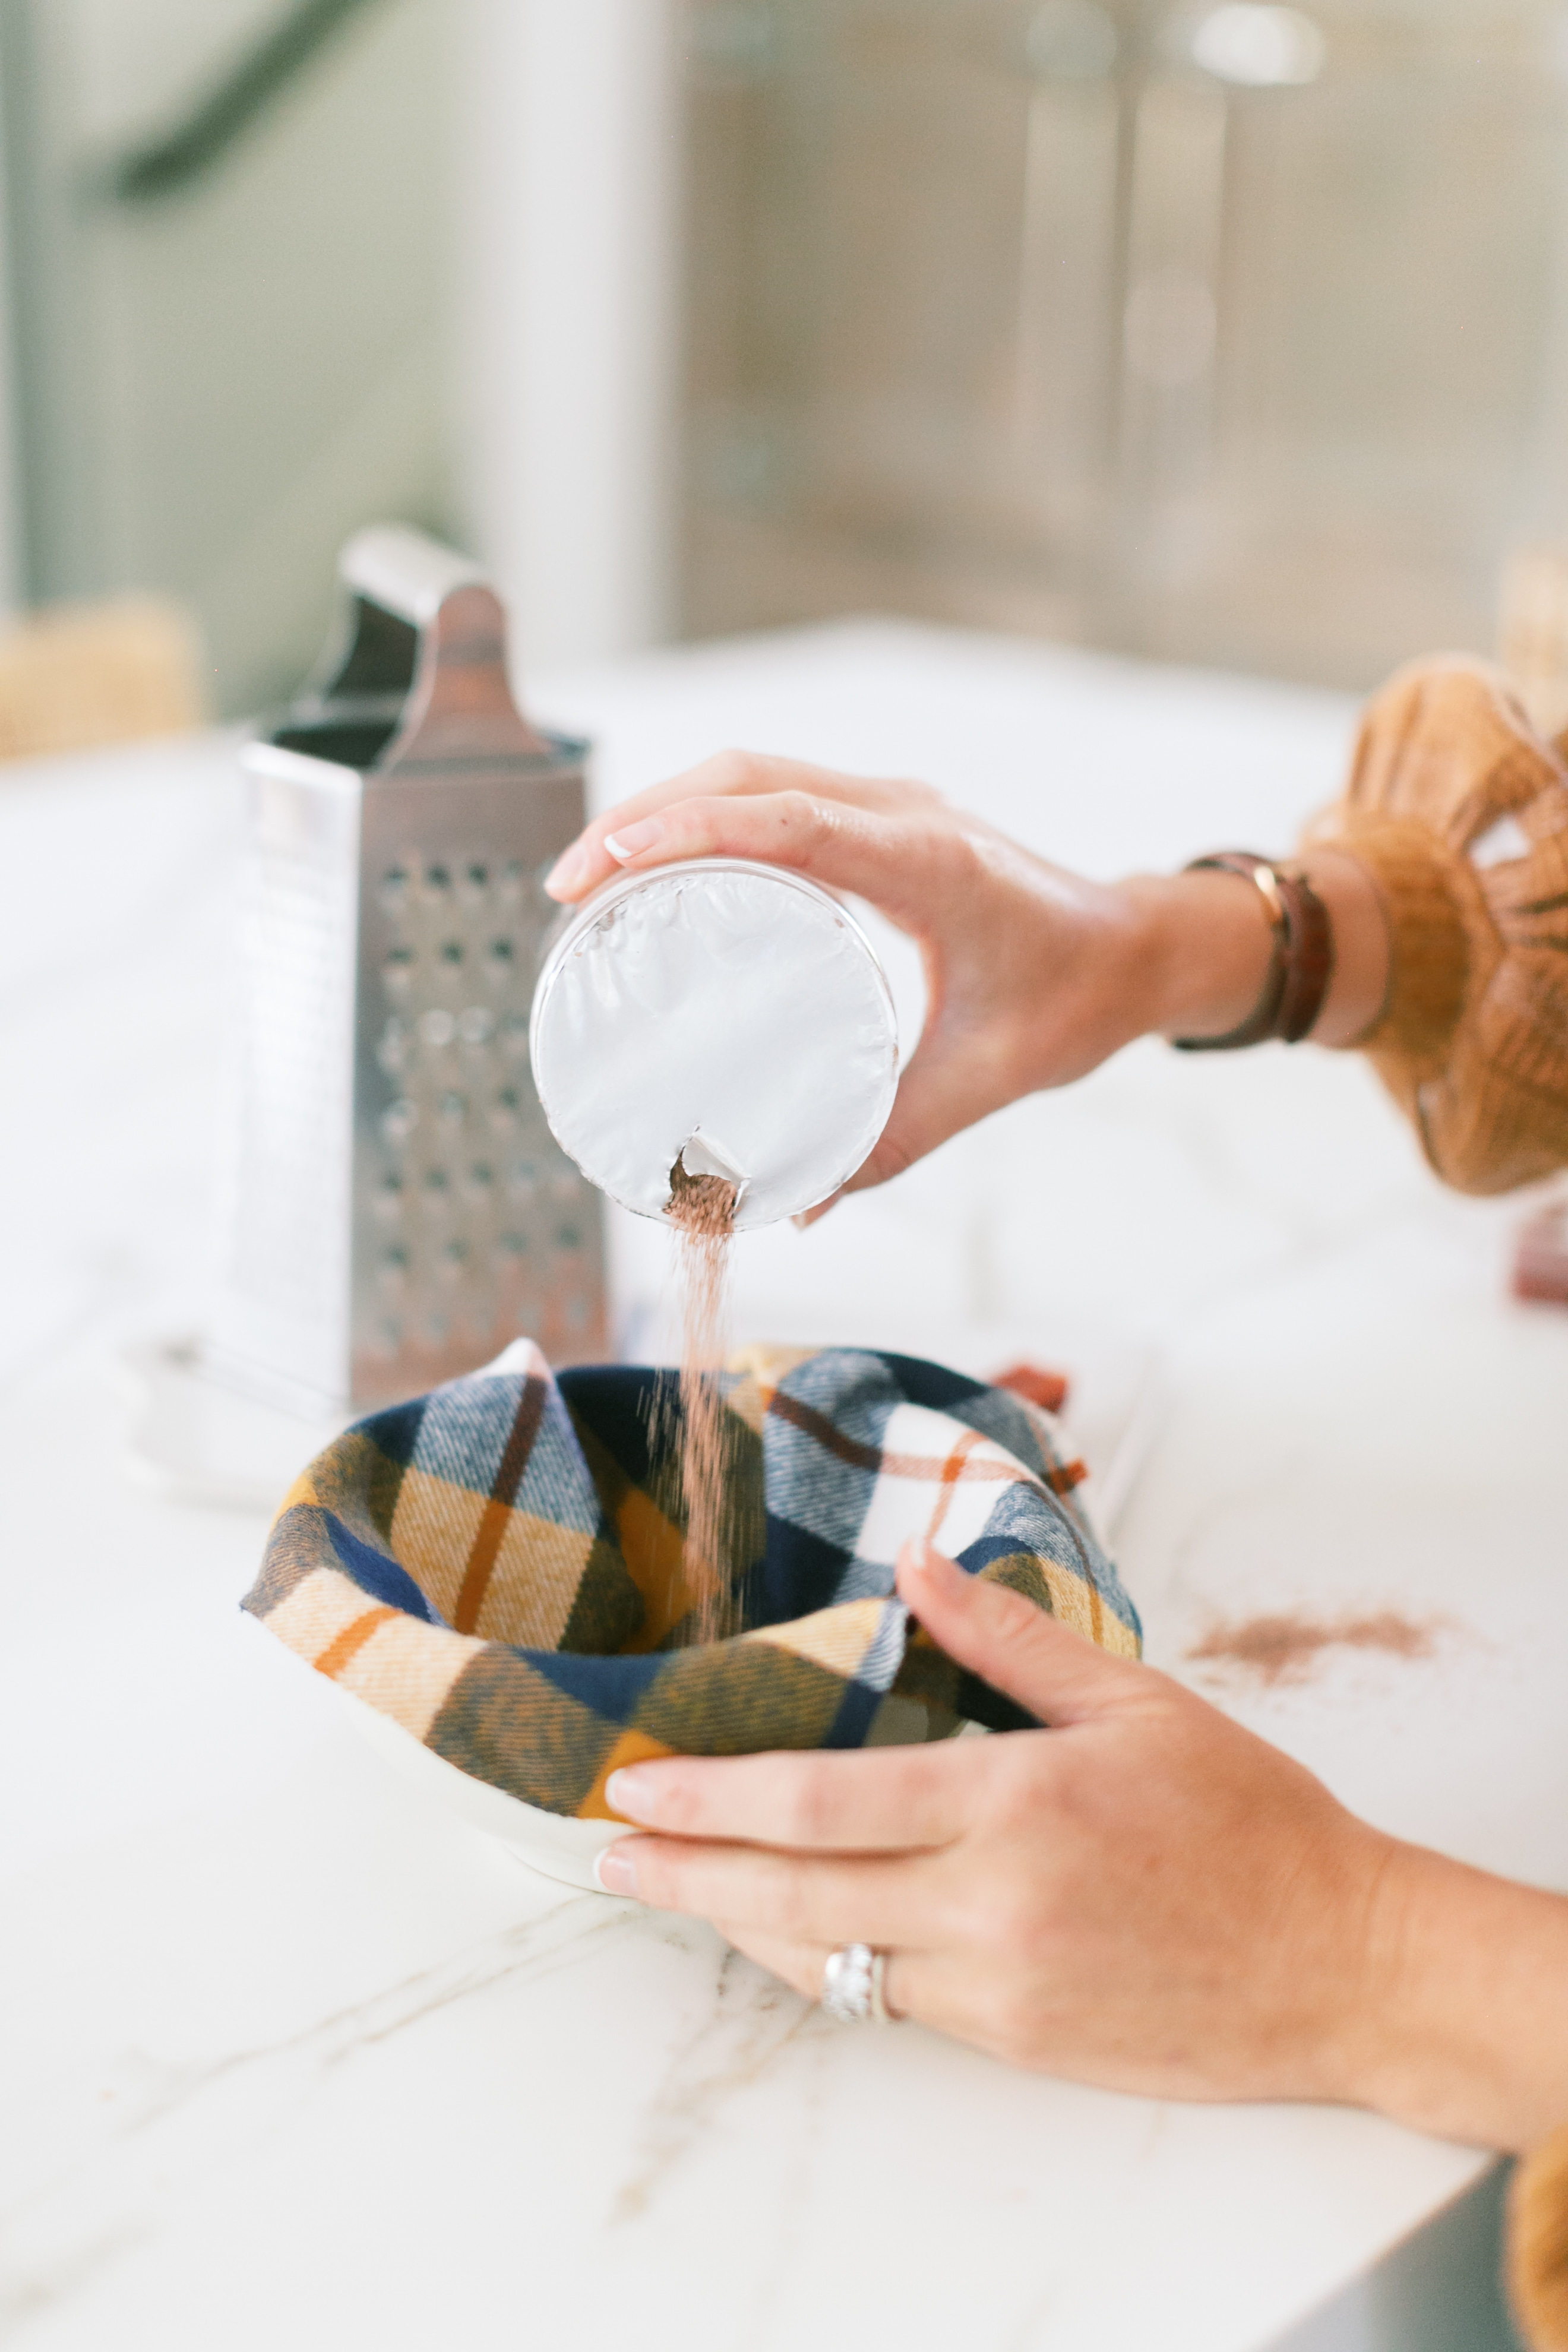
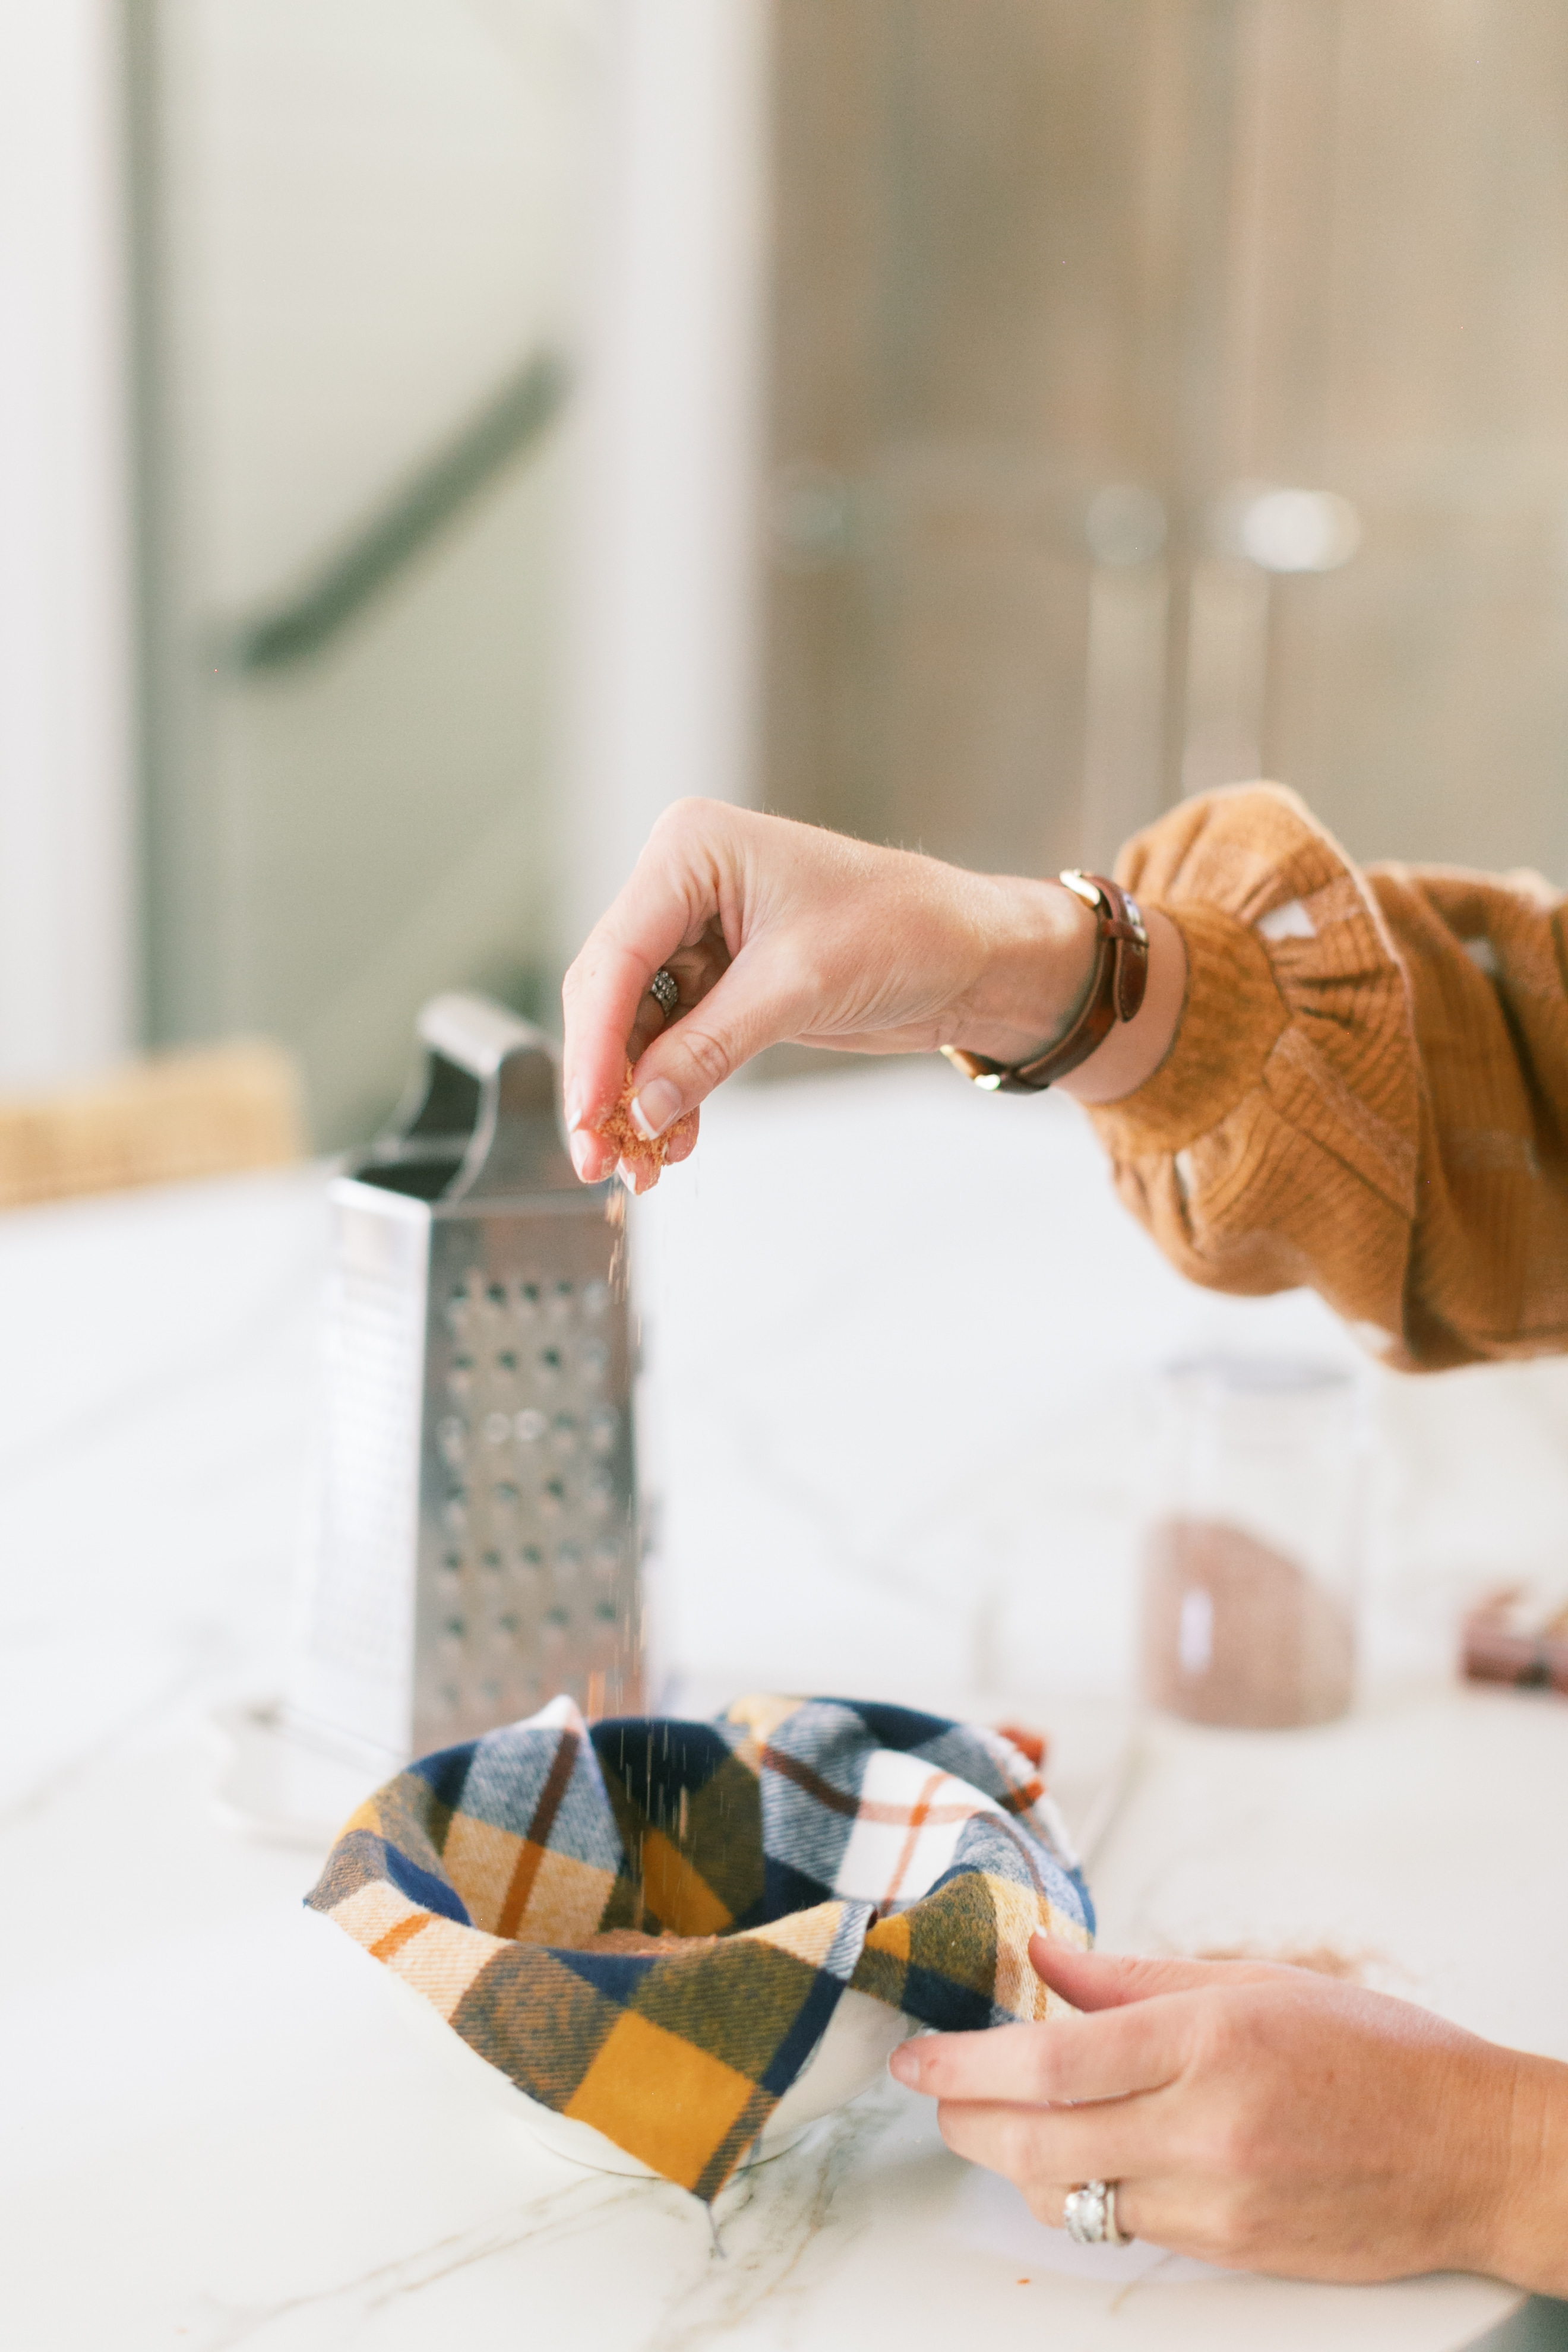
Drape your 10″ square piece of fabric in a bowl. I bought the 28 oz container by Ashland of coarse stone granules in the vase filler aisle with the floral tapes at Michaels. This one container made about two 3″ pumpkins and the little 1″ pumpkin with some sand left over in the container. Pour some sand into the middle of the square of fabric in the bowl. Add a small handful of grated wax. Top with more sand until you have the desired amount. I tested them initially by gathering the edges together to see how full my pumpkin was getting, adding more sand/wax if needed.
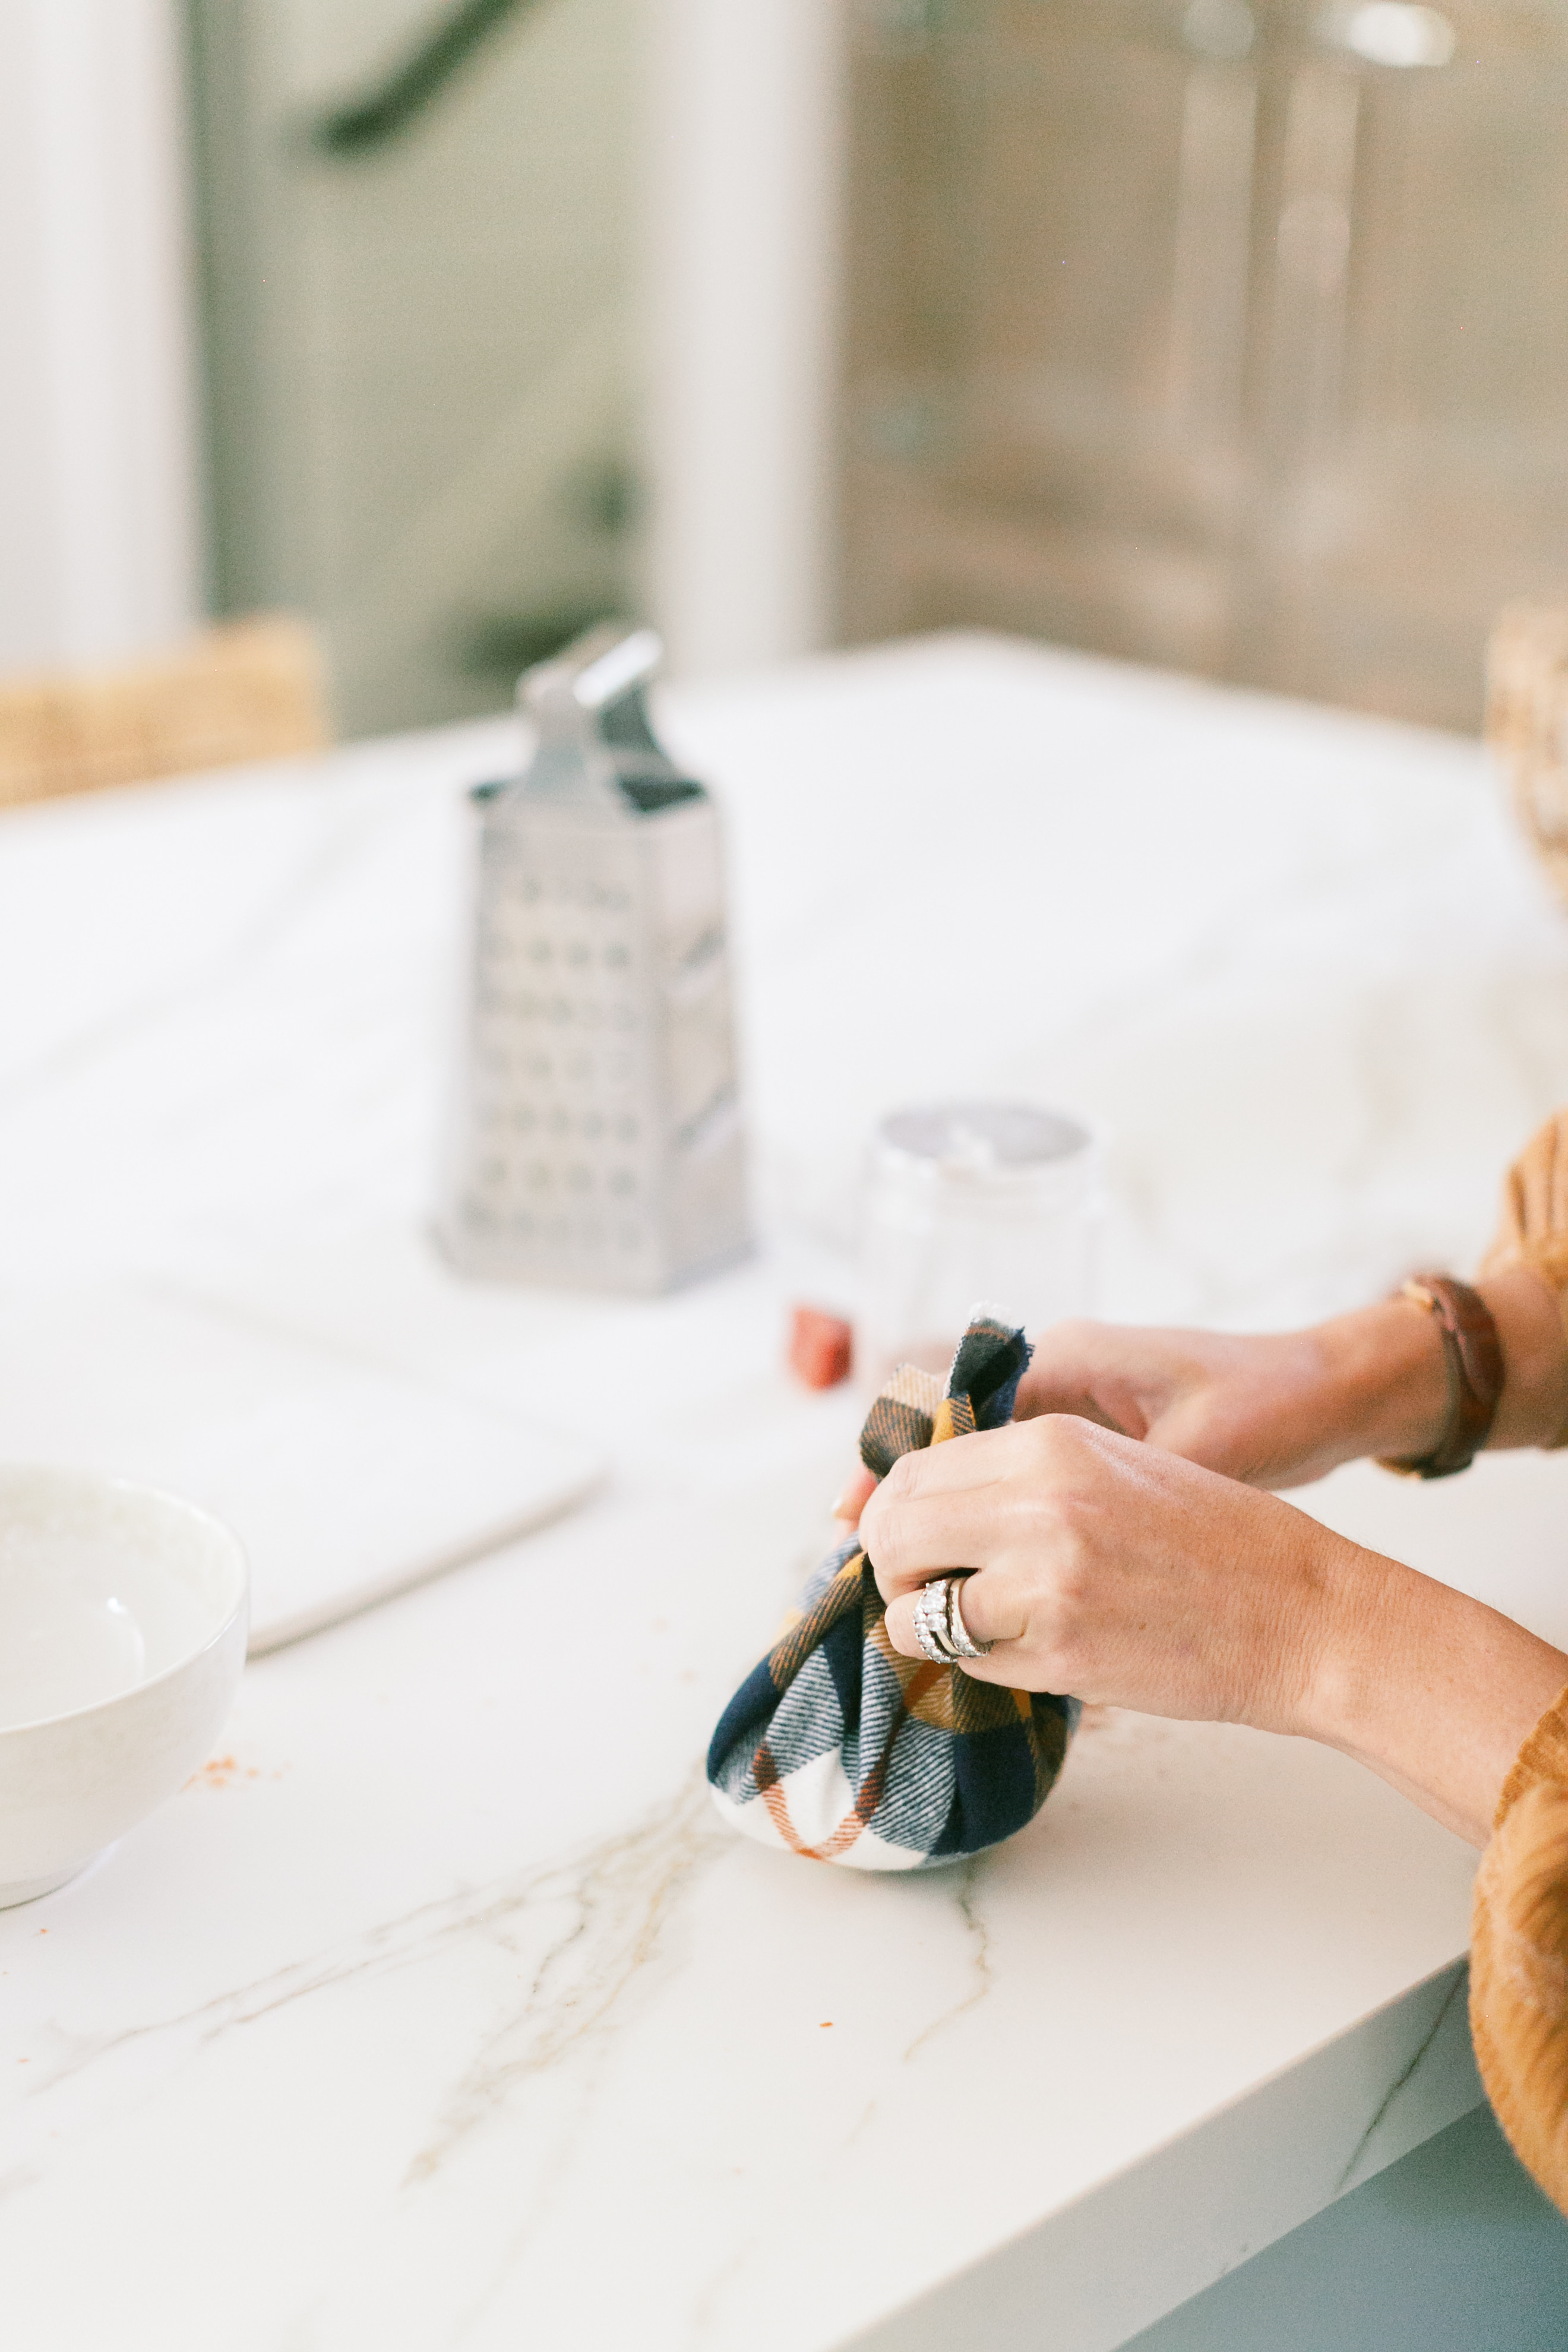
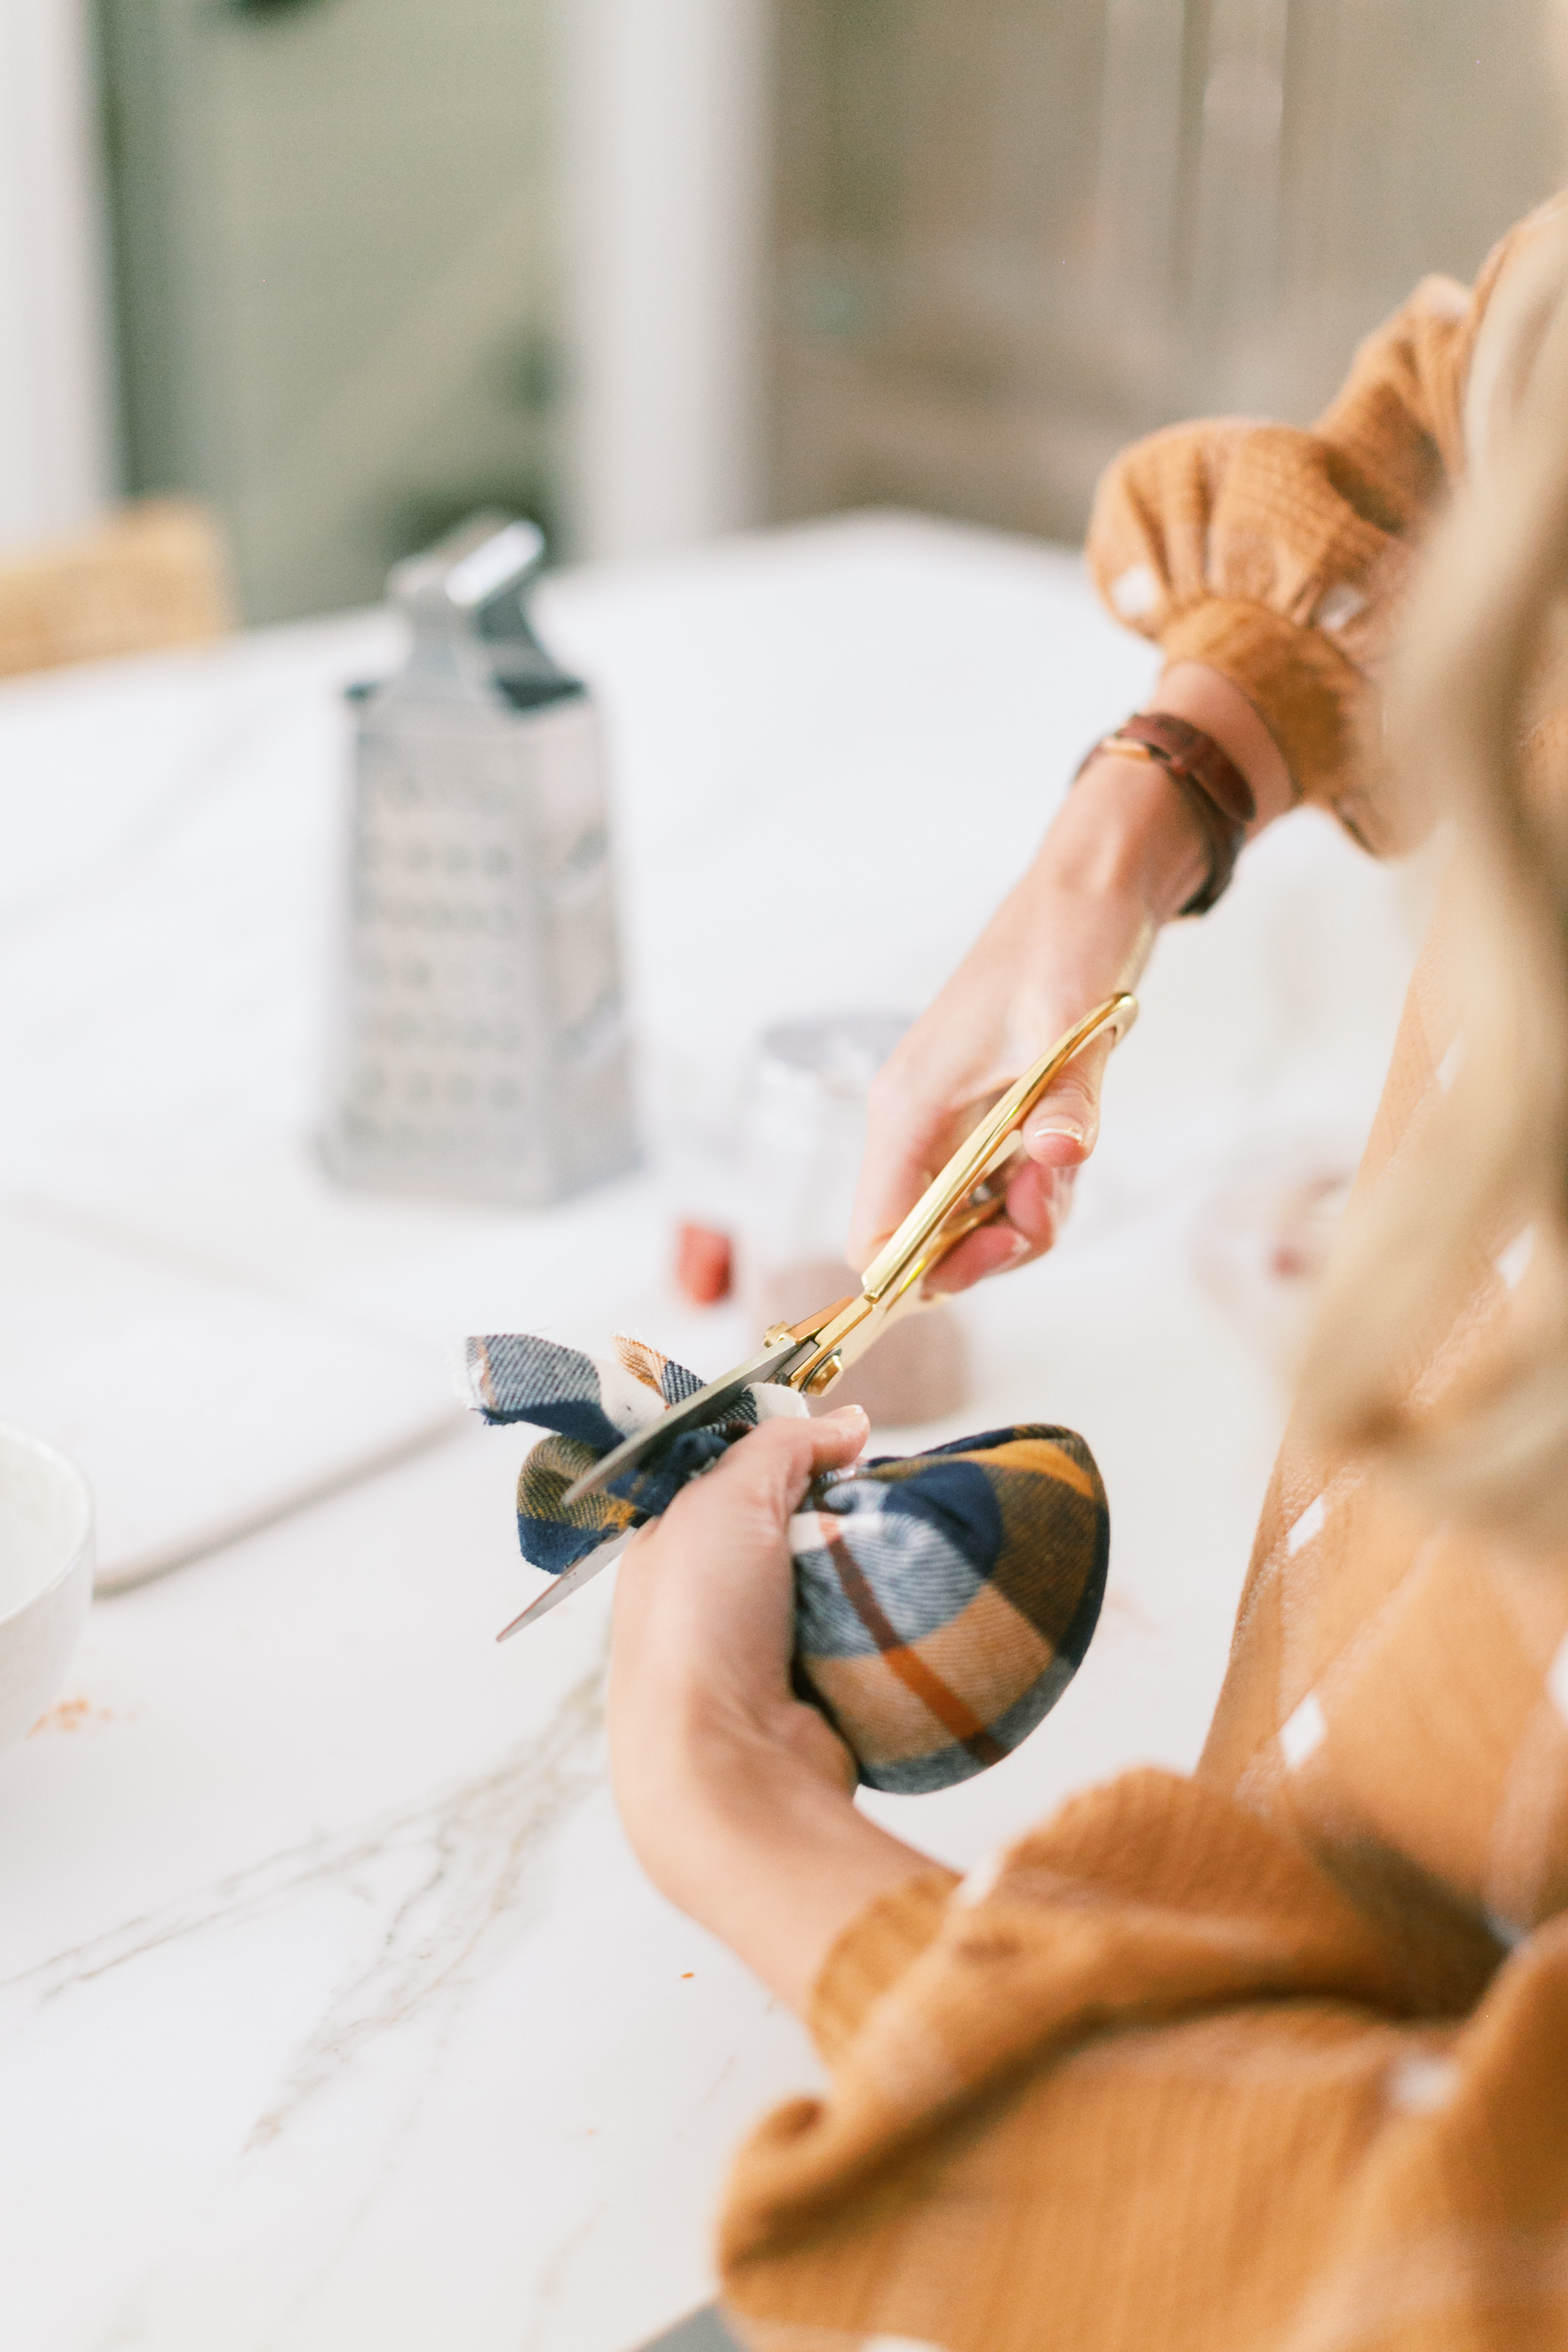
Gather the ends of the fabric together keeping the sand nice and firmly balled in your hand and the ends sticking up. Cut the ends off the fabric leaving about 1/2″ to 1″ of fabric sticking up above where you’ve got it grasped and where you’ll rubberband it shut. Loosen your grip on the gathered material just enough to slide the cinnamon stick into the middle. Firmly secure the cinnamon stick into the sand mixture by rubberbanding it tightly closed. I then used thin twine to tie it tightly (an extra precaution to keep the sand inside) and wrapped thicker twine around the rubberband so you couldn’t see it.
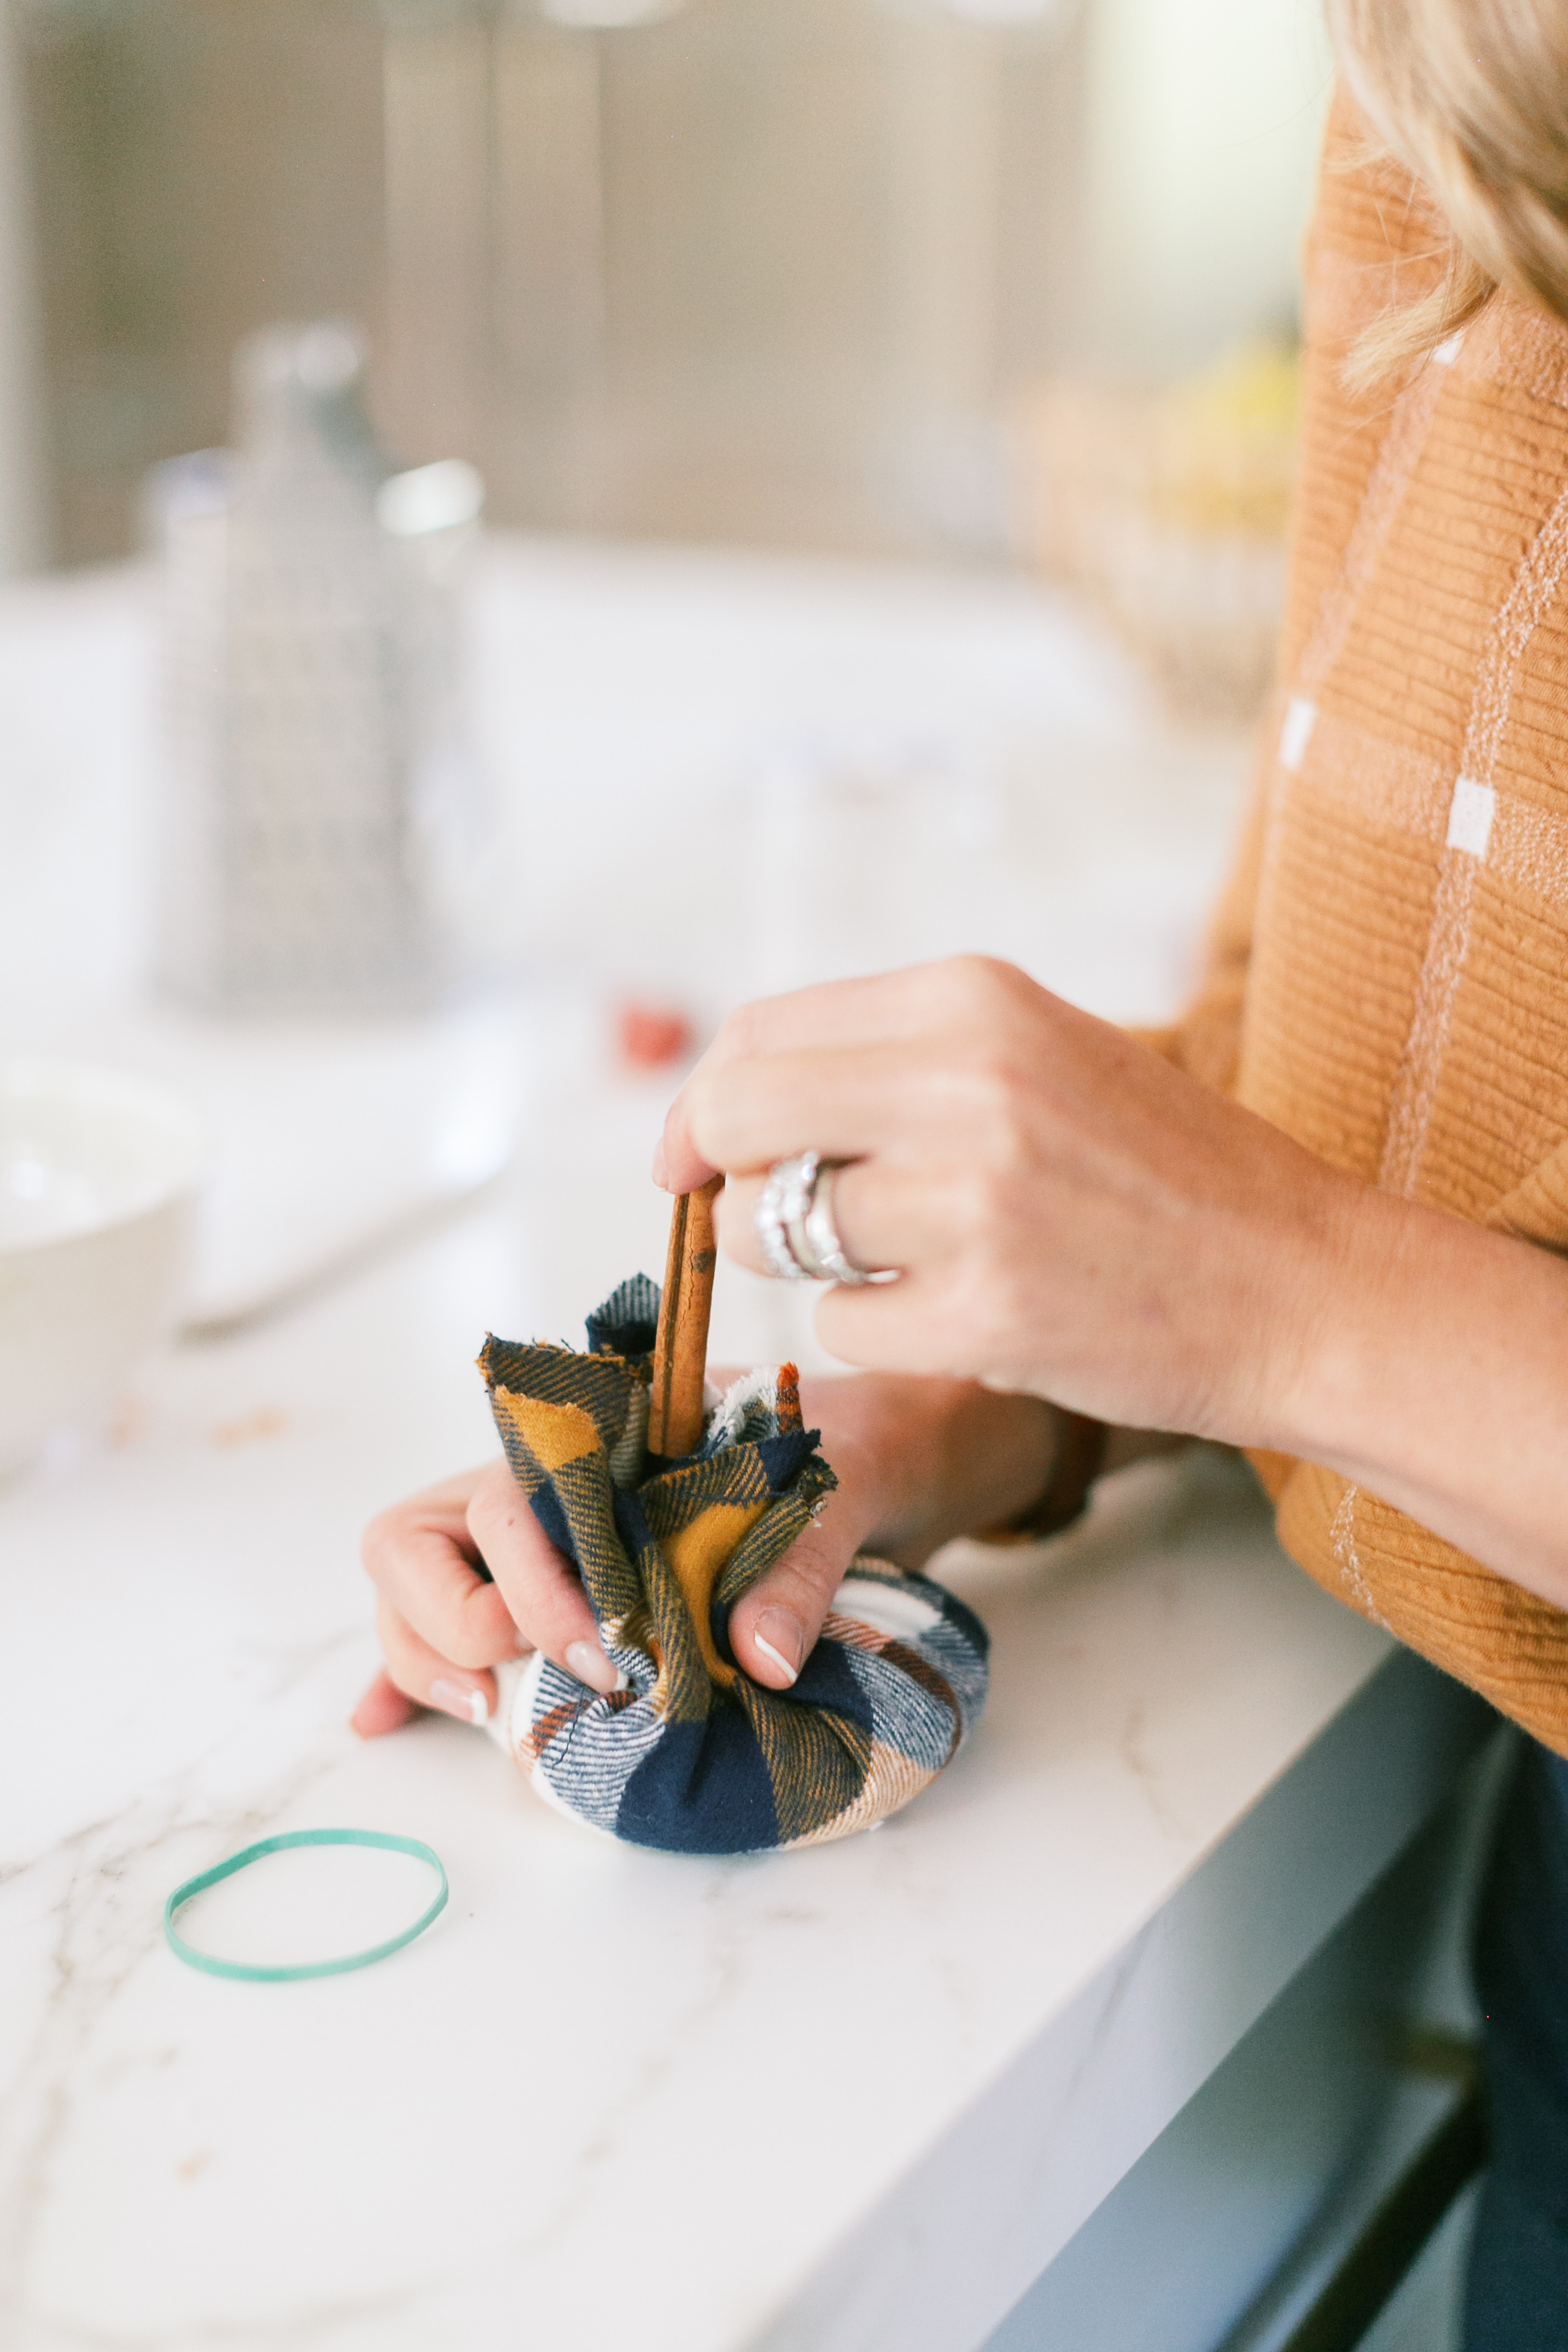
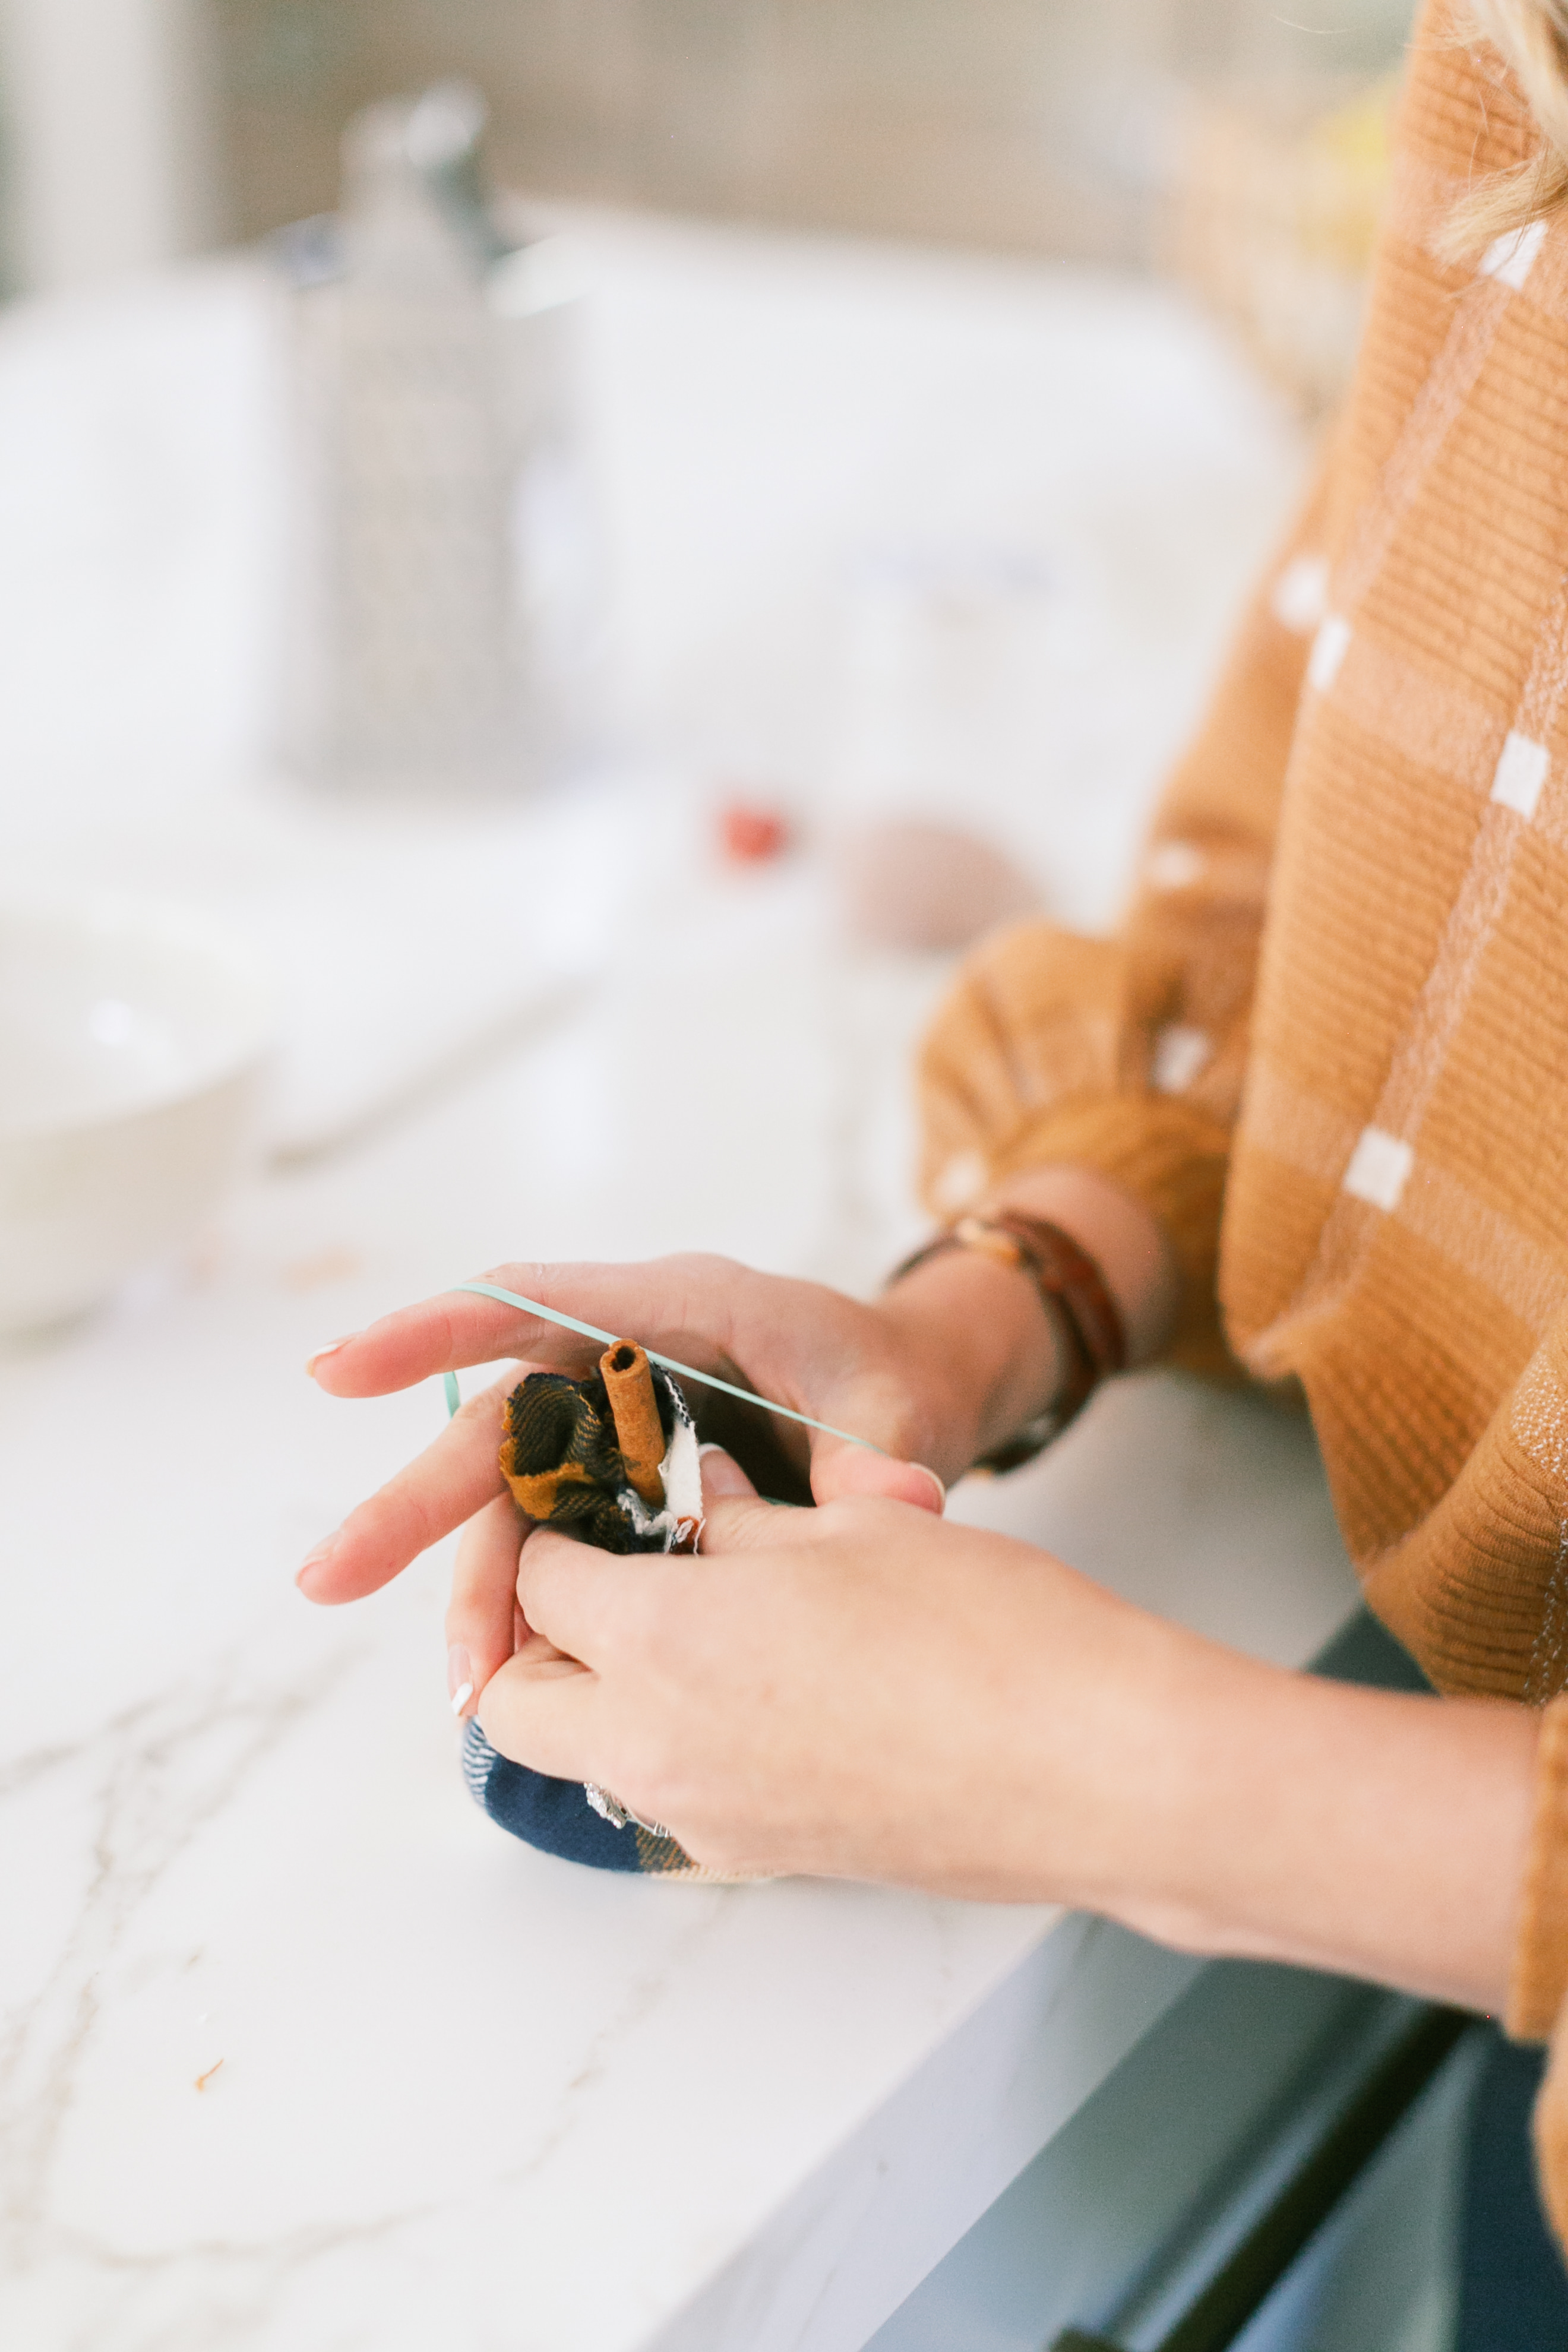
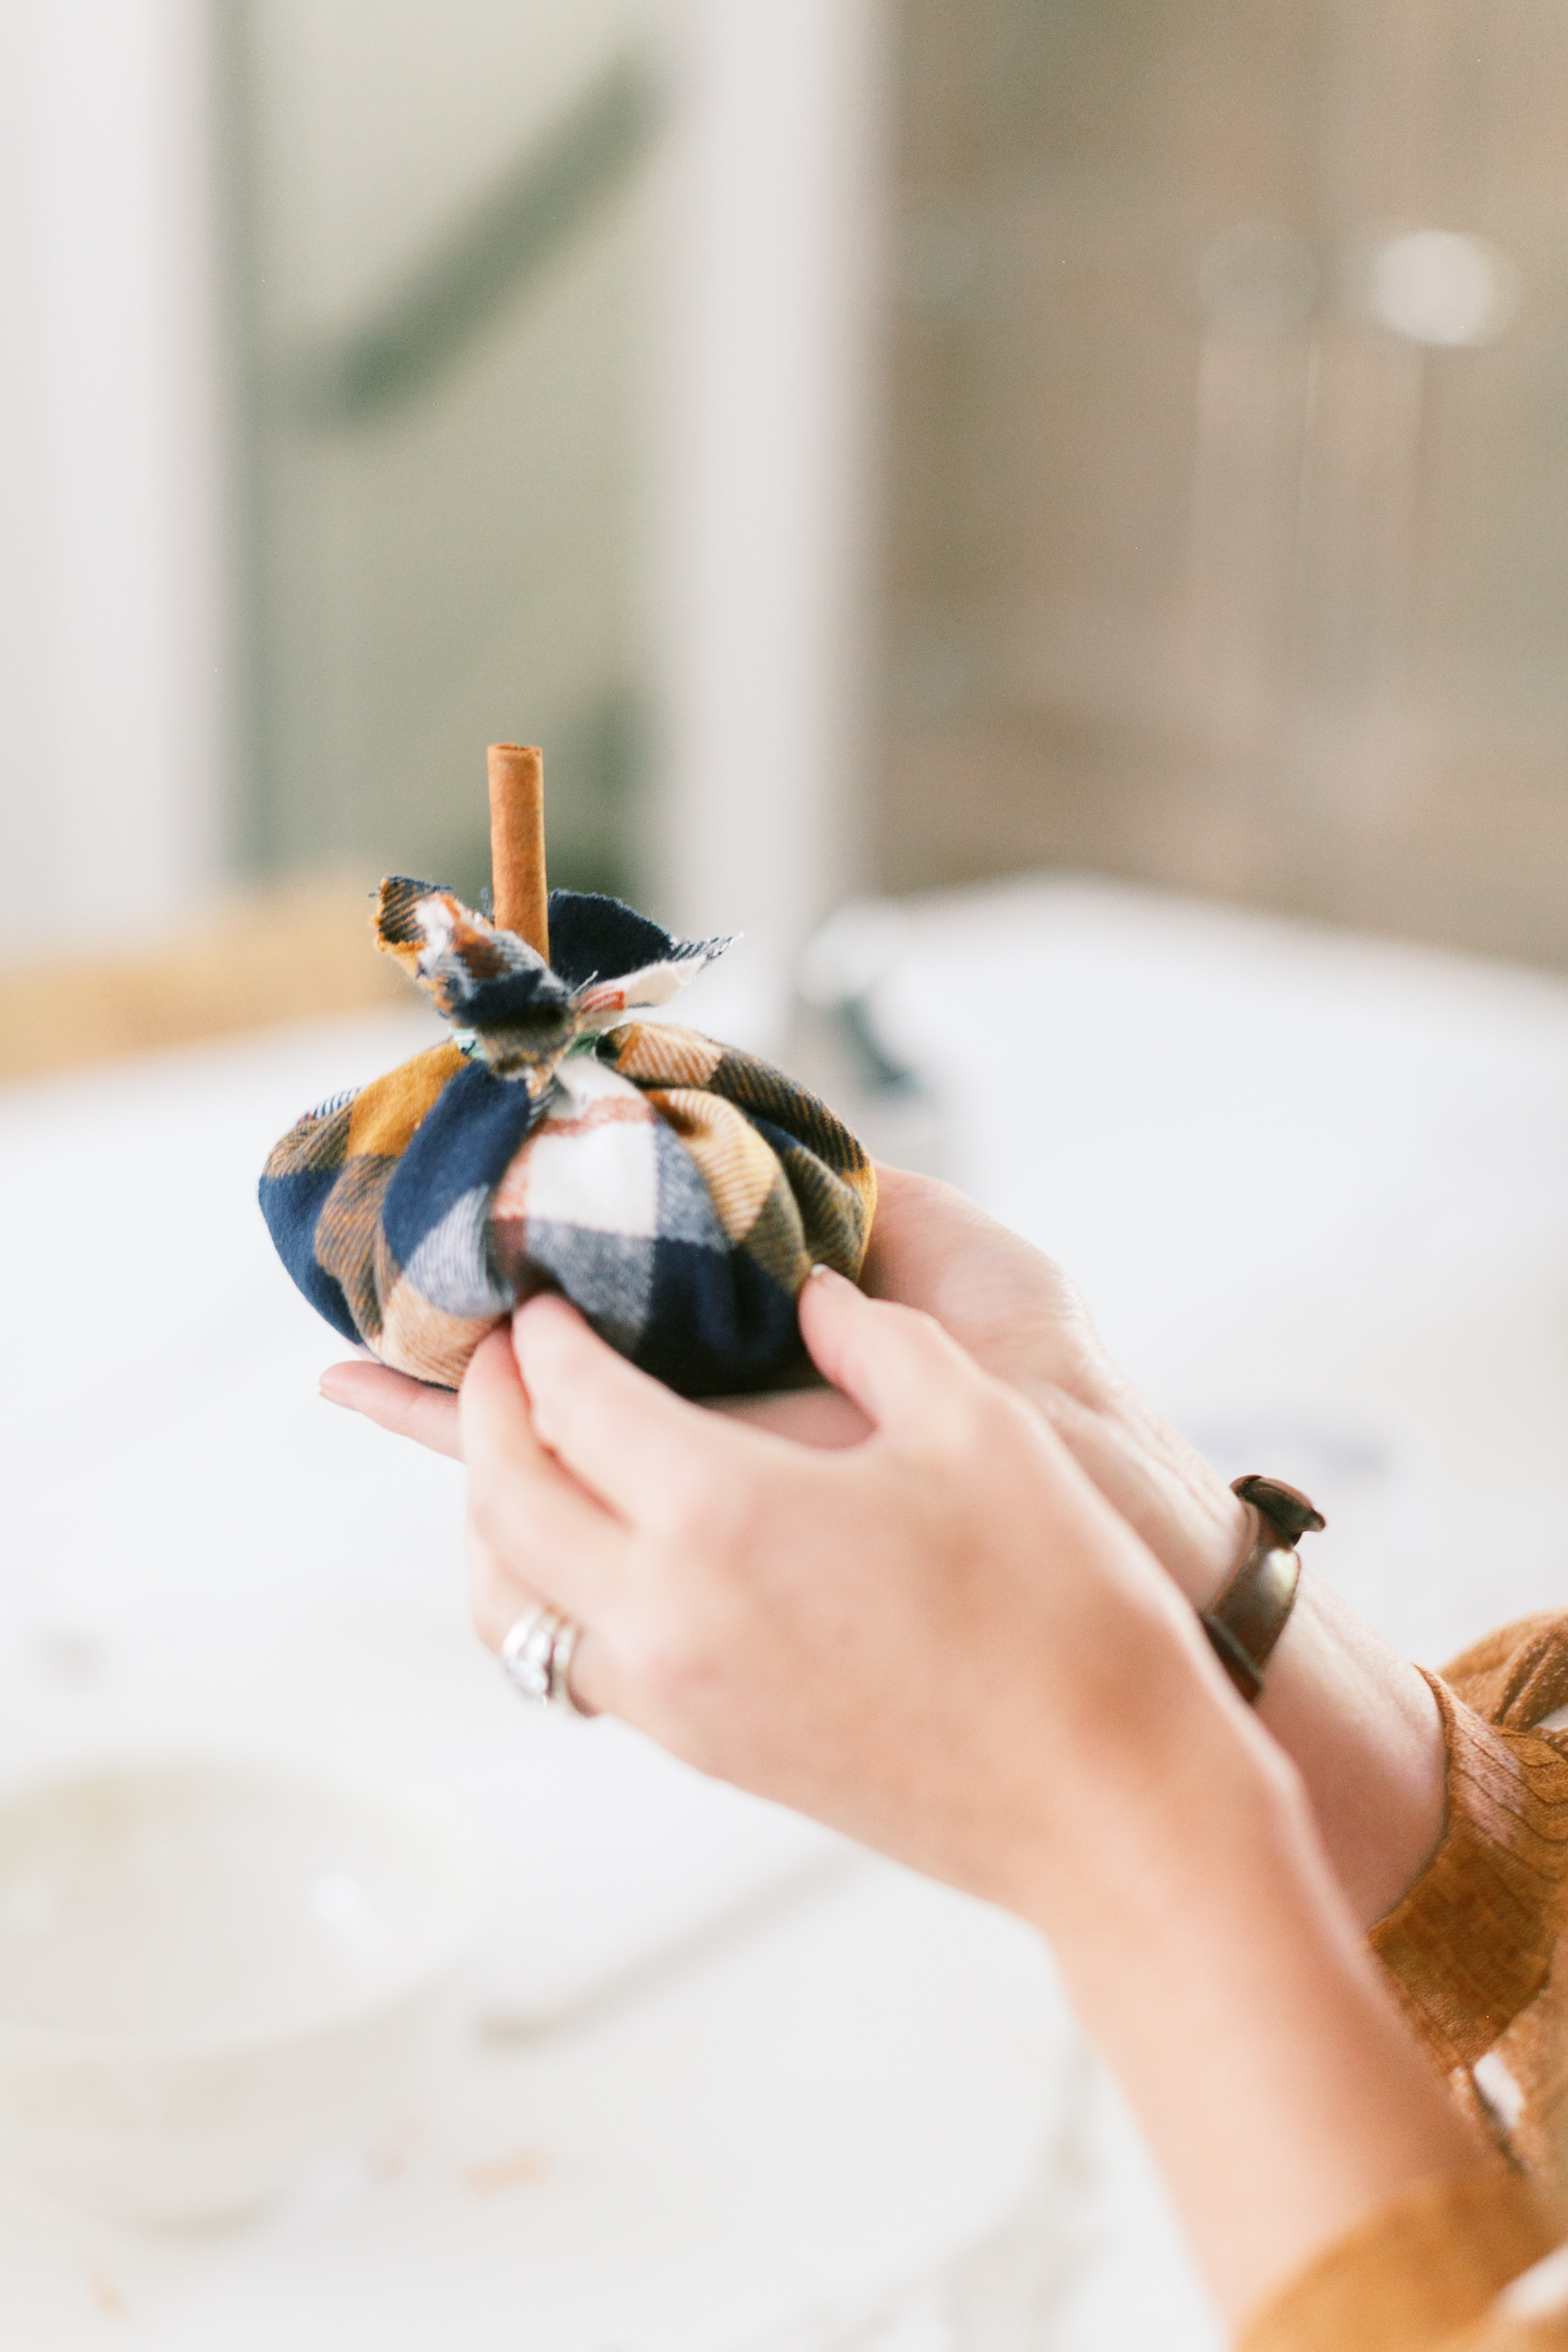
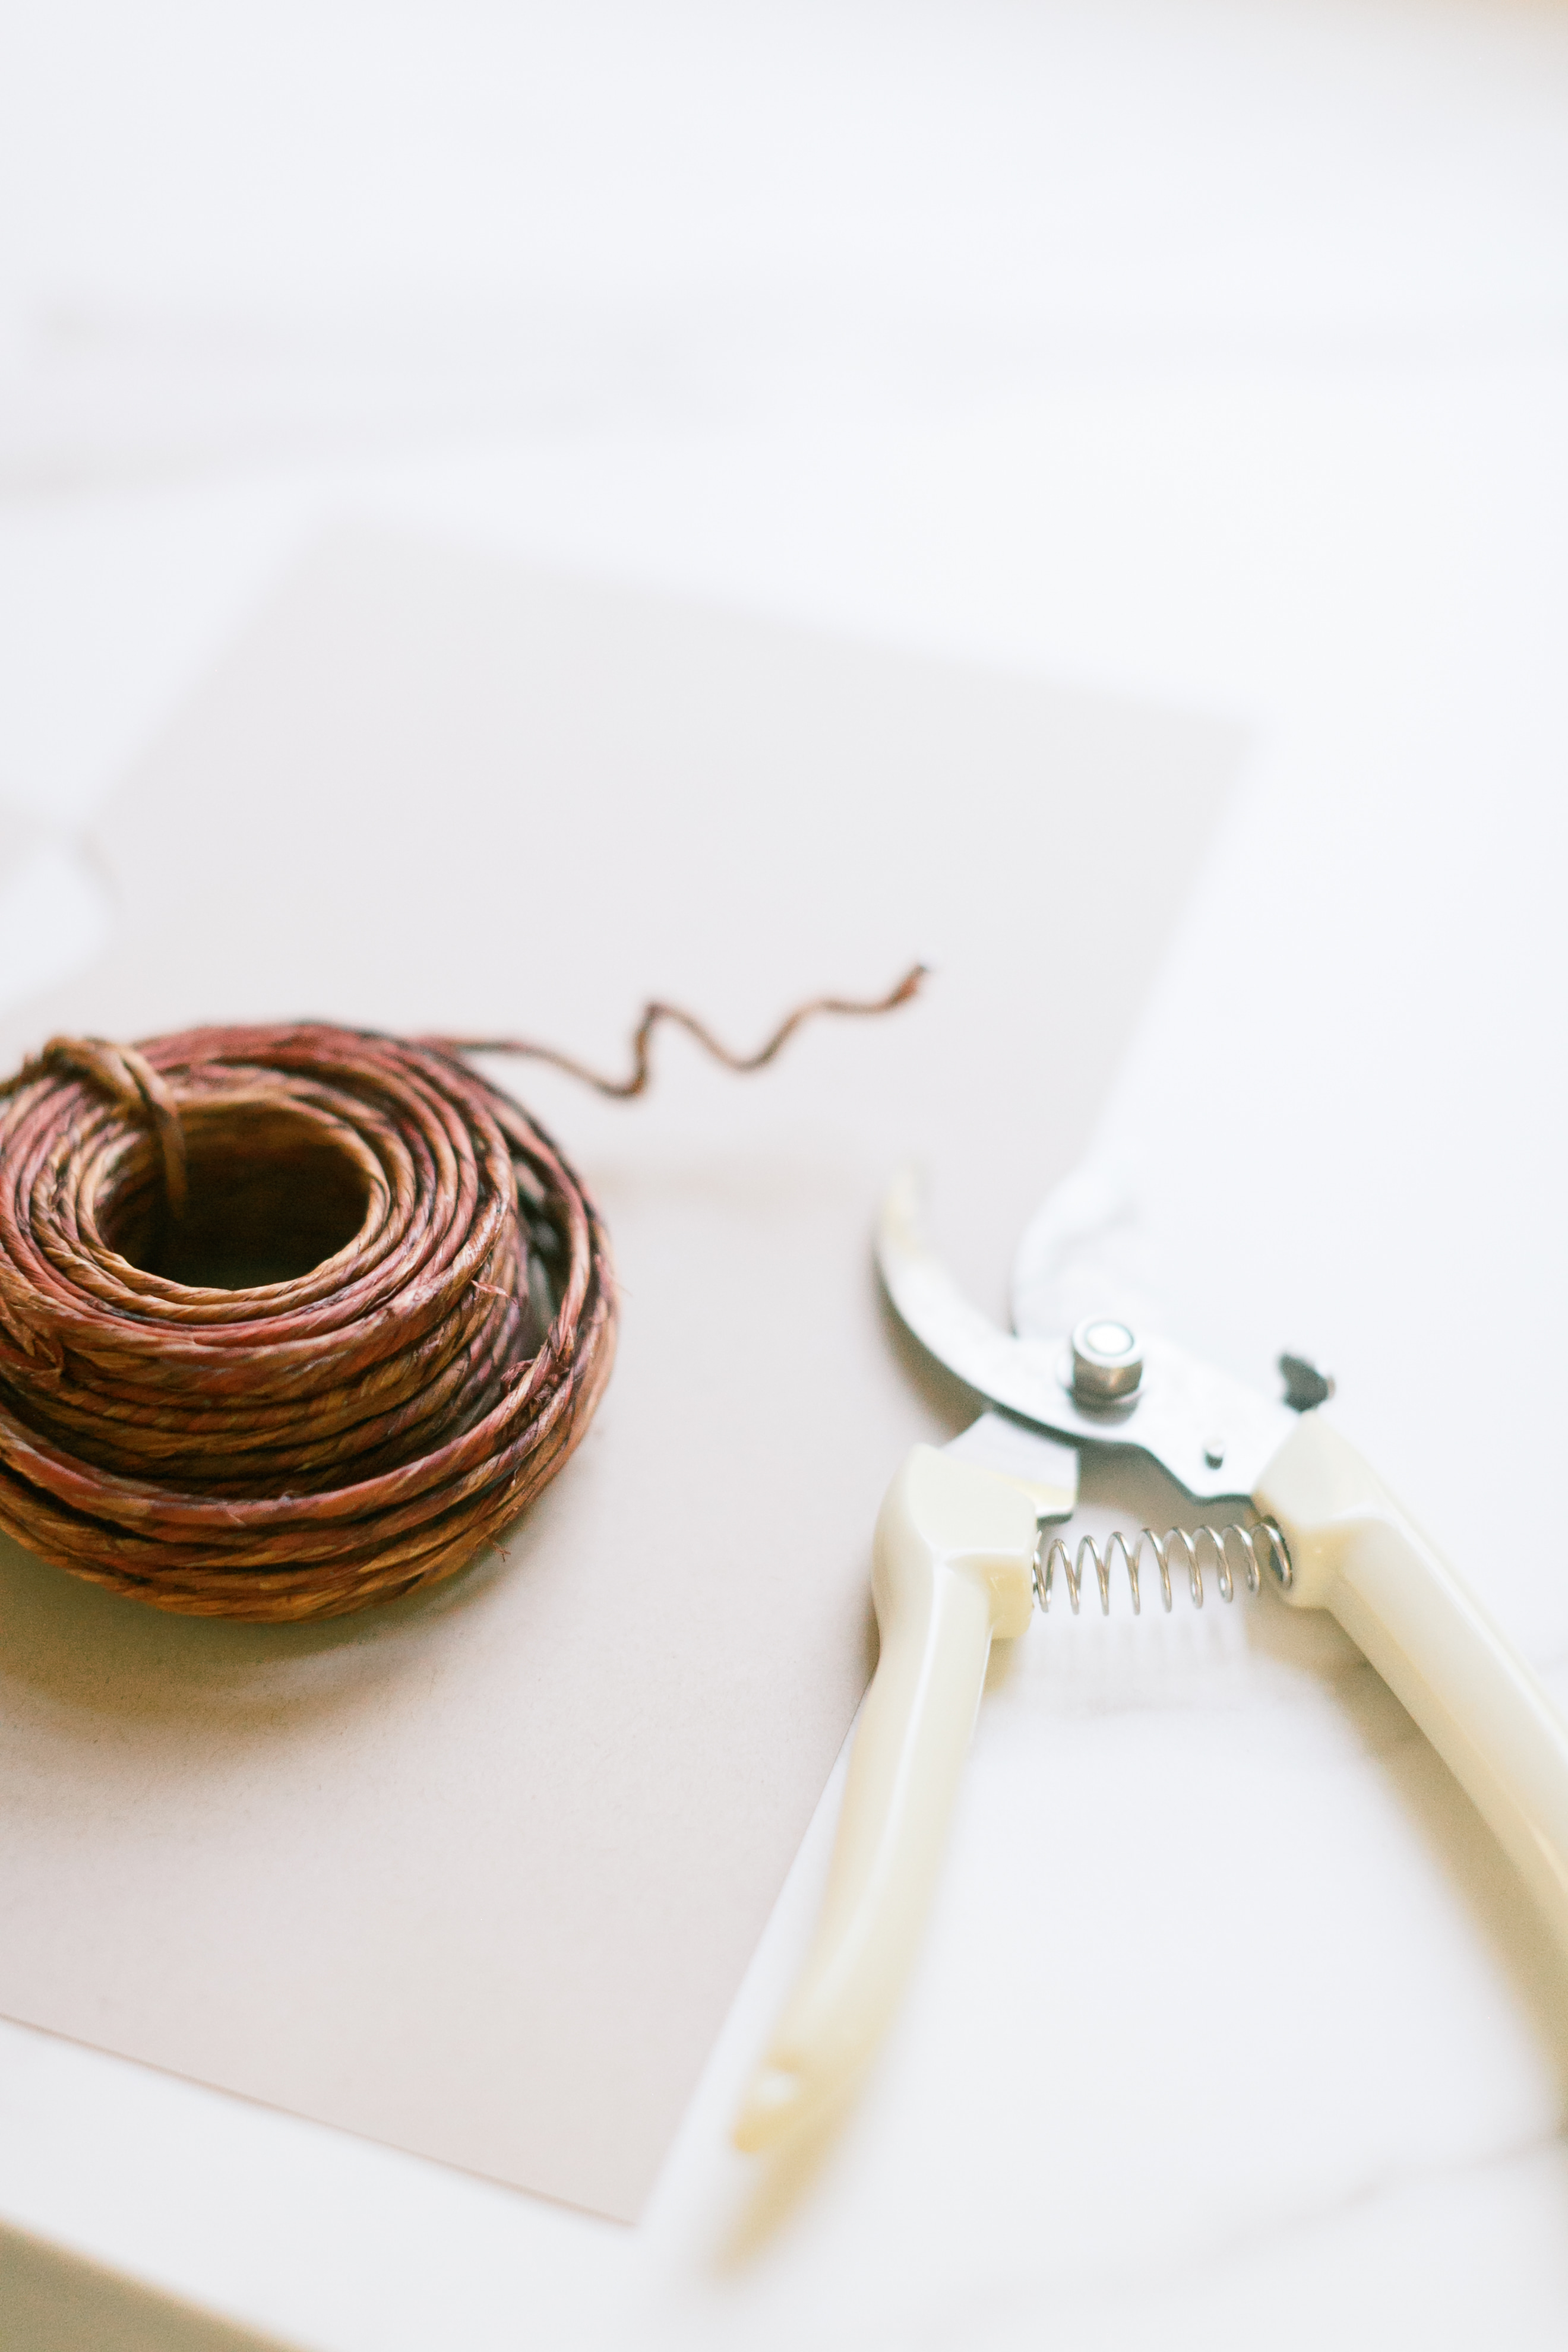
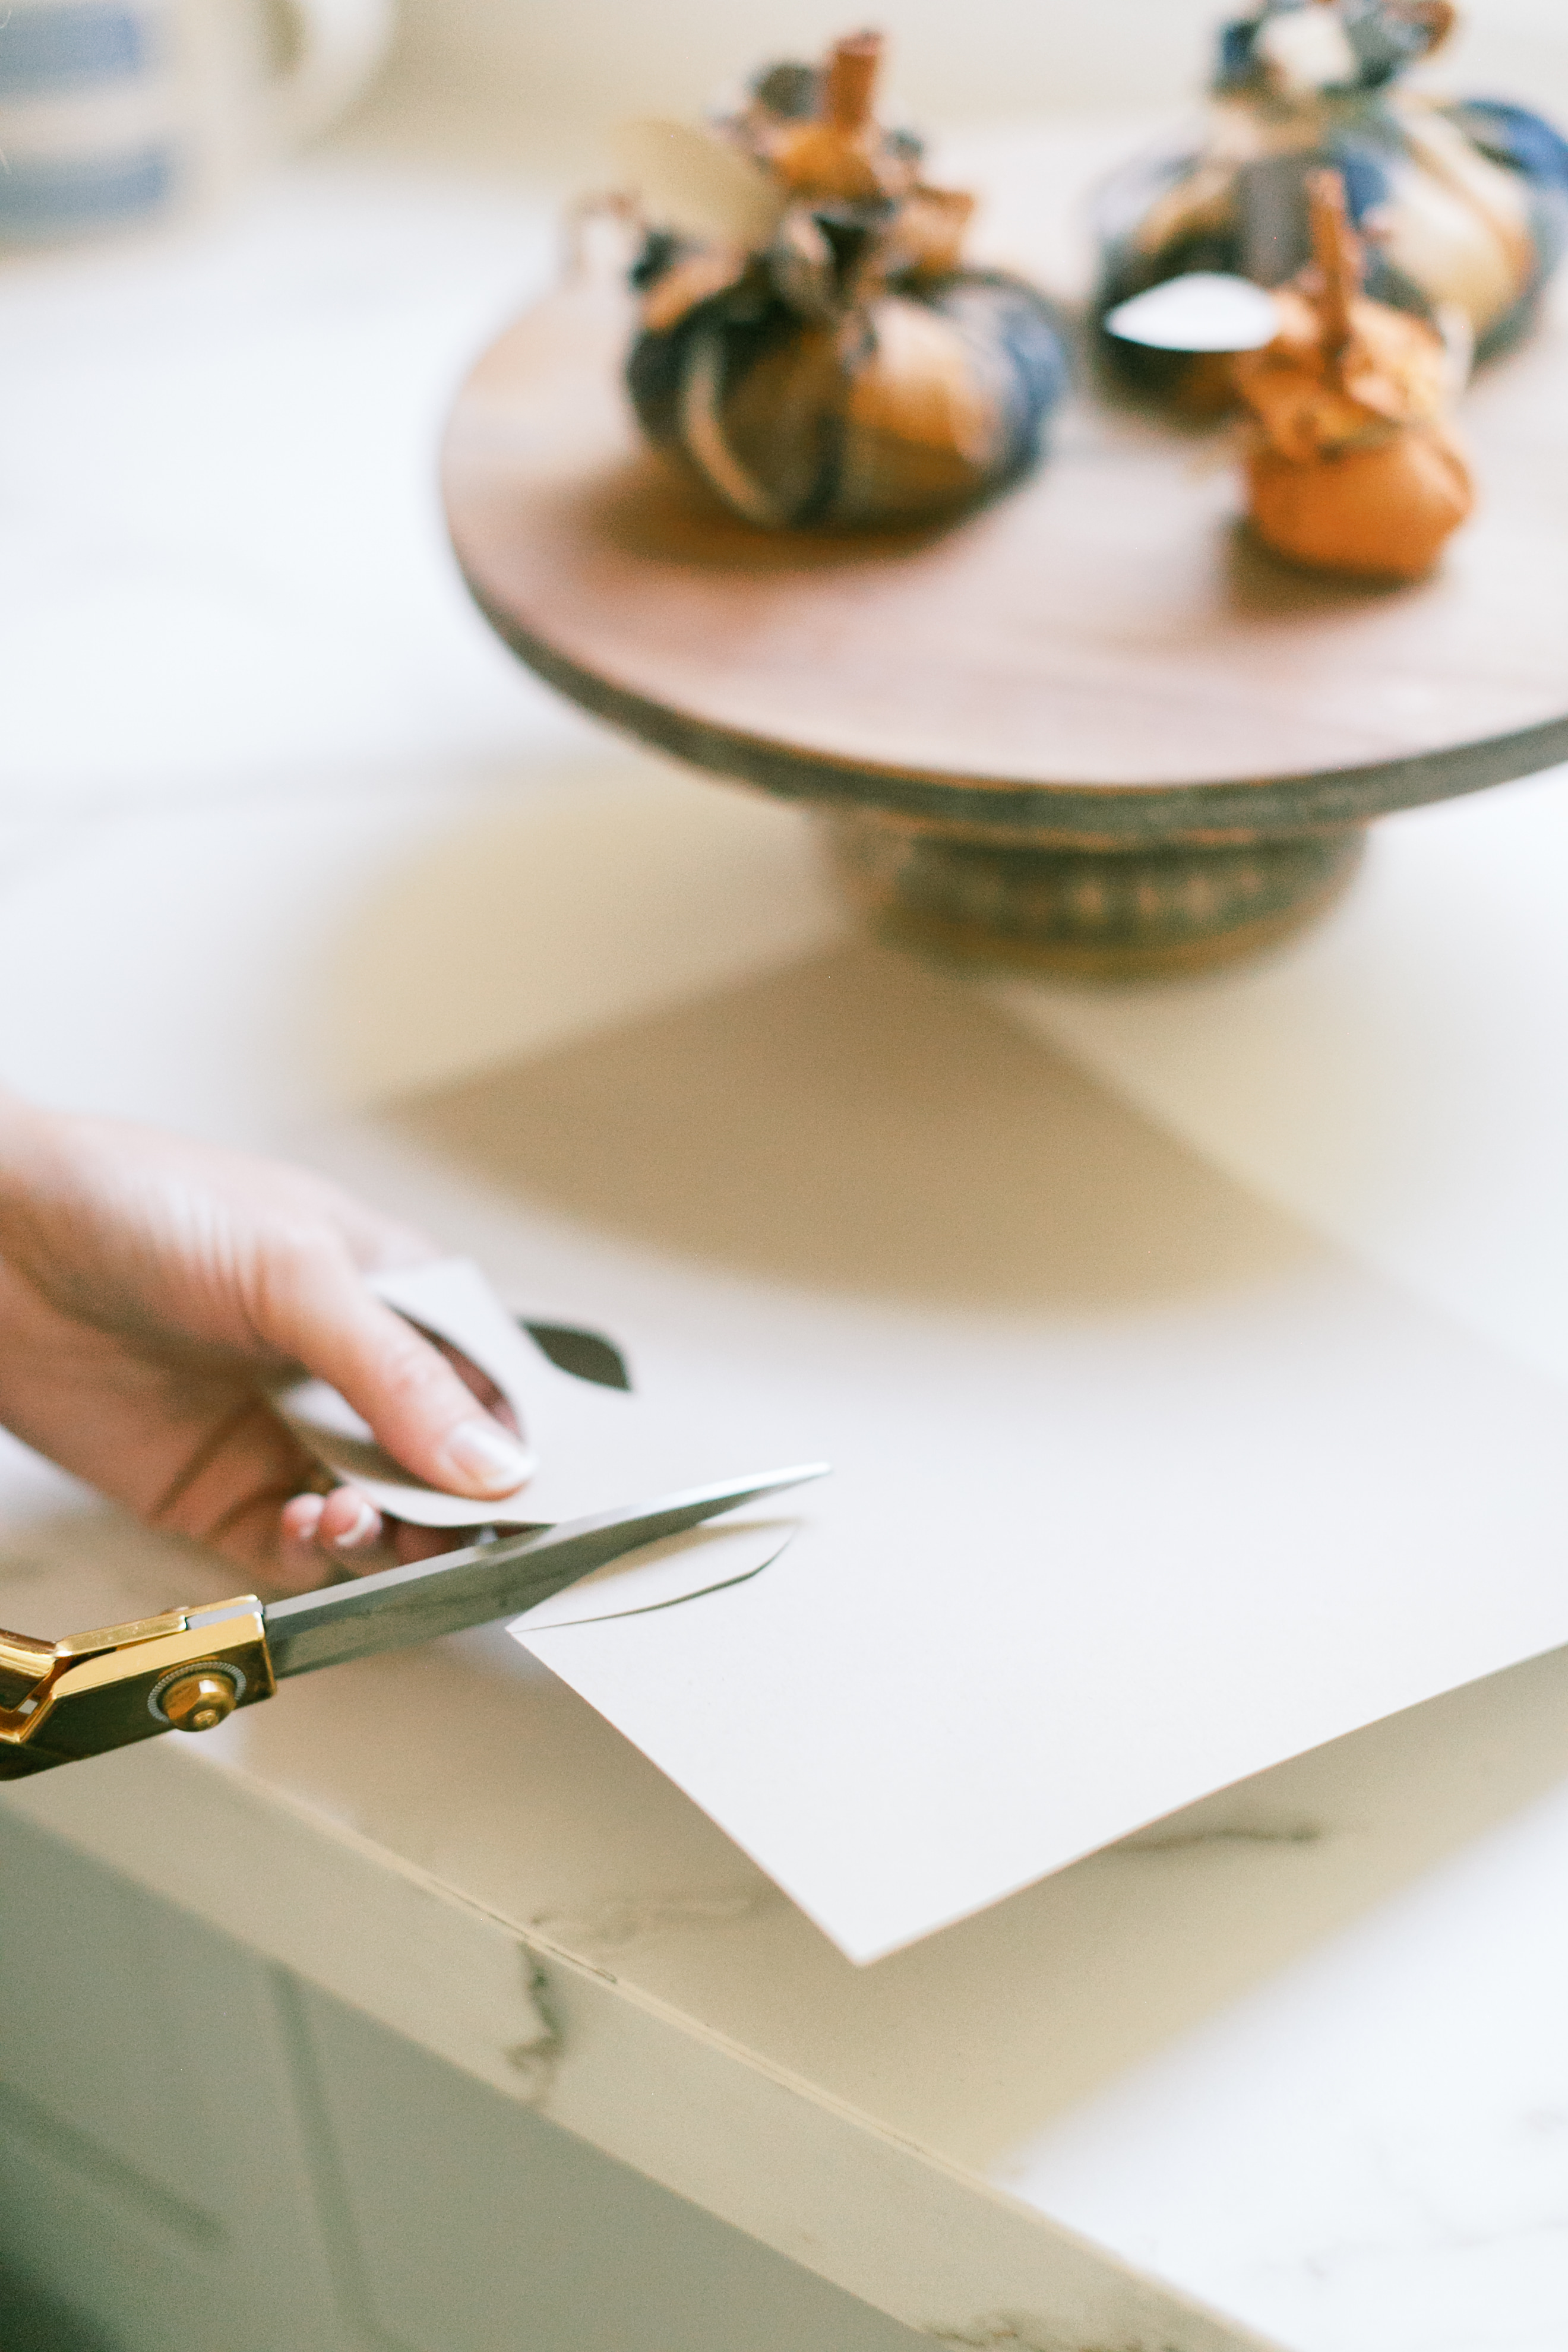
It’s looking so cute already but don’t forget the finishing touches. Grab your twine wrapped wire and twist into a curly vine. Cut using wire cutters because it’s a thick wire. Your scissors won’t work. I hot glued it into place against the cinnamon stick. Cut out a leaf shape out of the natural toned paper and pinch the end so it has a small crease. Hot glue in place.
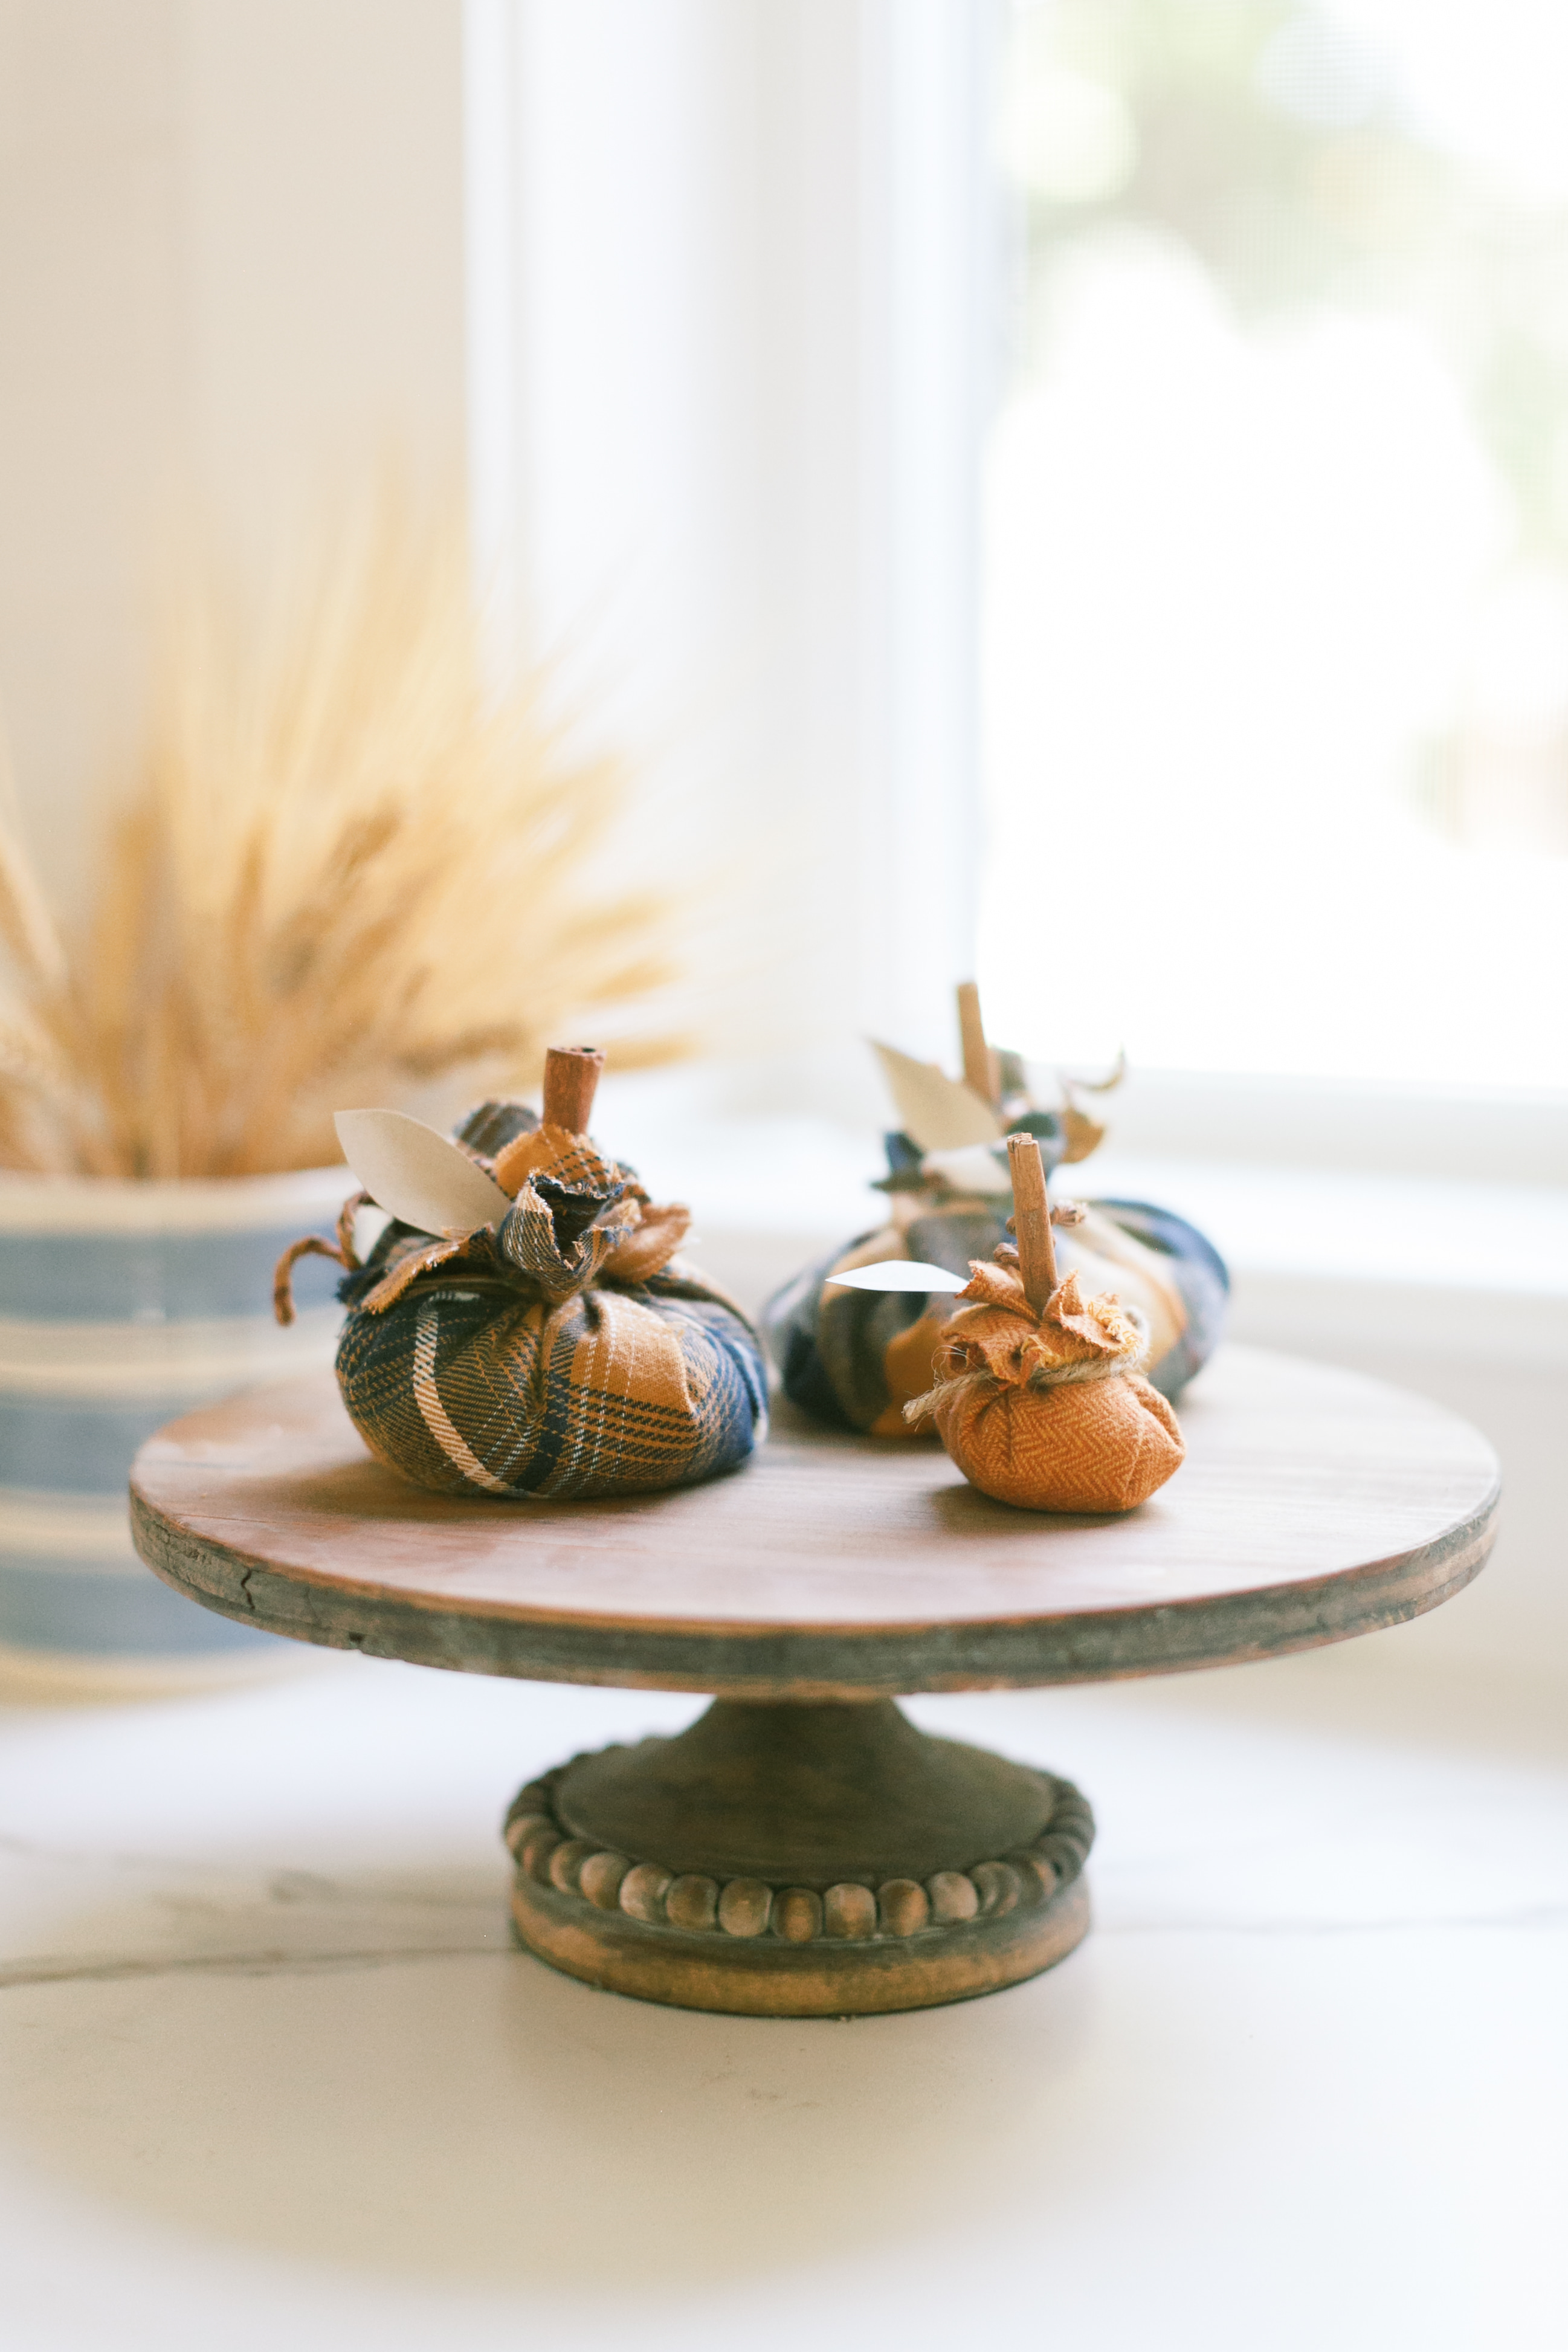
I hope you’ve enjoyed this adorable fall craft. Perfect for kiddos, events and some quiet time to yourself. These were captured beautifully by Ruth Eileen Photography. Now you get to enjoy my friend’s crafts below. So many fun ones I myself can’t wait to try.
More Fall DIY Project Ideas
Check out what my friends made for this fun fall DIY blog hop! Plaid, flannel and sweater DIY ideas.

Painted Pumpkin Ideas // My 100 Year Old Home
Scented Flannel Pumpkins // Finding Lovely
Sweater Pillow Pom Poms // Tatertots & Jello
No-Sew Sweater Flower Pots // The Tattered Pew
DIY Halloween Pillows // Taryn Whitaker Designs

DIY Halloween Decor // Happy Happy Nester
DIY Sweater Pumpkins // Modern Glam
No-Sew Flannel Throw Blanket // Ella Claire


 Back To Home Tour
[…] Scented Flannel Pumpkins // Finding Lovely […]
[…] Scented Flannel Pumpkins // Finding Lovely […]
[…] Scented Flannel Pumpkins // Finding Lovely […]
[…] Scented Flannel Pumpkins // Finding Lovely […]
[…] Scented Flannel Pumpkins // Finding Lovely […]
[…] Scented Flannel Pumpkins // Finding Lovely […]
[…] Scented Flannel Pumpkins // Finding Lovely […]