HOME TOUR

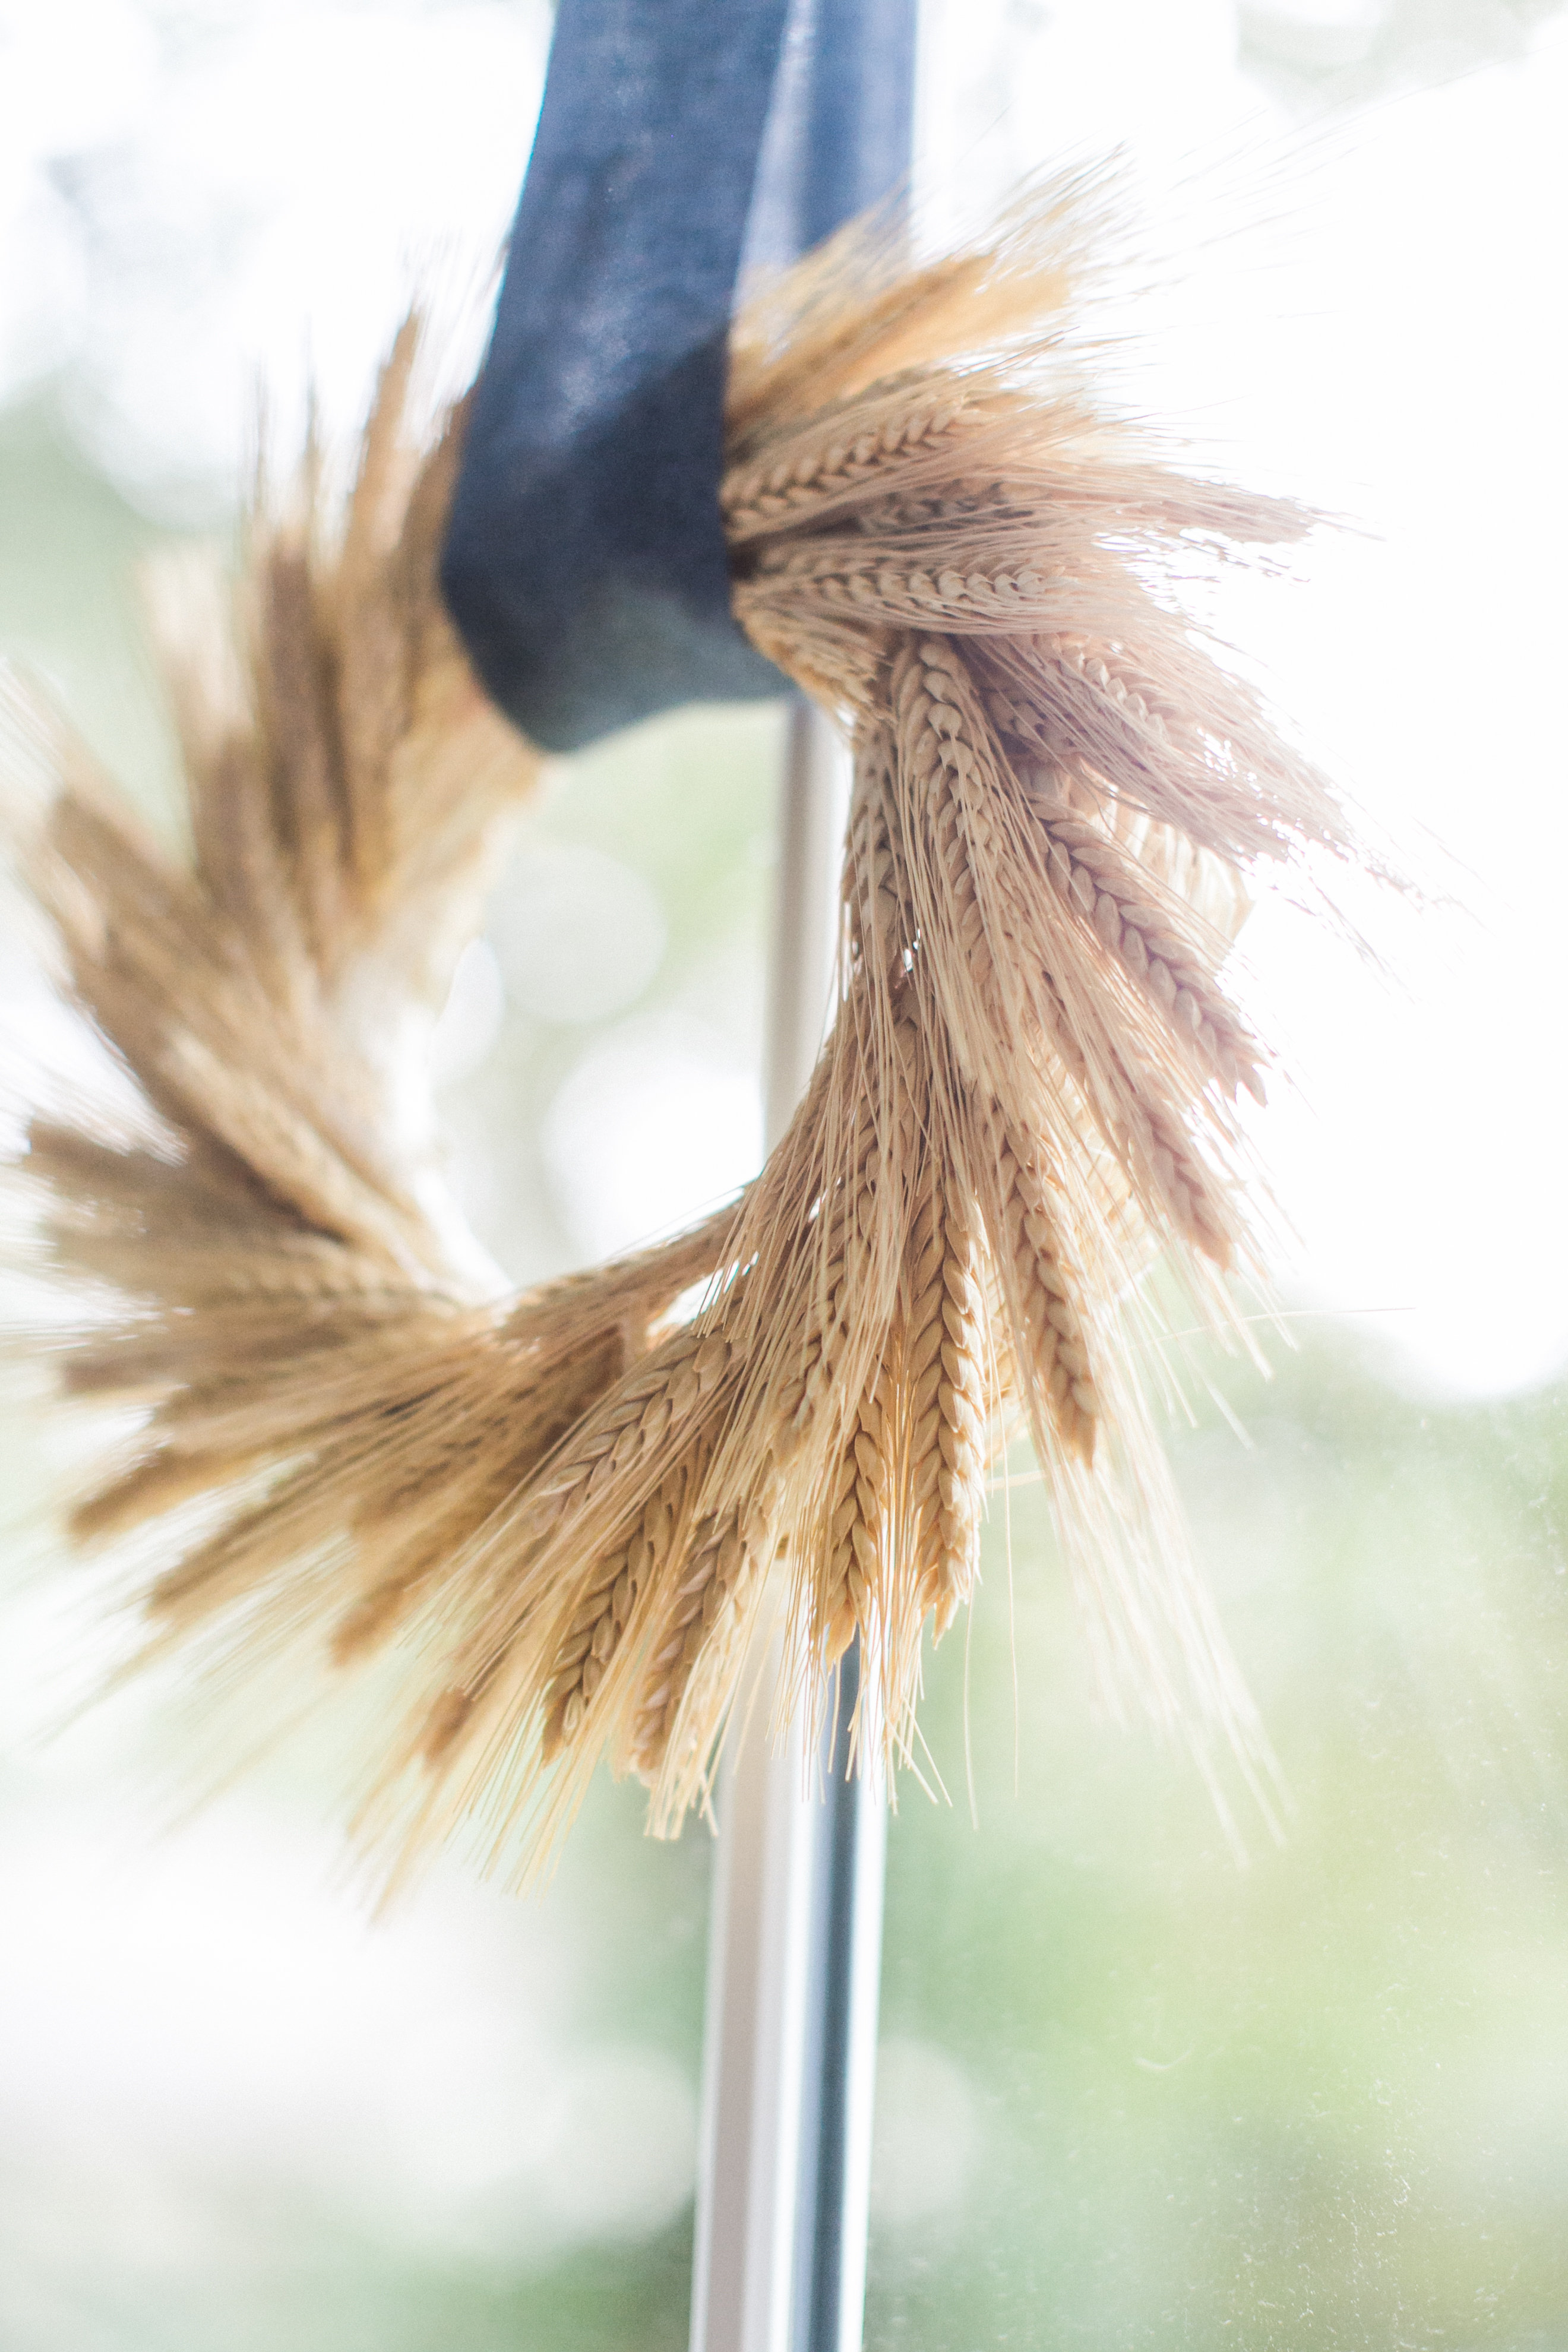
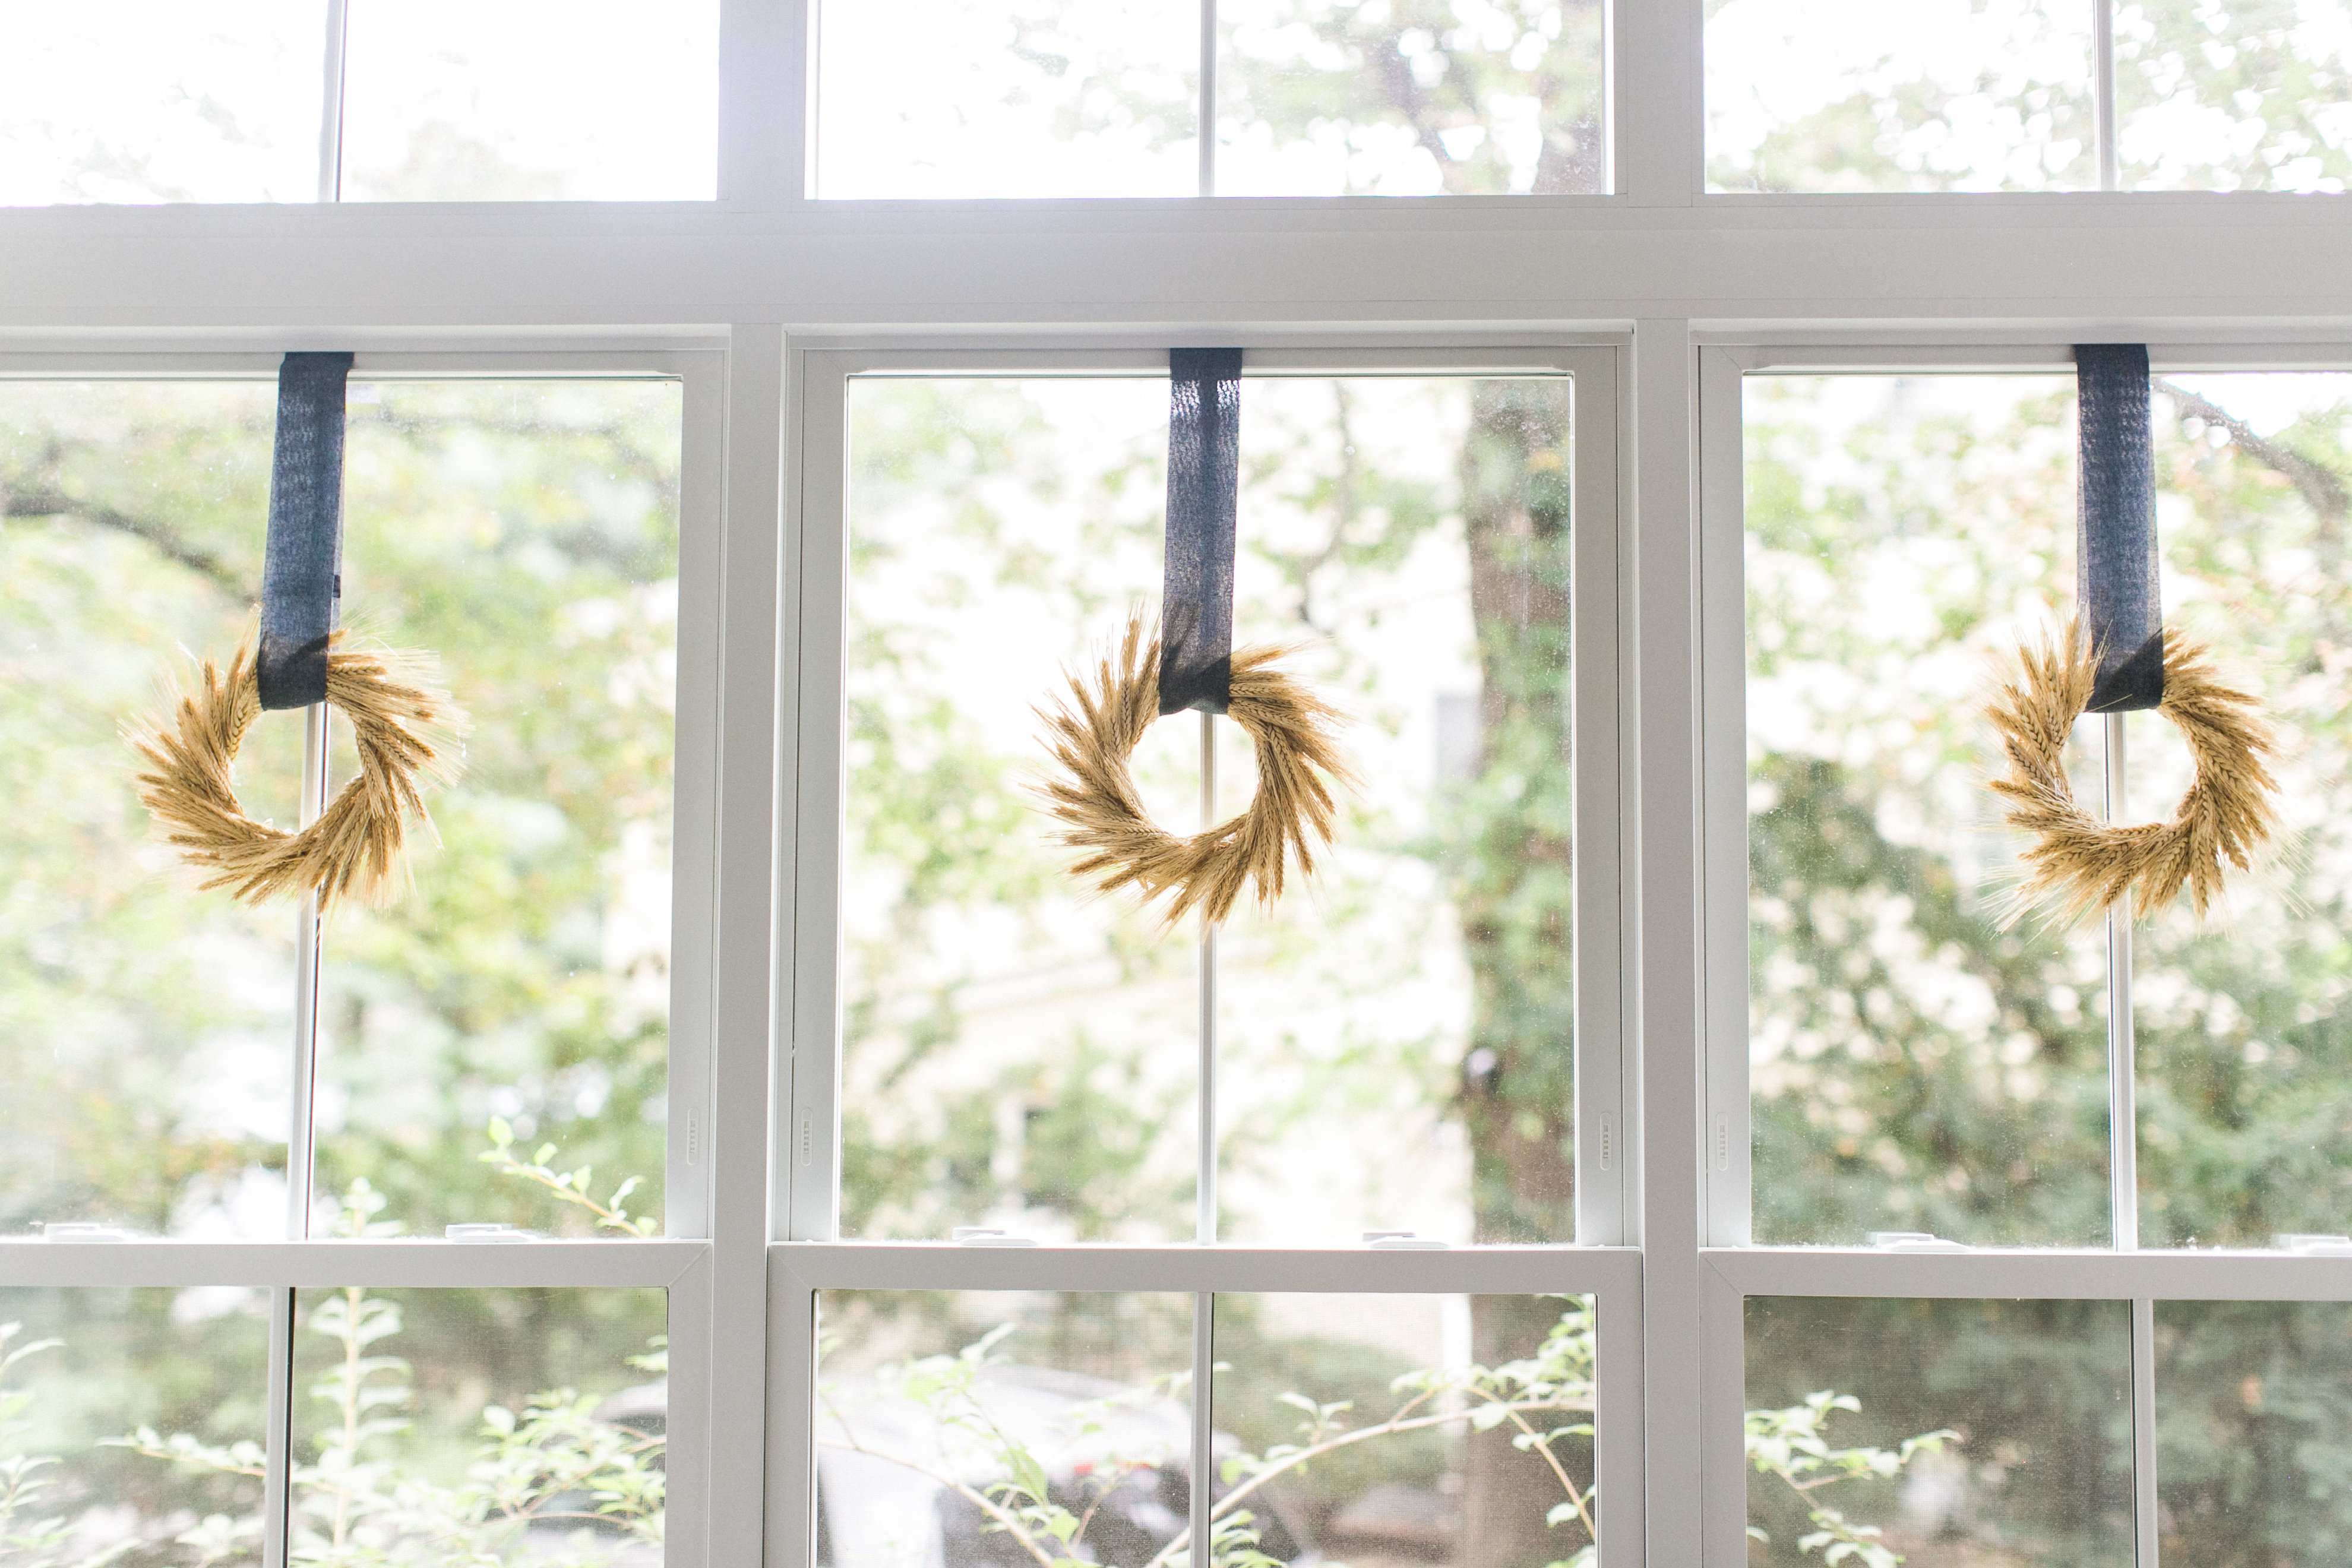
This sweet little wheat wreath takes just a little time and some hot glue and you’ve got yourself a show stopper. I got all the supplies I needed at Michaels craft store on Labor day taking full advantage of their sales. Time was really my only issue, I wanted to cross some fall crafts off my list while hubby was home from work however, knowing now how many wheat bundles I ended up needing for 3 wreaths, I would have bought them in bulk here or here.

Right now Michaels has their fall foliage in a separate area, at least in our store. So I was initially tricked into thinking they didn’t have any natural color wheat. I found some dyed yellow (really an obnoxious, fake shade) green, and red but was looking for that faint, natural wheat color. Lo and behold, with a little aisle searching, I found all the bundles I needed in the aisle with the sticks, twine and burlap.
I used an 8″ straw wreath frame. Not only does it match the wheat perfectly, you don’t have to wrap a foam wreath in twine or burlap to make the color work, but it was only $2.99. Super affordable.
There were about 20 wheat stalks per bundle at Michaels. I ended up needing a little over 2 bundles per wreath. So for 3 eight inch wreath frames, I bought 7 bundles. Let me rephrase that…I bought 4 initially and realized my error when I ran out. Thank goodness for sweet husbands that will do a wheat run to Michaels for you. Haha!
My only word of advice is do this project outside or cover your table with newspaper or cut paper bags. The trimming of the wheat gets messy and flies everywhere including unsuspecting mugs of tea.

Supplies
- 2 bundles of wheat (~45 wheat stalks), stem cut fully off
- Hot glue gun, extra glue sticks
- scissors
- ribbon for hanging wreath
- 8″ straw wreath frame
STEP ONE
Cut wheat heads from the stalk, right at the base of the head. Give the wheat tops a trim unless you want them to have the long fibers surrounding the head of wheat. I cut mine way down. I also found that some of the heads of wheat were thicker than others making it hard to layer on the wreath. I found by gently squeezing them, not so hard the kernels break off but just enough, made them more pliable and flatter. Flat wheat is your friend.
STEP TWO
Using a hot glue gun, put a dime size amount of hot glue and position wheat head at a 45 degree angle starting at the edge and working inward. It took me about 3 wheat heads across to get the look I wanted.
STEP THREE
Continue this 45 degree angle placement all the way around, layering and staggering but not too tight or you’ll run out of wheat. I found it worked best to rotate the wreath after a couple rows so I stayed on my 45 degree angle path.
STEP FOUR
Leave a more open patch, ~ 2″ wide once you get the wheat in place so you can hang the ribbon. See the open spot under my hands in the picture below.


Beautiful pictures captured by Ruth Eileen Photography
One response to “Easy Wheat Wreaths”
Leave a Reply


 Back To Home Tour
Refreshing to see a new take on fall wreaths. Love the ribbon you used too.