HOME TOUR
We’ve got fall on the mind as we prepare for the days ahead. And between bracing for preschool and clinging wildly on to every last ray of sunshine, I’ve been sneaking in some happy craft time. I think kiddos enjoy the changing of the seasons almost as much as bloggers. An idea for an acorn garland literally fell out of the sky as I sat there at the train station absentmindedly watching my boys a few weeks back. An acorn fell out of a tree and landed in my lap and my first inclination, as I glared up at the tree, was to climb that sucker and glue it back on, thinking “oh crap! It’s August! Why’s this thing falling out of the trees?” And then my second thought was, “hmmm, I could use this in fall decorating.” I know I know. I admit to being easily amused.
So where else do you turn for inspiration these days but the internet. I googled acorn garlands and found these cute ones on Etsy with felt balls and acorn tops. Now I almost…almost hit purchase and had that thing fly magically into my mailbox. But we’ve tightened the budget belt strap as we prepare for our remodel so I was left with inspiration and a to-do list.
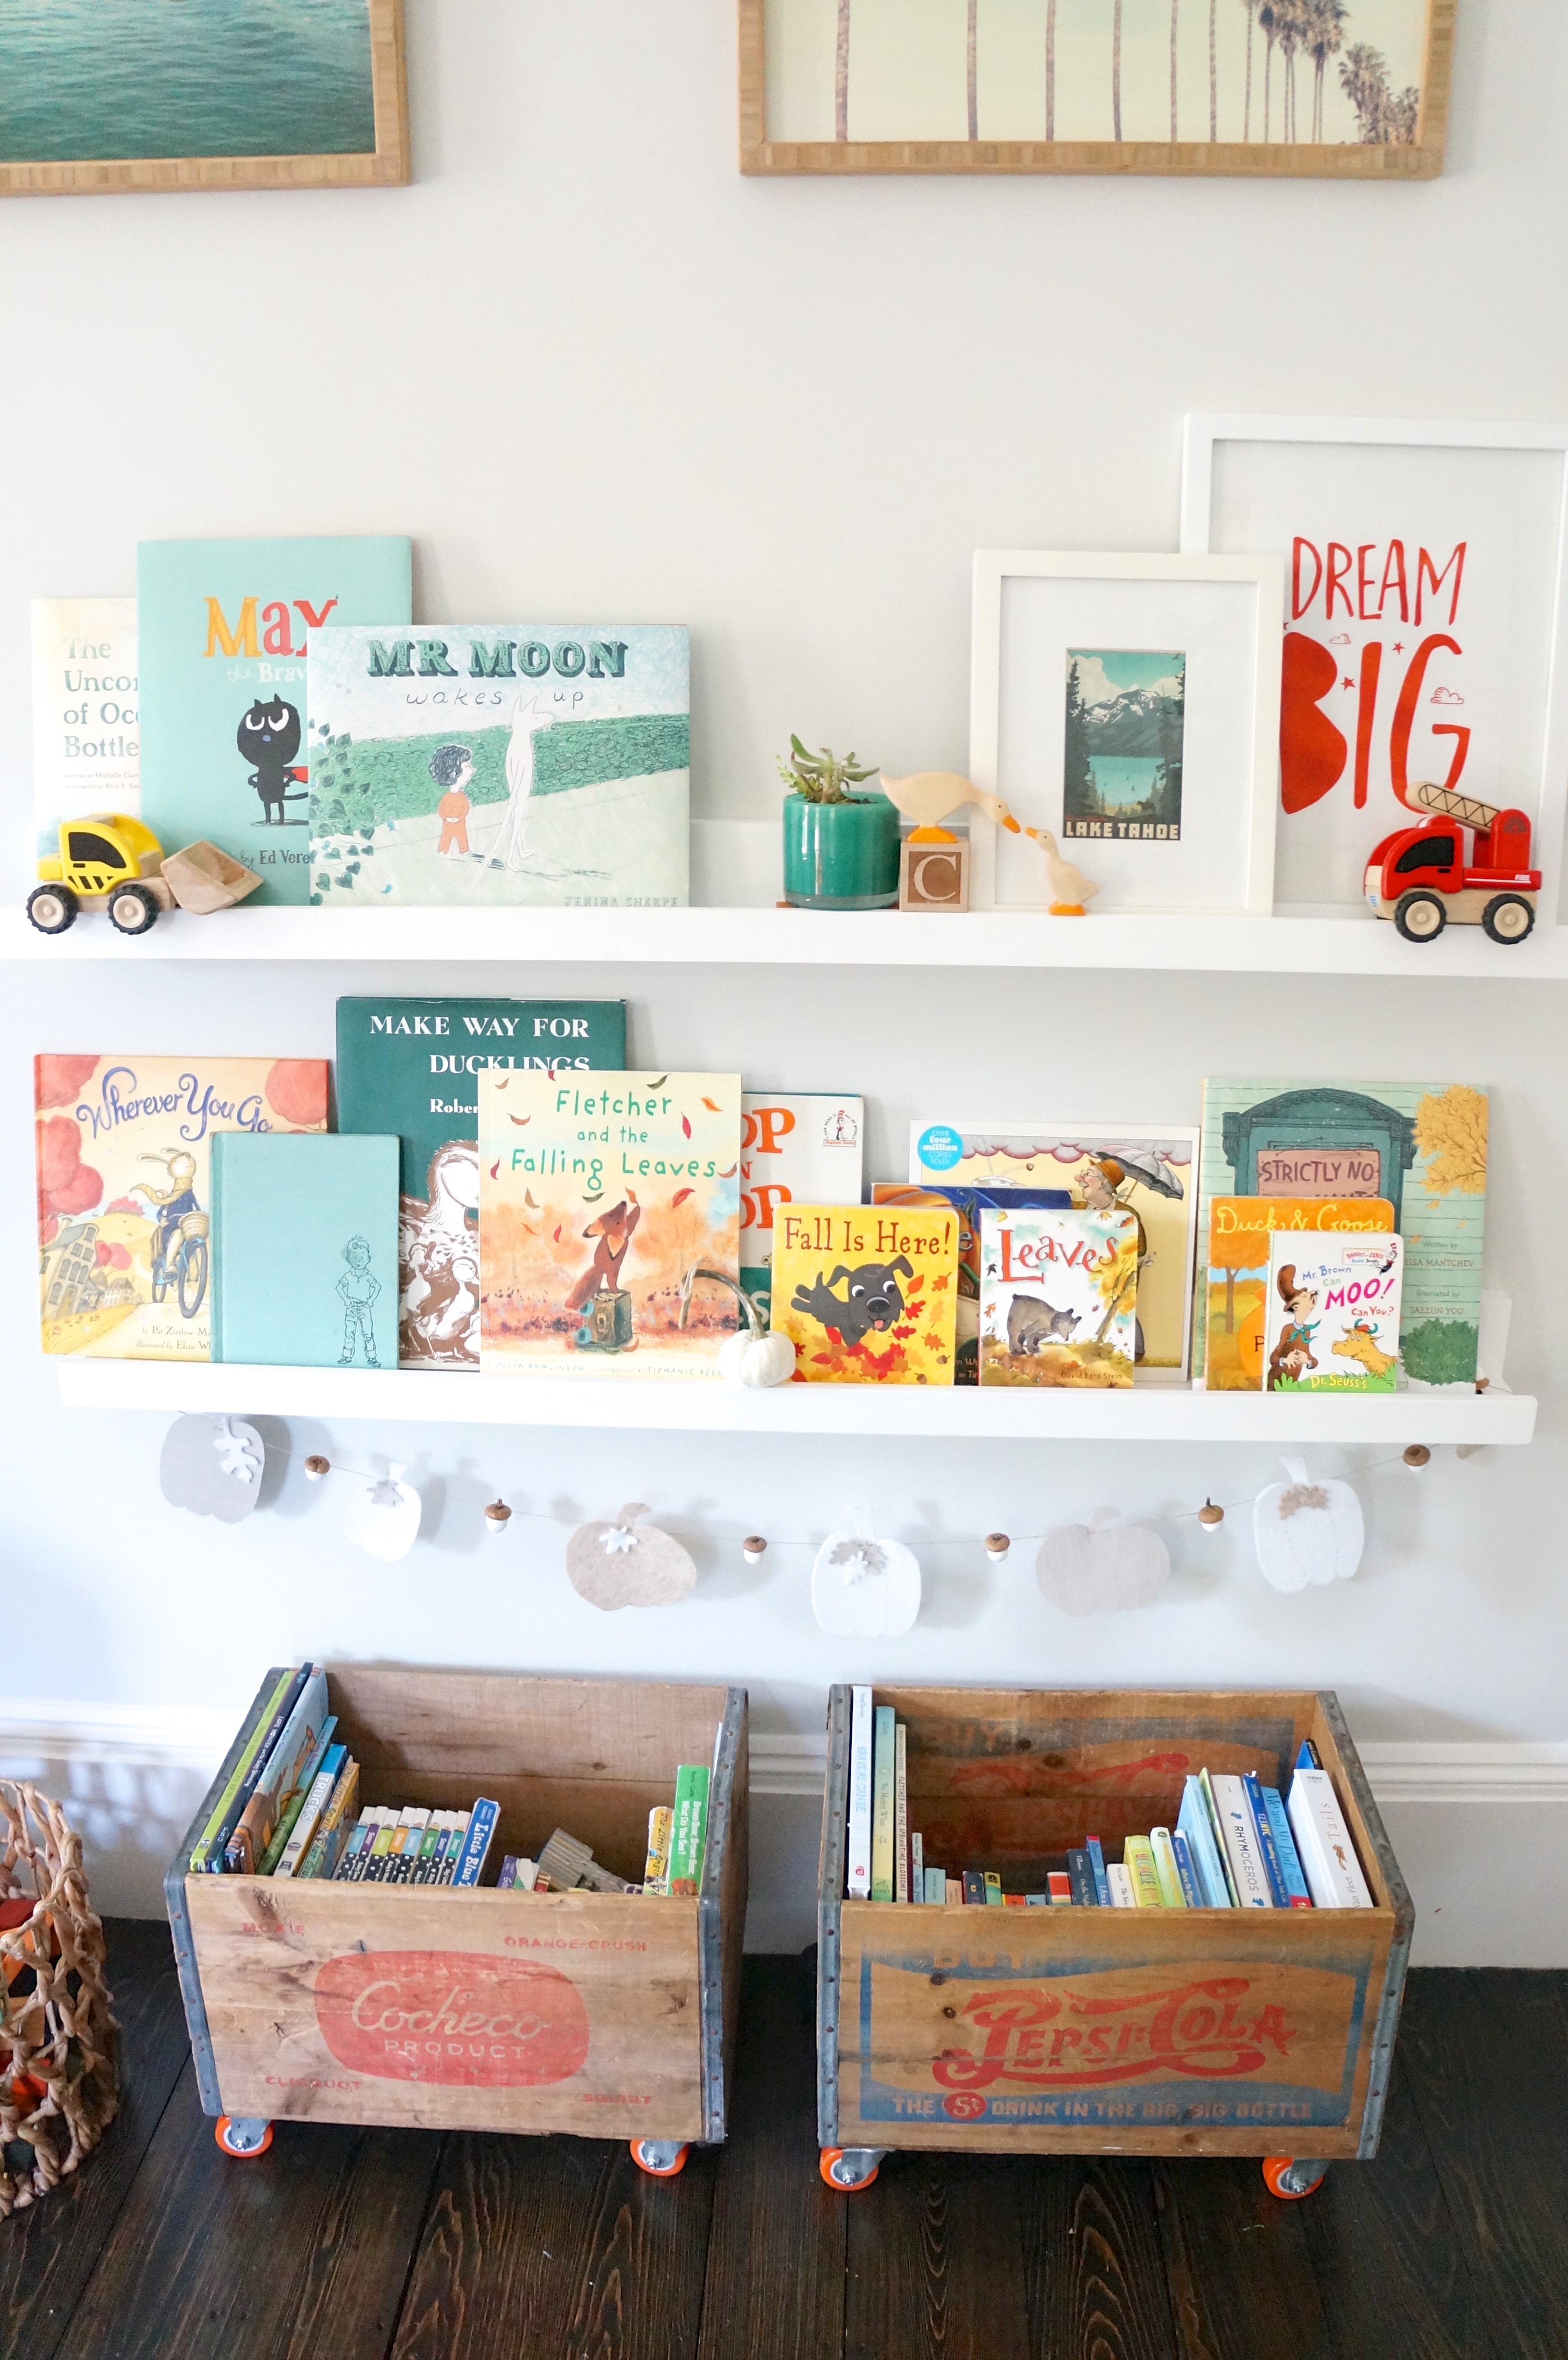
Step 1: Find acorns, or better worded, make small children think collecting acorns is the coolest thing since diesel trains and sit back, rosé in hand. Step 2: find thin twine and dig out craft supplies. Step 3: convince husband drilling small holes in acorn hats is a good idea. Step 4: magically get toddlers to sleep longer so you can actually pull it all off. So…several days of attempts later. It turned out so lovely. What do you think? Where would you put one of these?
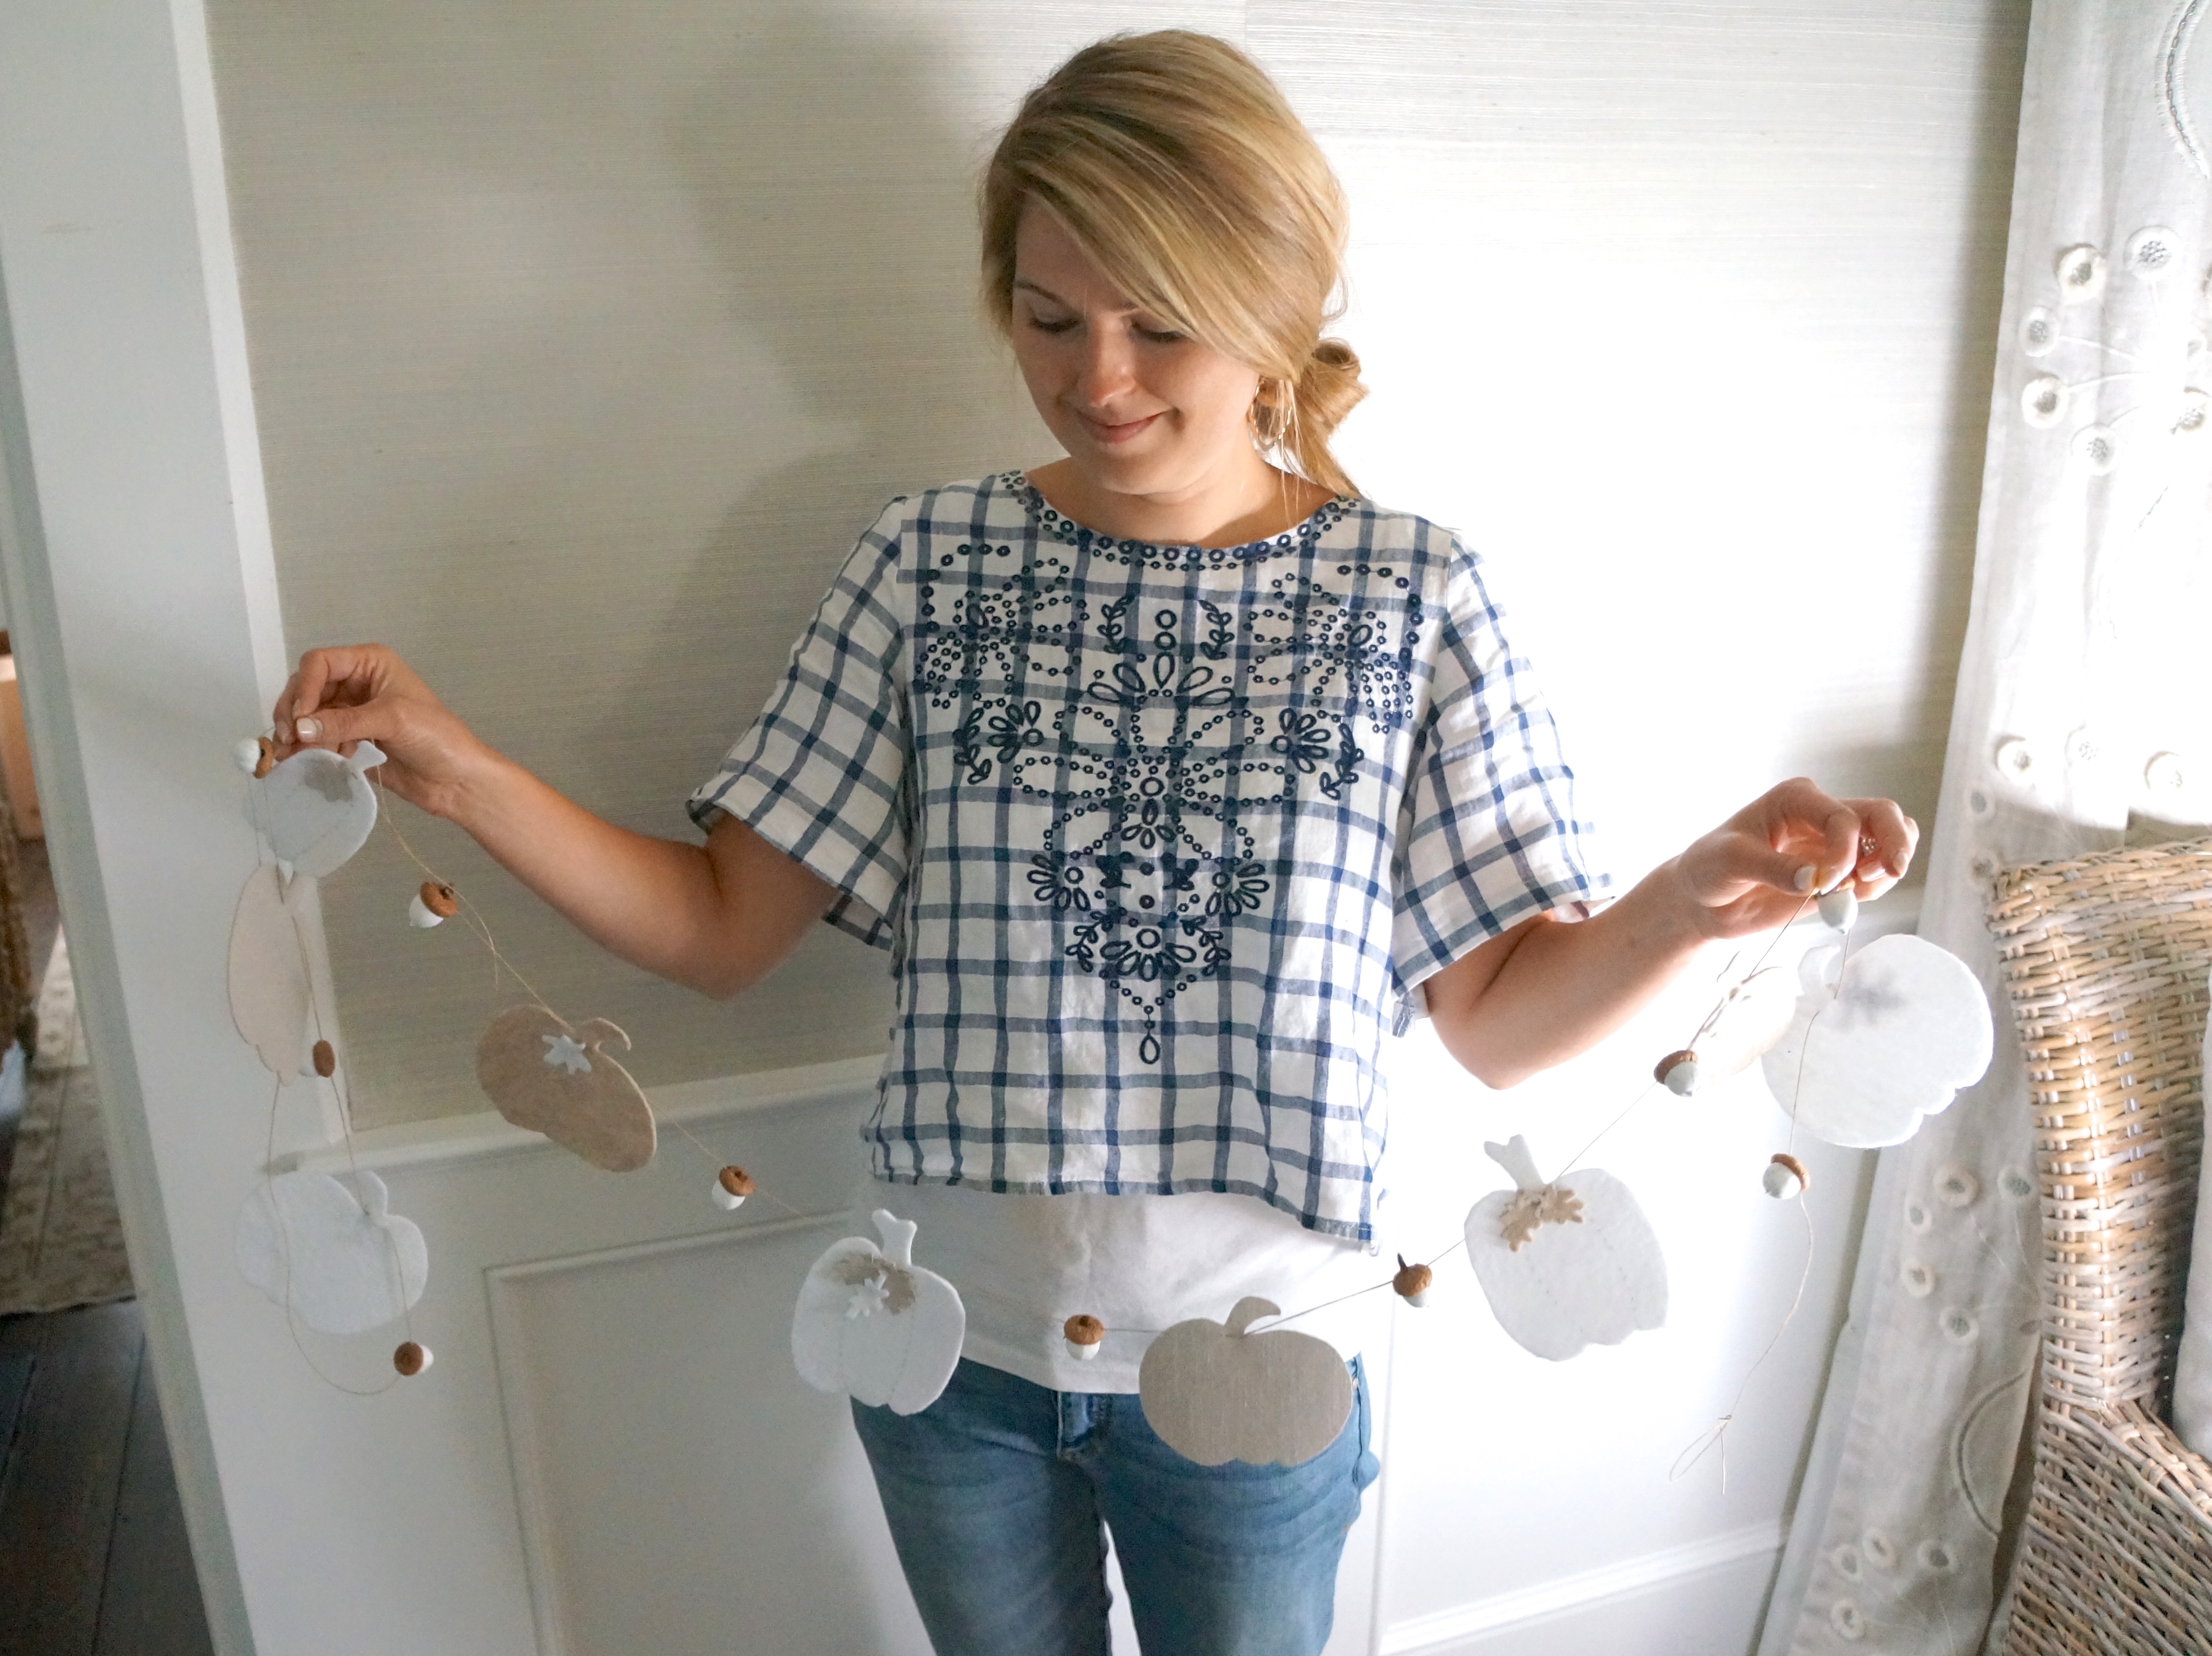
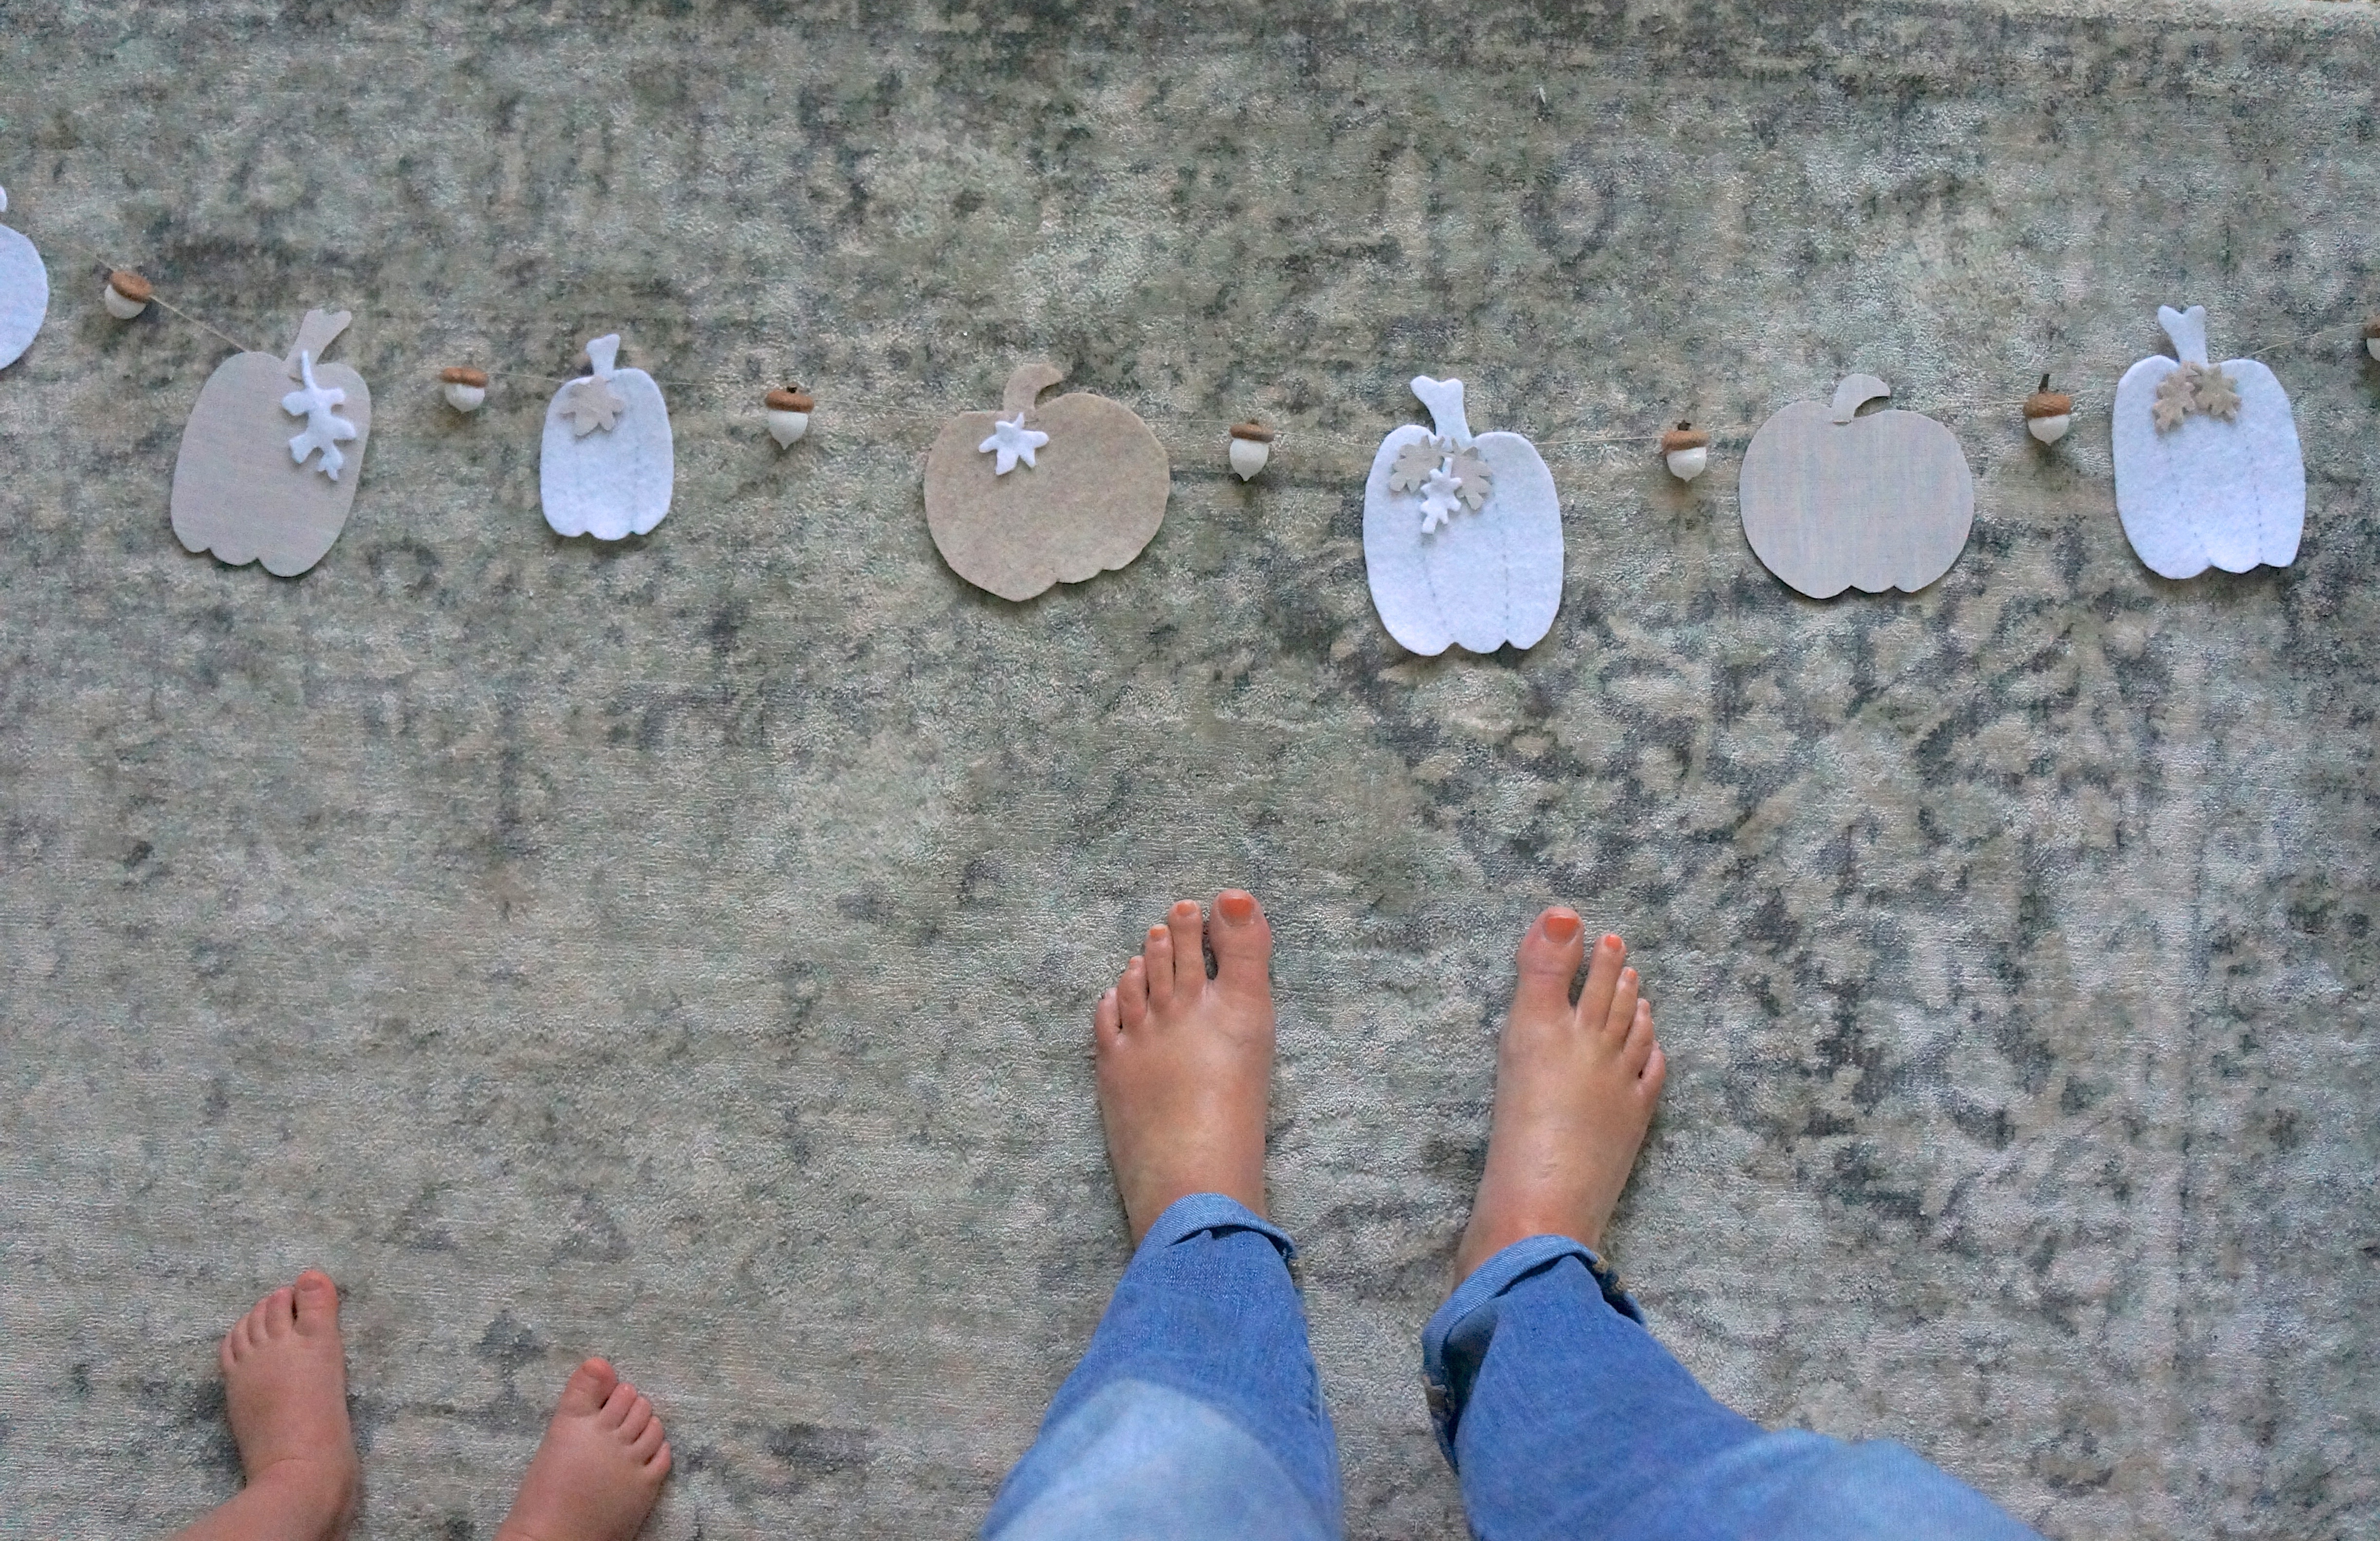
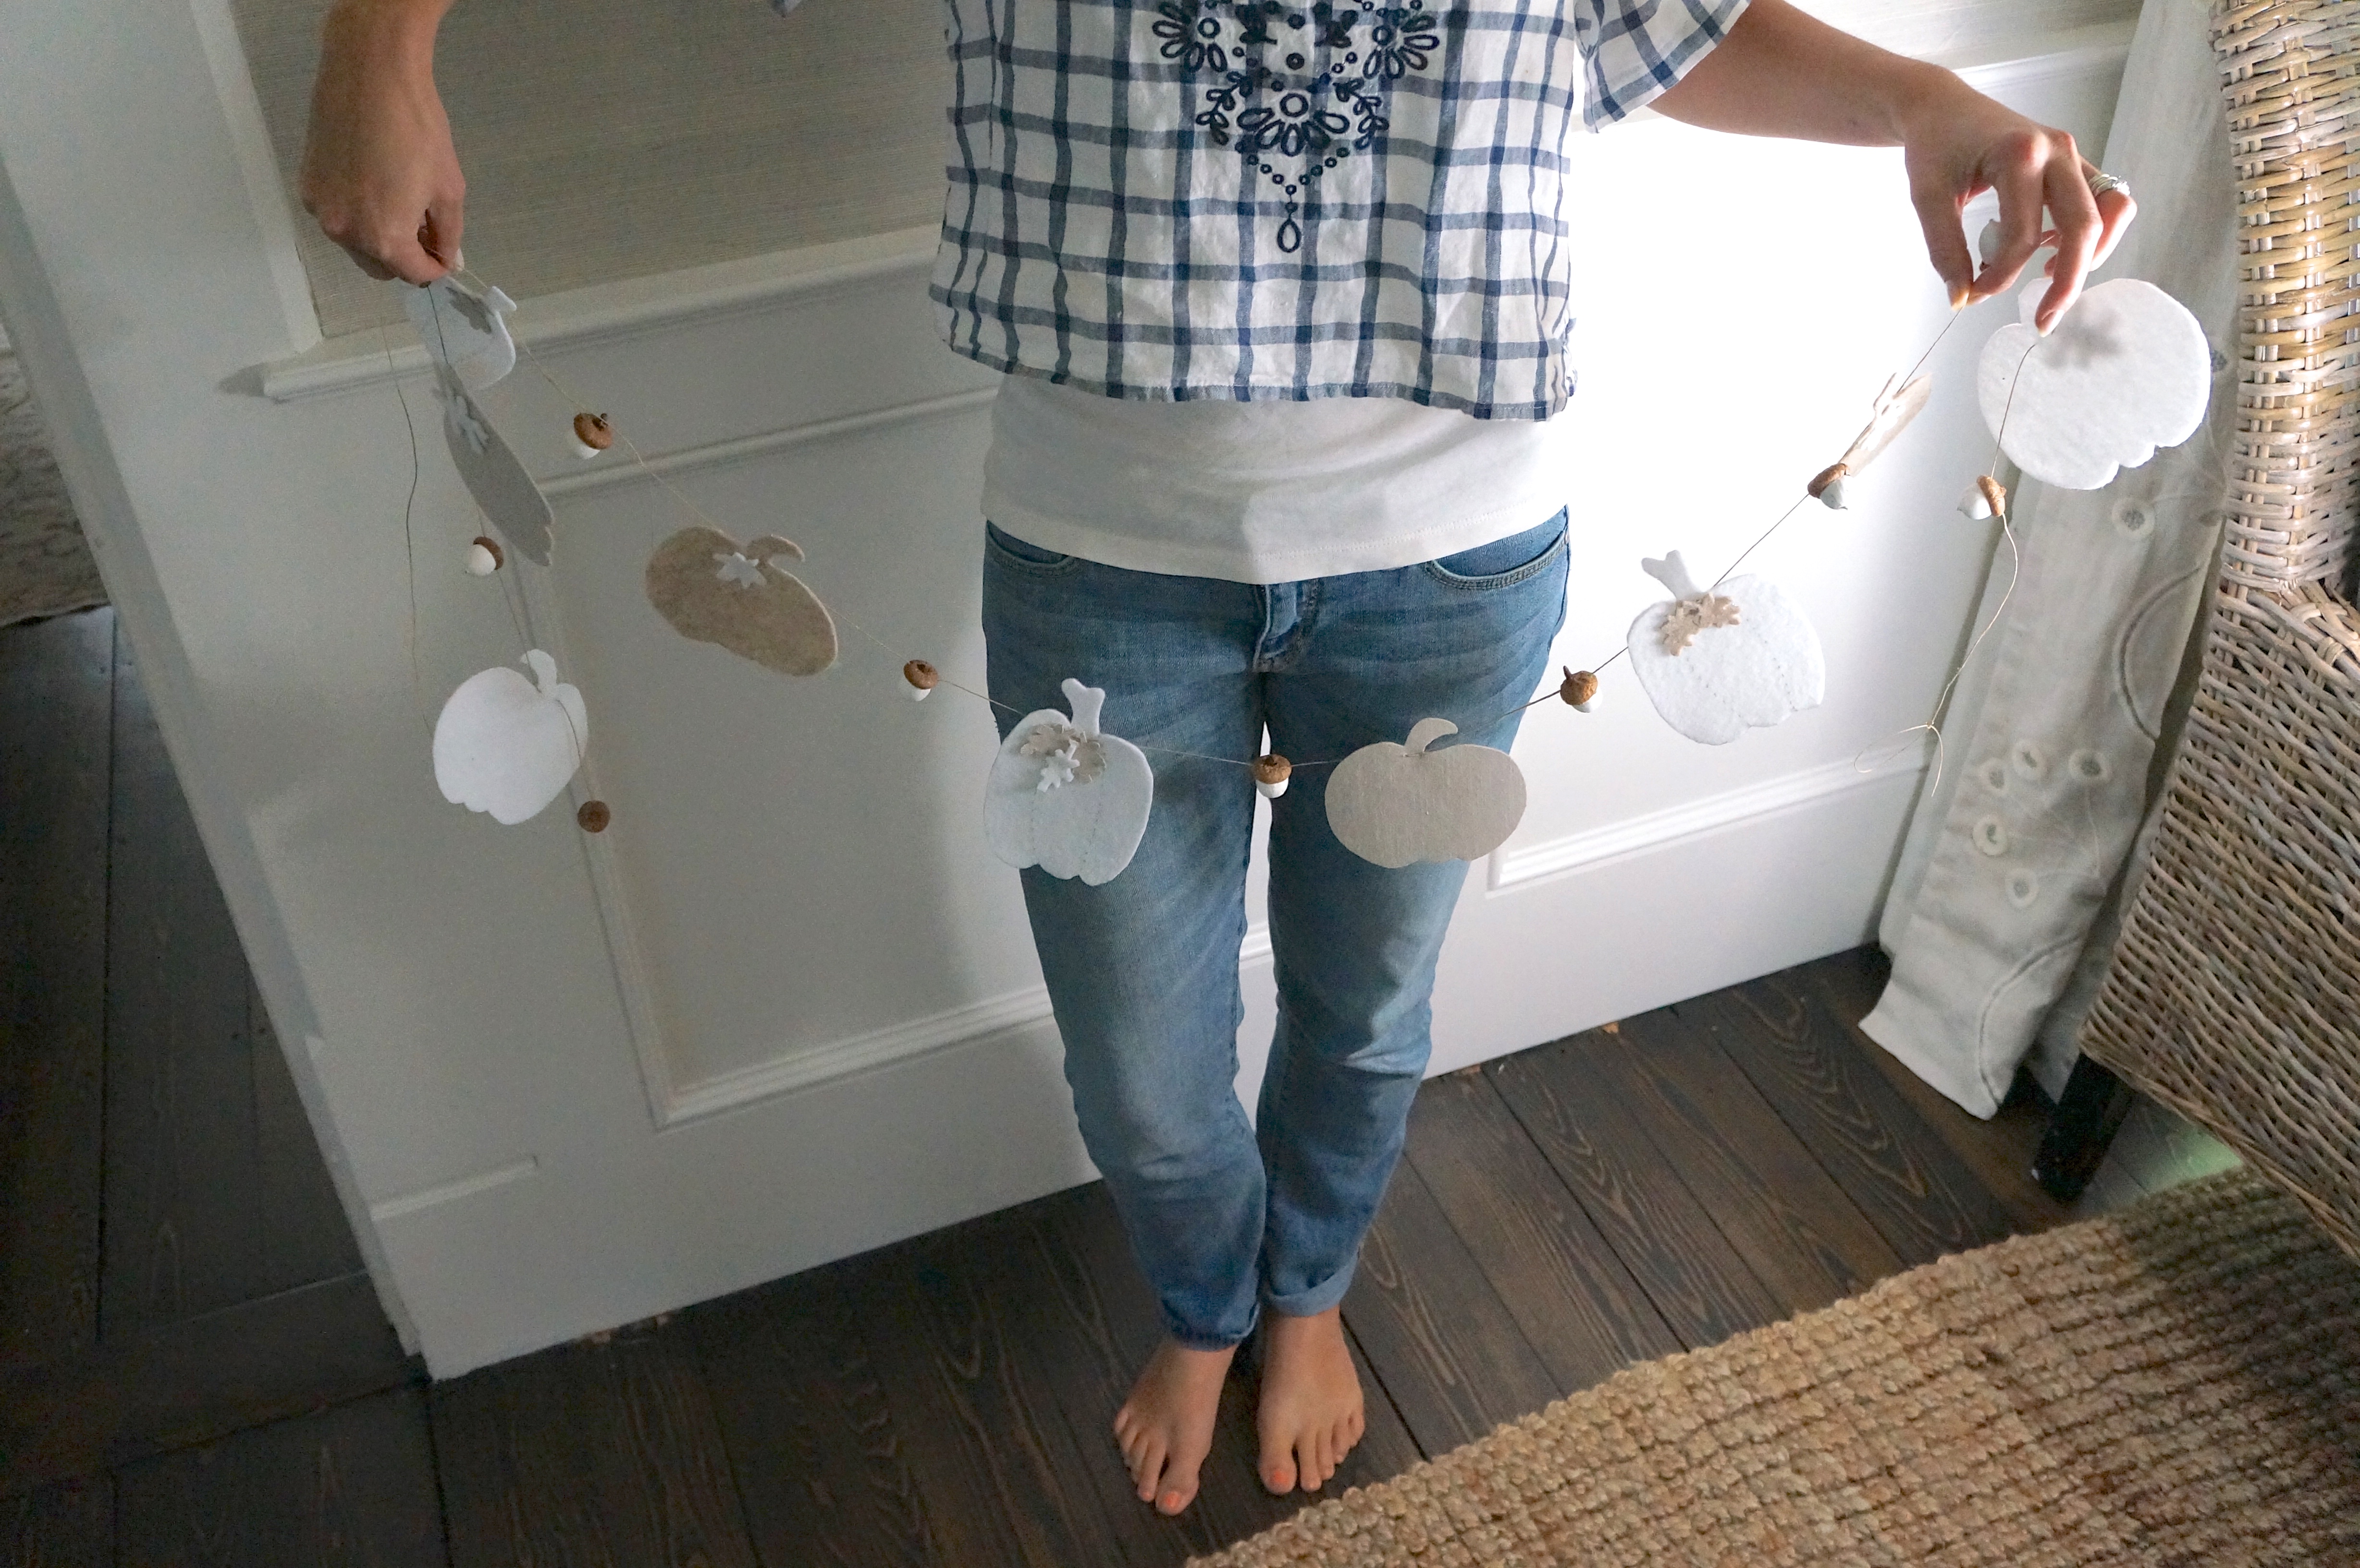
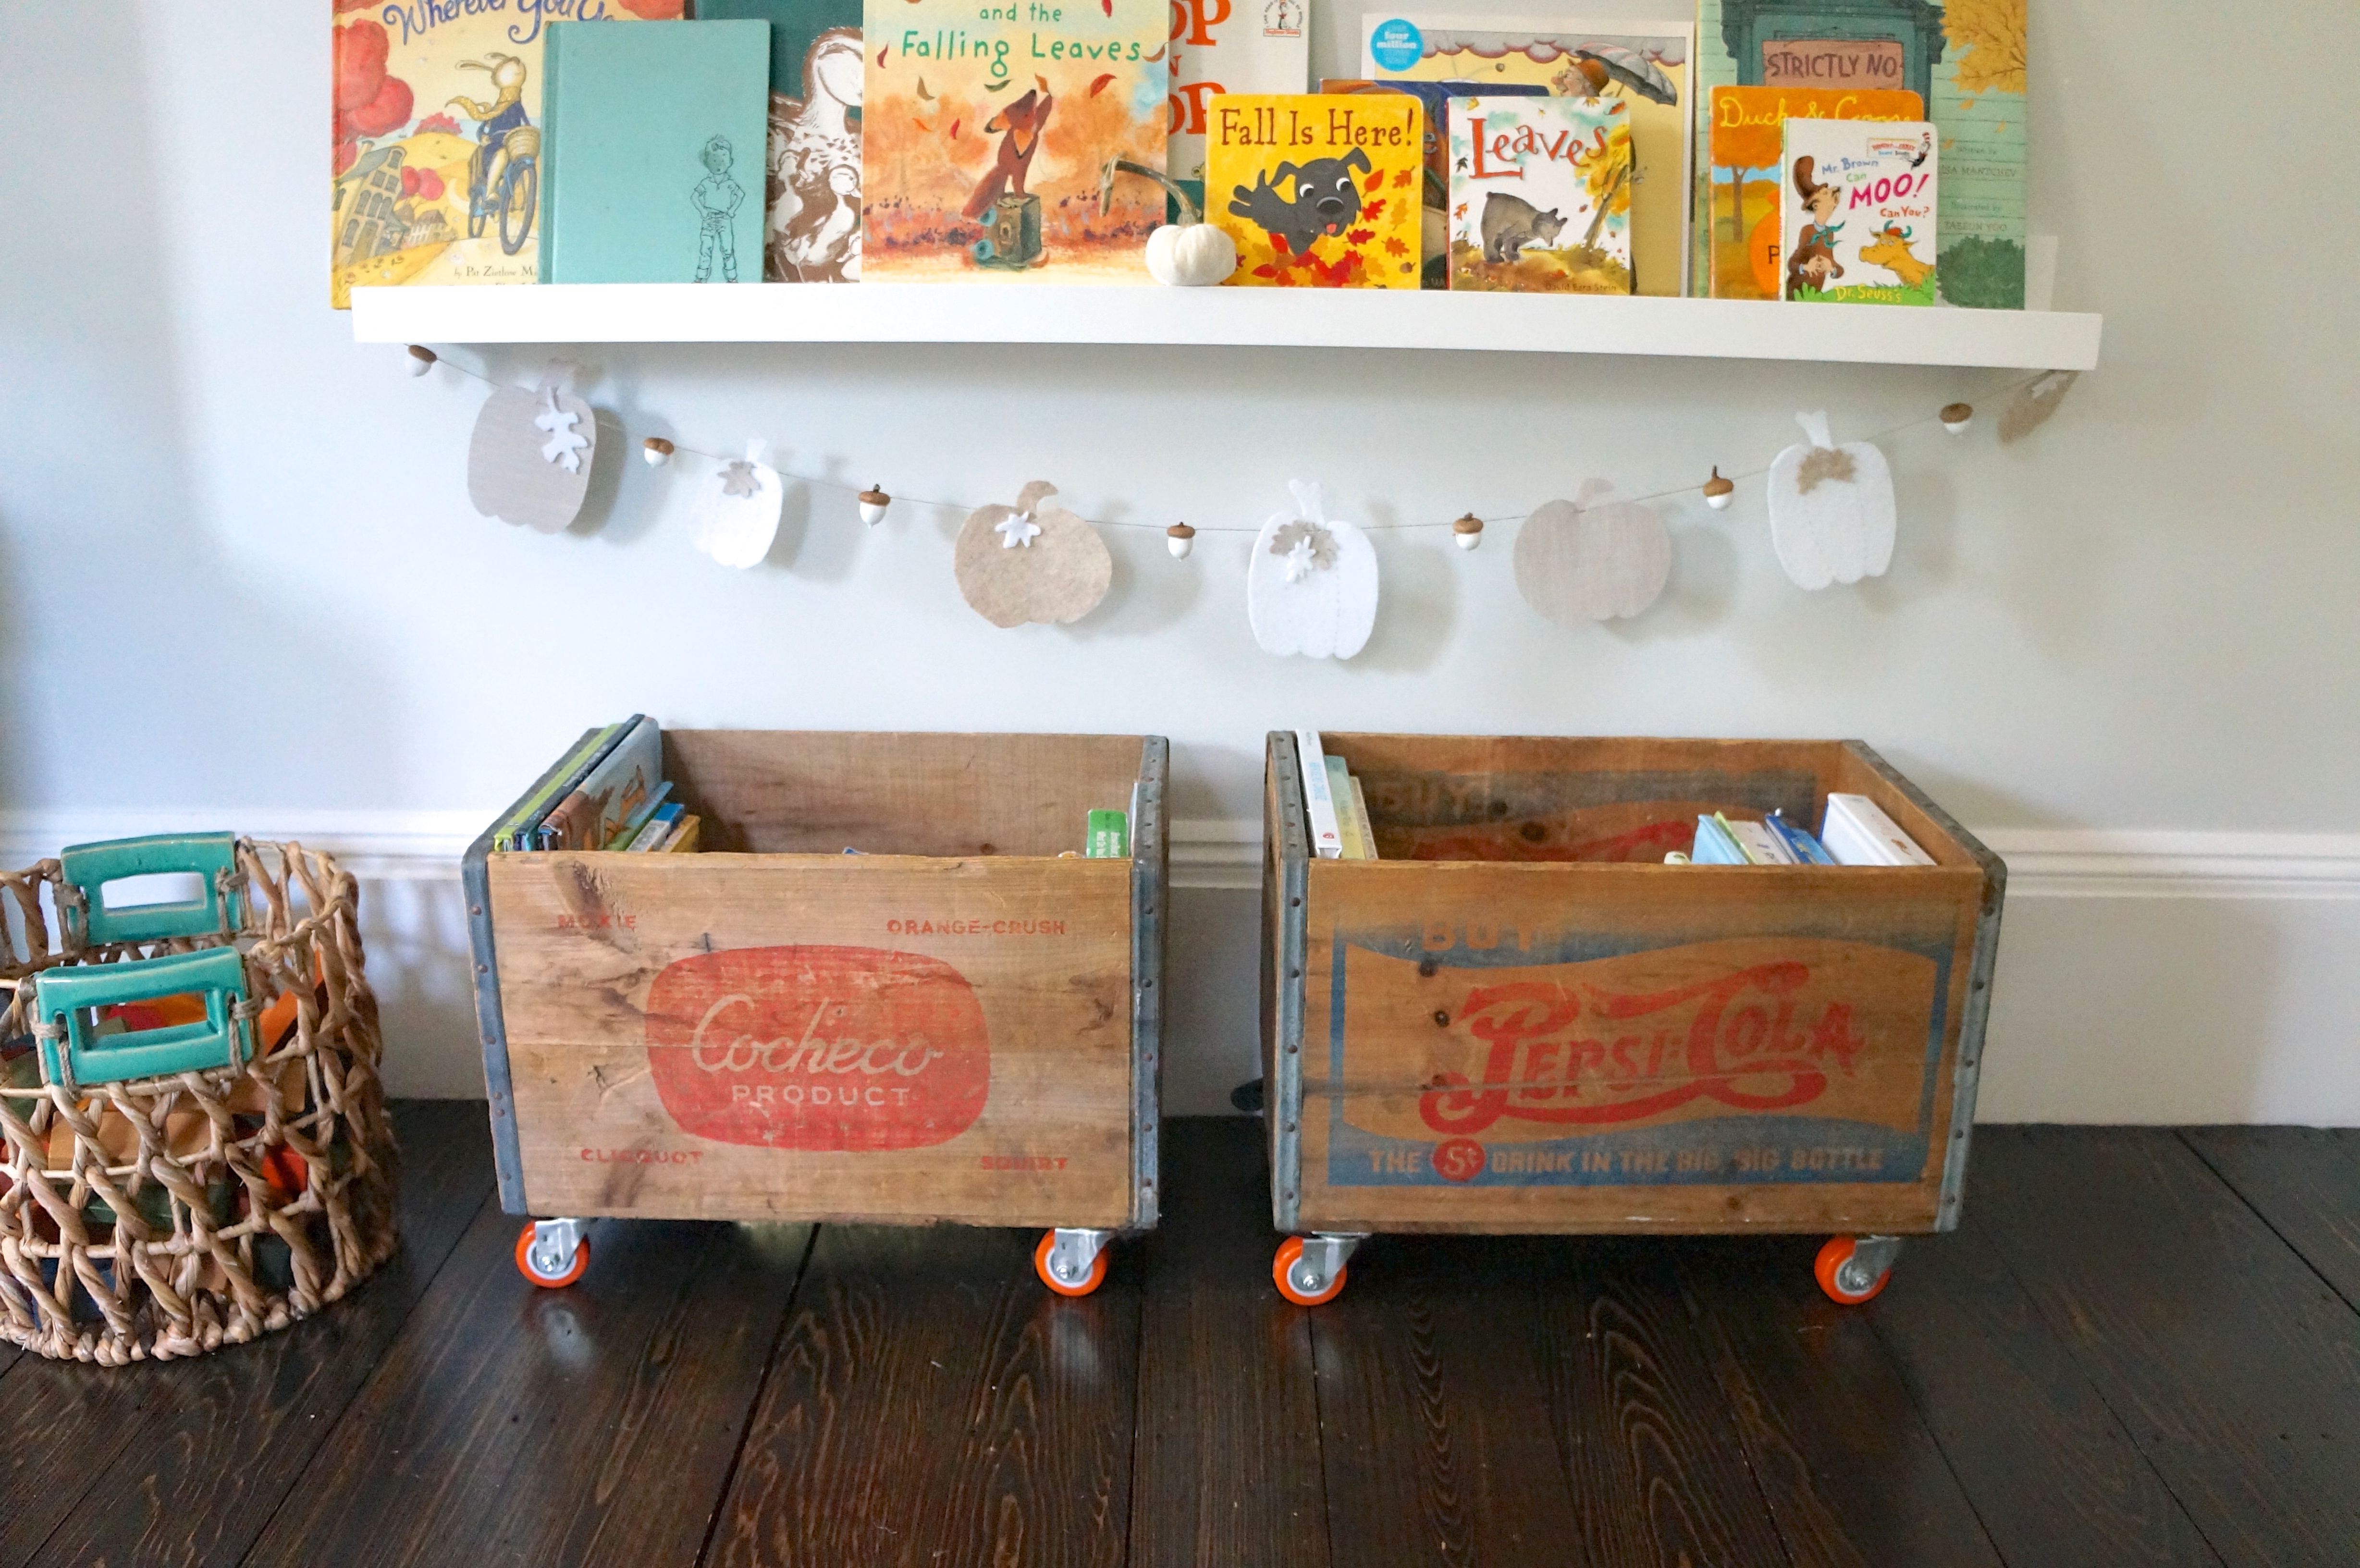
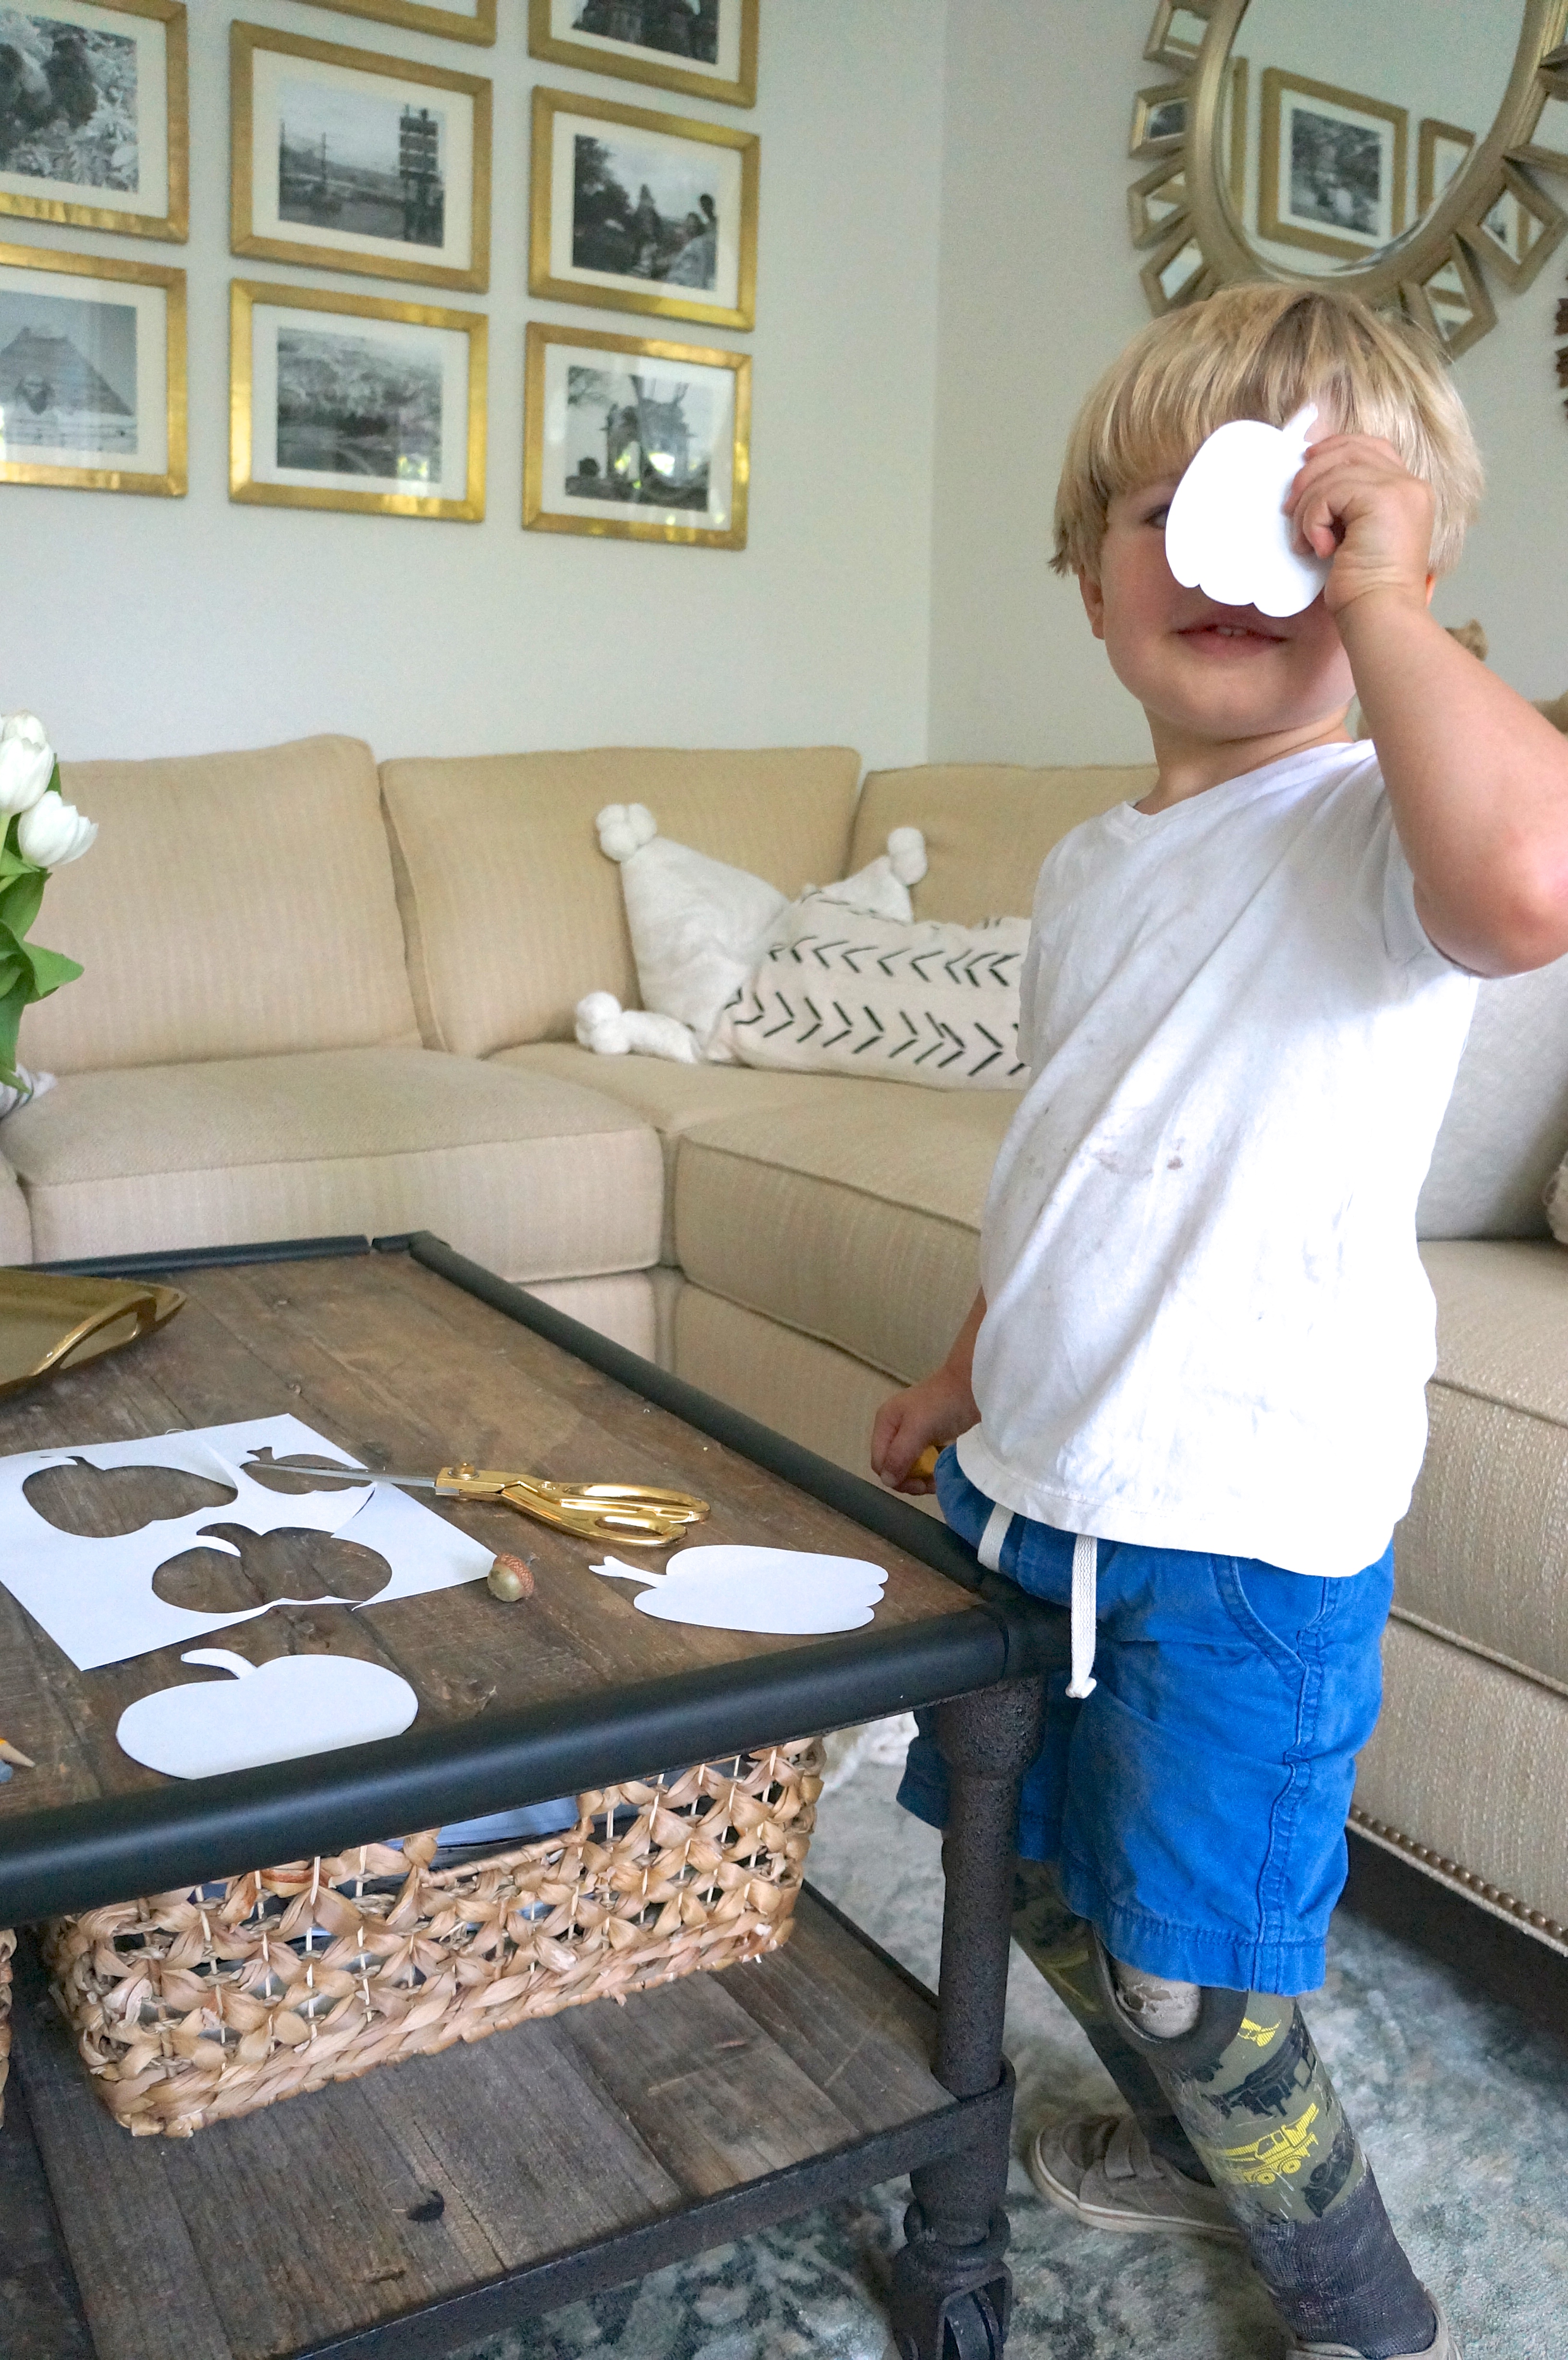
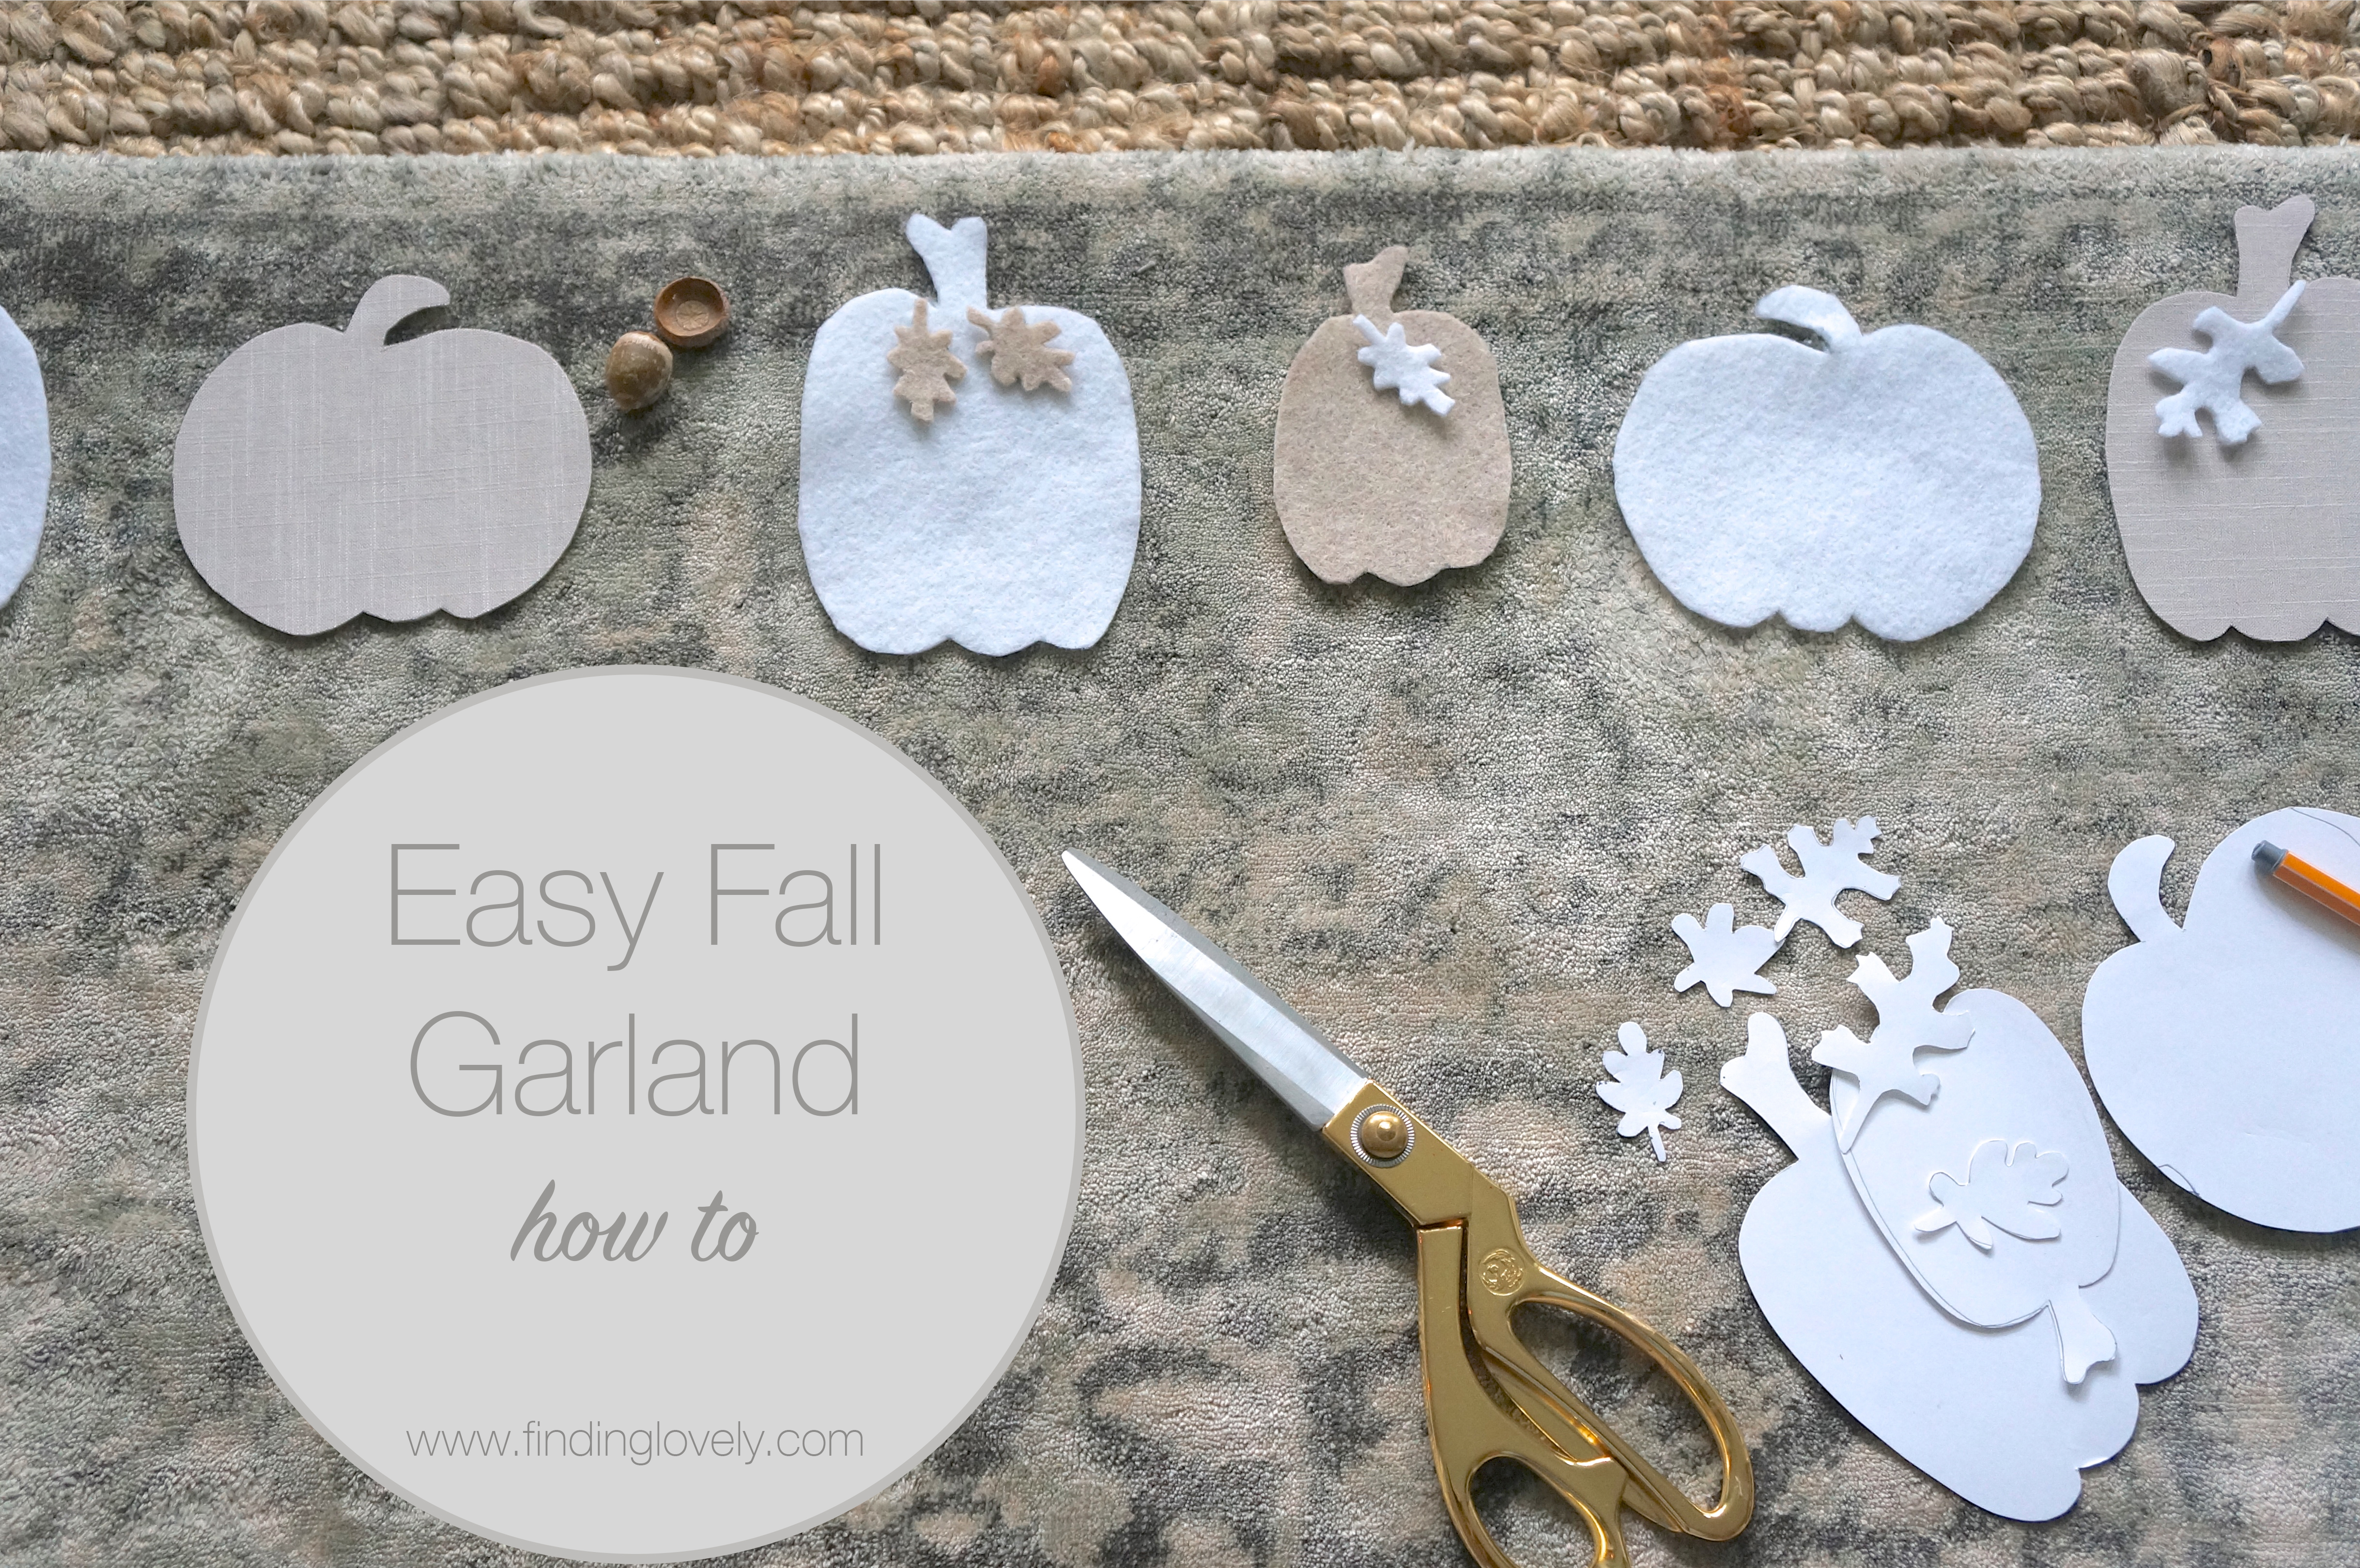
I freehand sketched the pumpkins and leaves but for your ease of crafting, all you need to do is use our free printable so you can easily print them out at home. Click here: Free Pumpkin and Leaves Printable I used 3 different colors of felt, all neutral tones. Two were $.99 at Michaels and the other one I ordered from The Felt Pod on Etsy, click here. I specifically liked their Manchester Taupe felt as it was a linen fabric on felt so it had a unique texture.
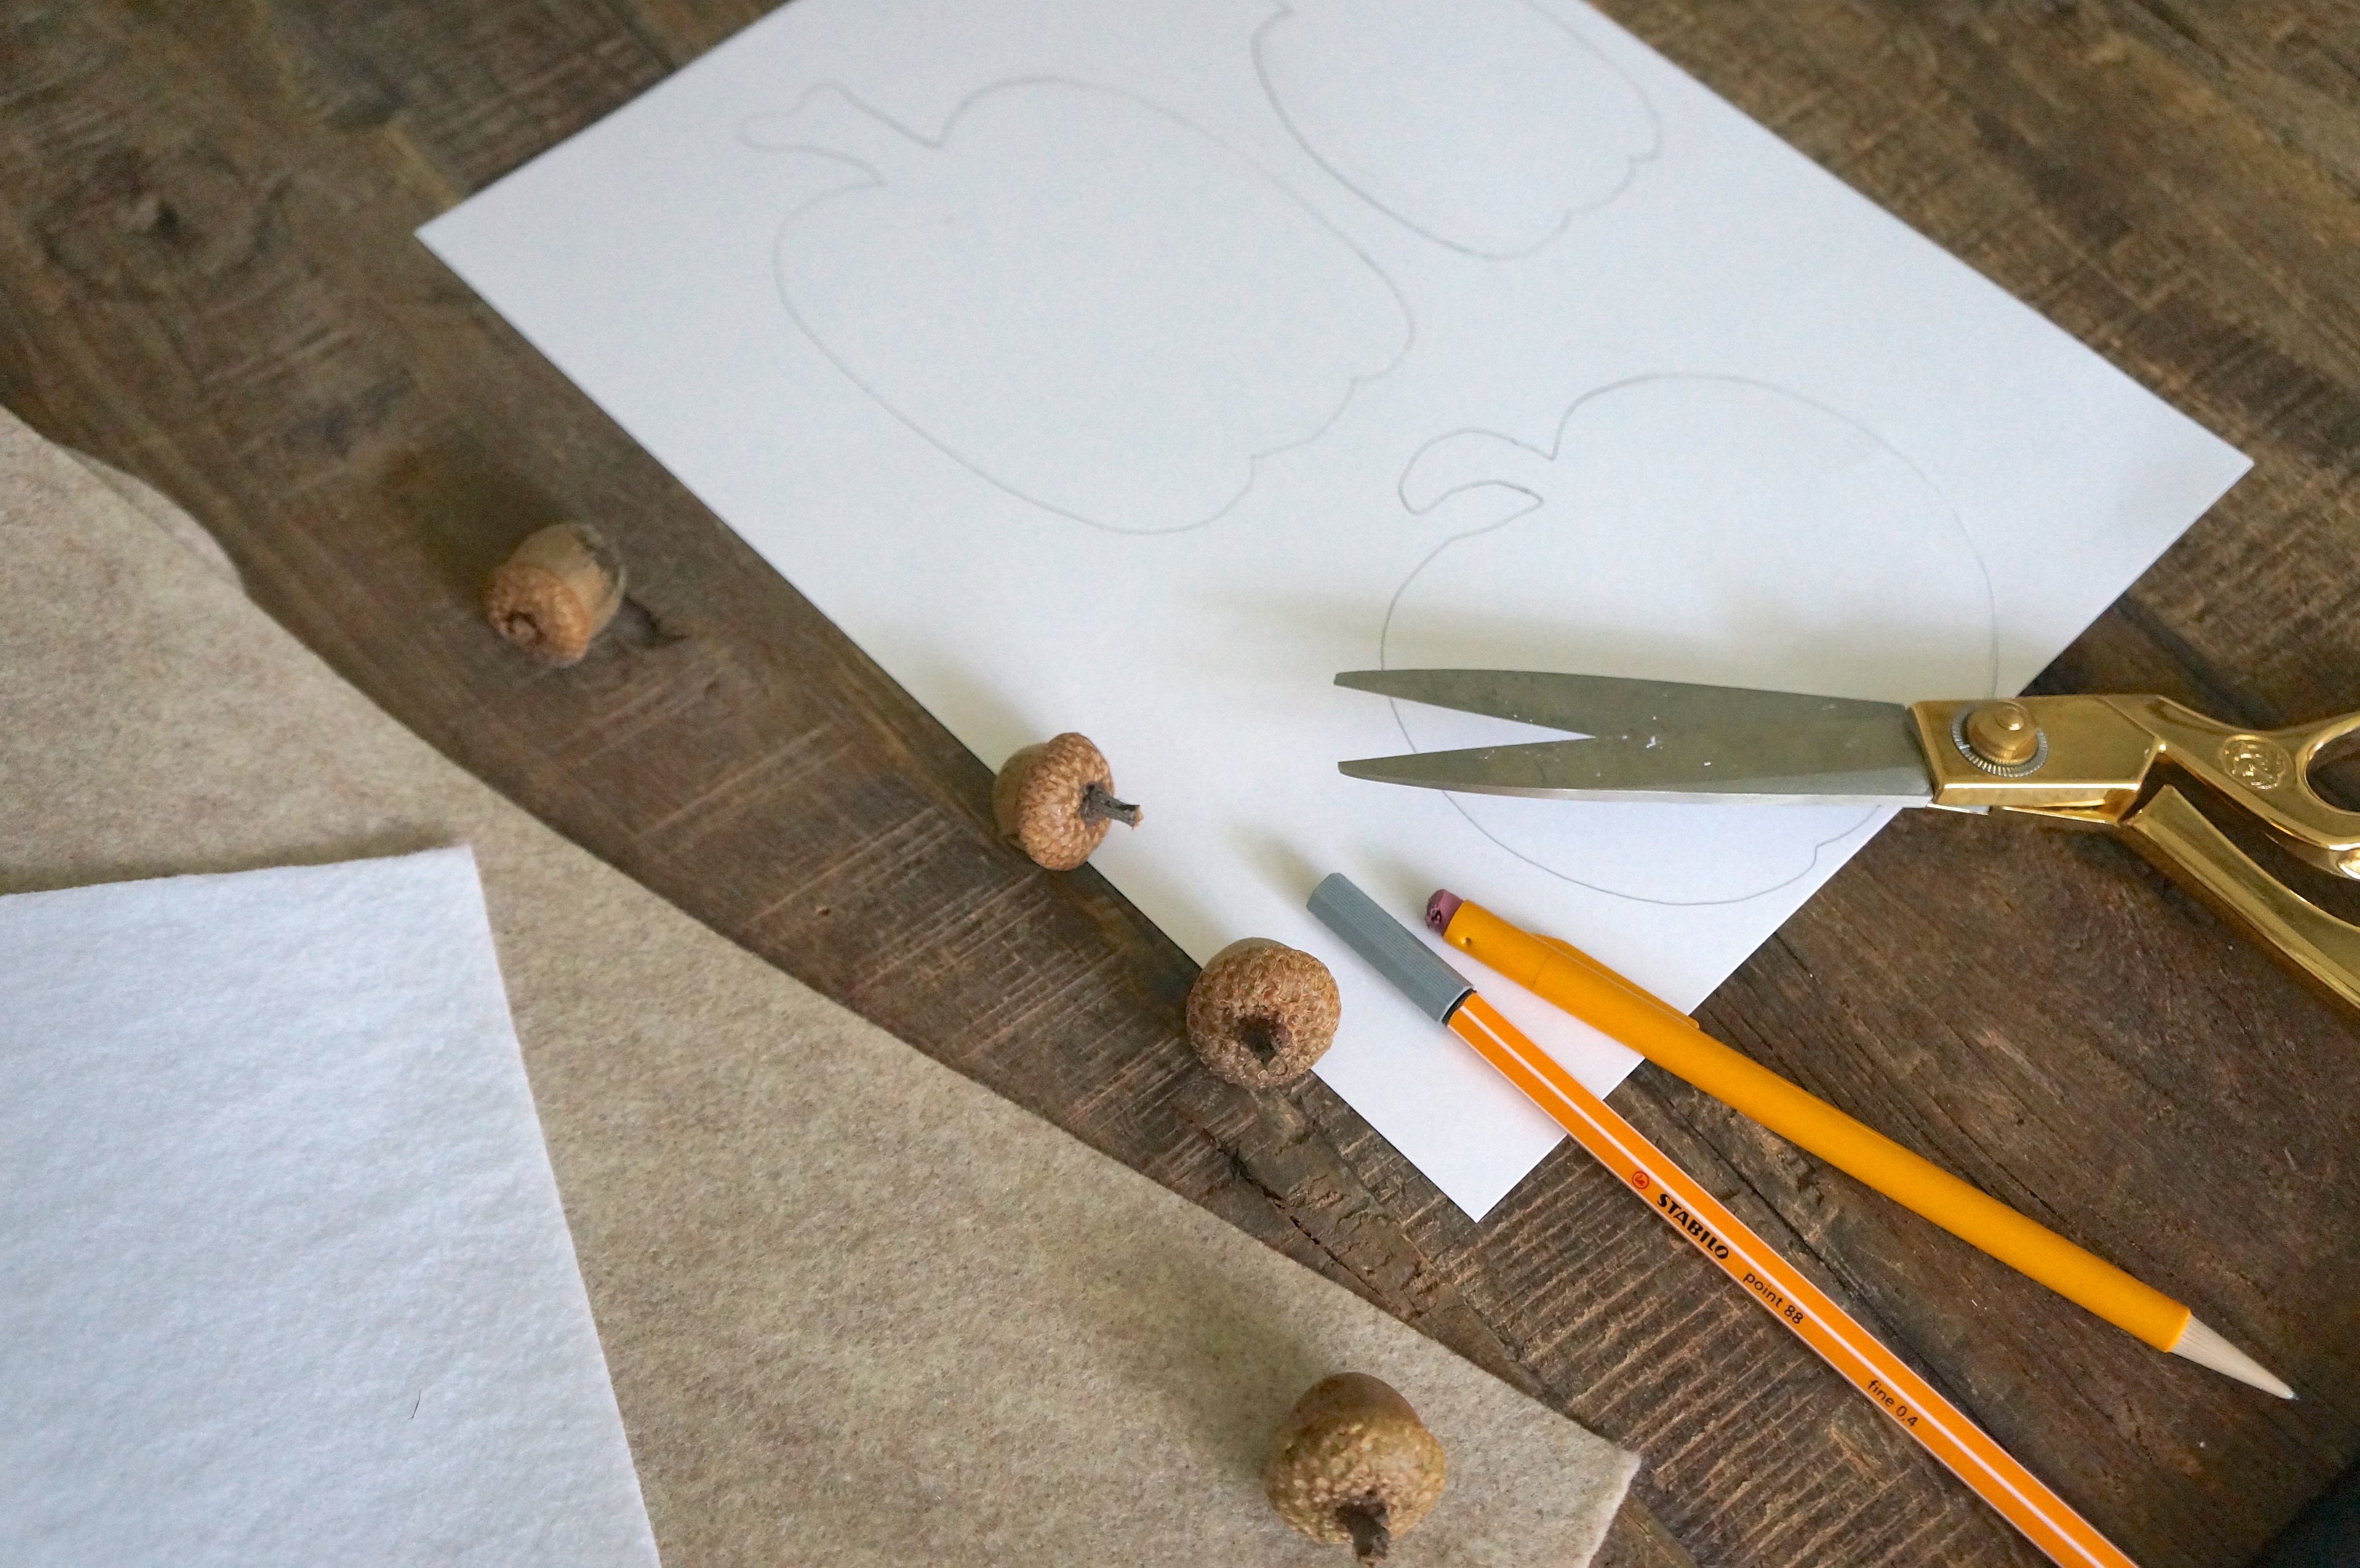
Supplies
- Scissors
- 3 colors of felt
- Free Pumpkin and Leaves Printable (click here)
- small nail
- fresh acorns
- white craft paint & paint brush
- thin waxed twine
- drill with 1/16th drill bit
- hot glue gun
- pencil and pen
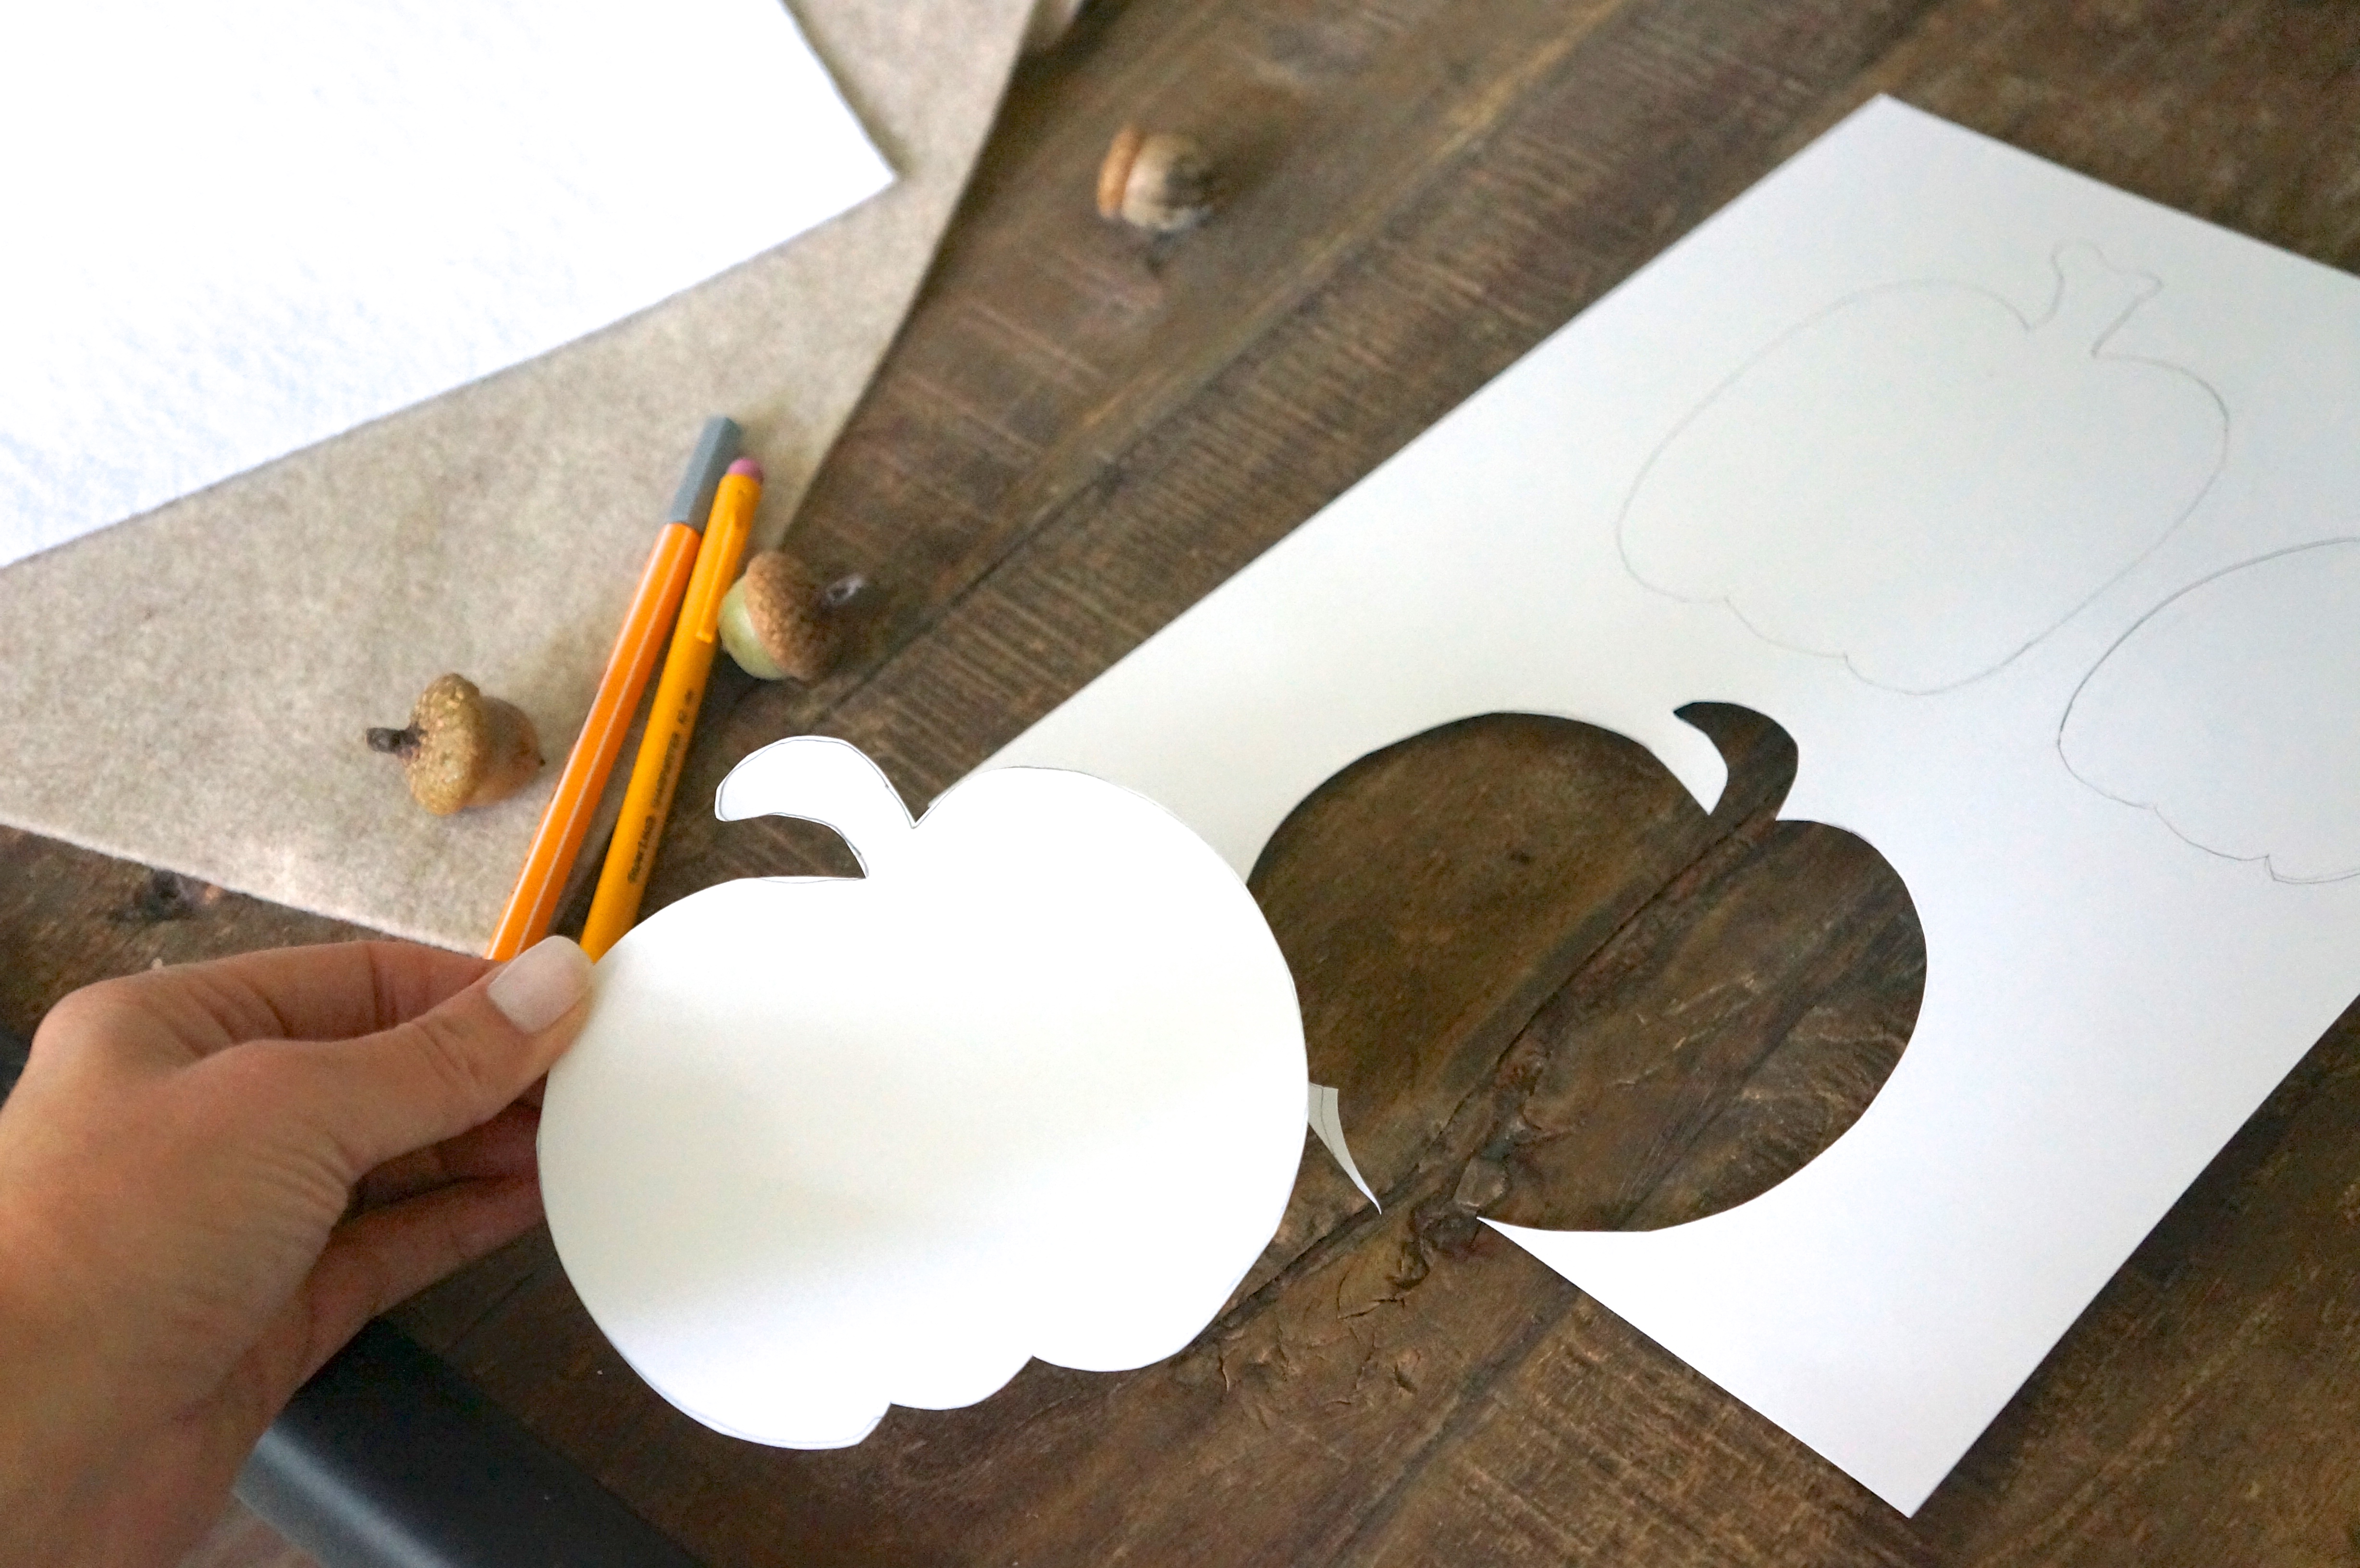
STEP ONE
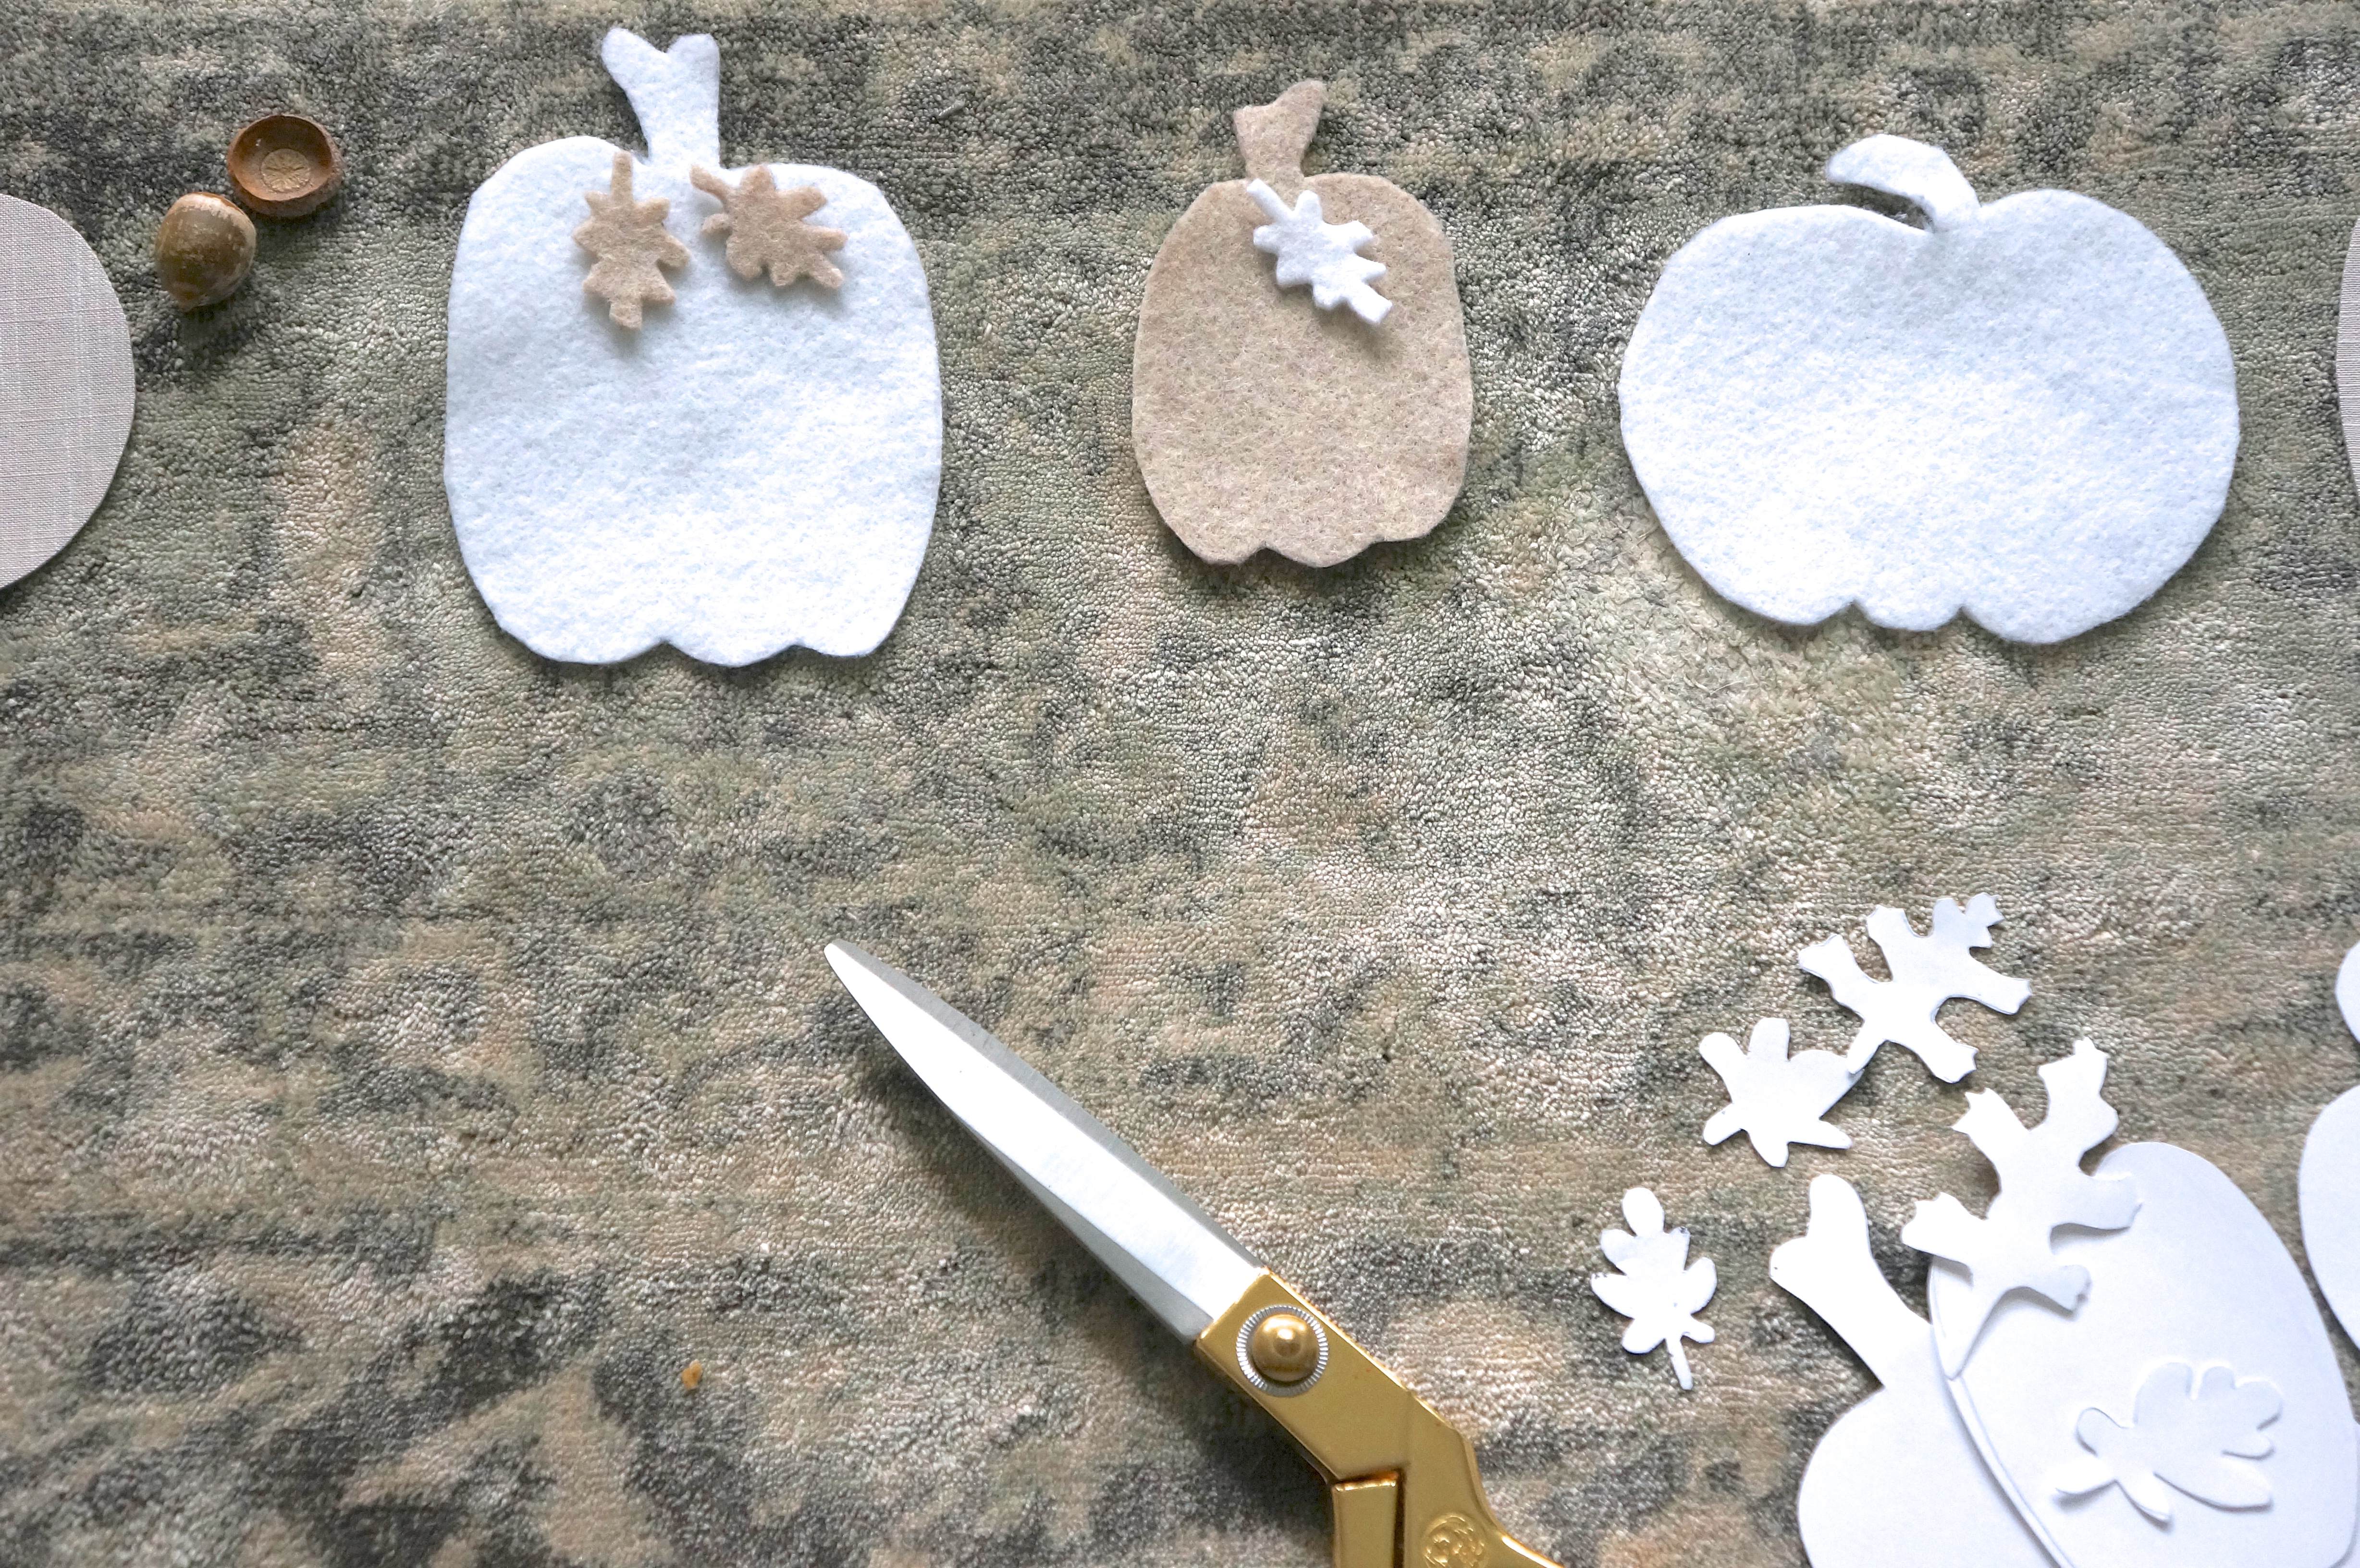
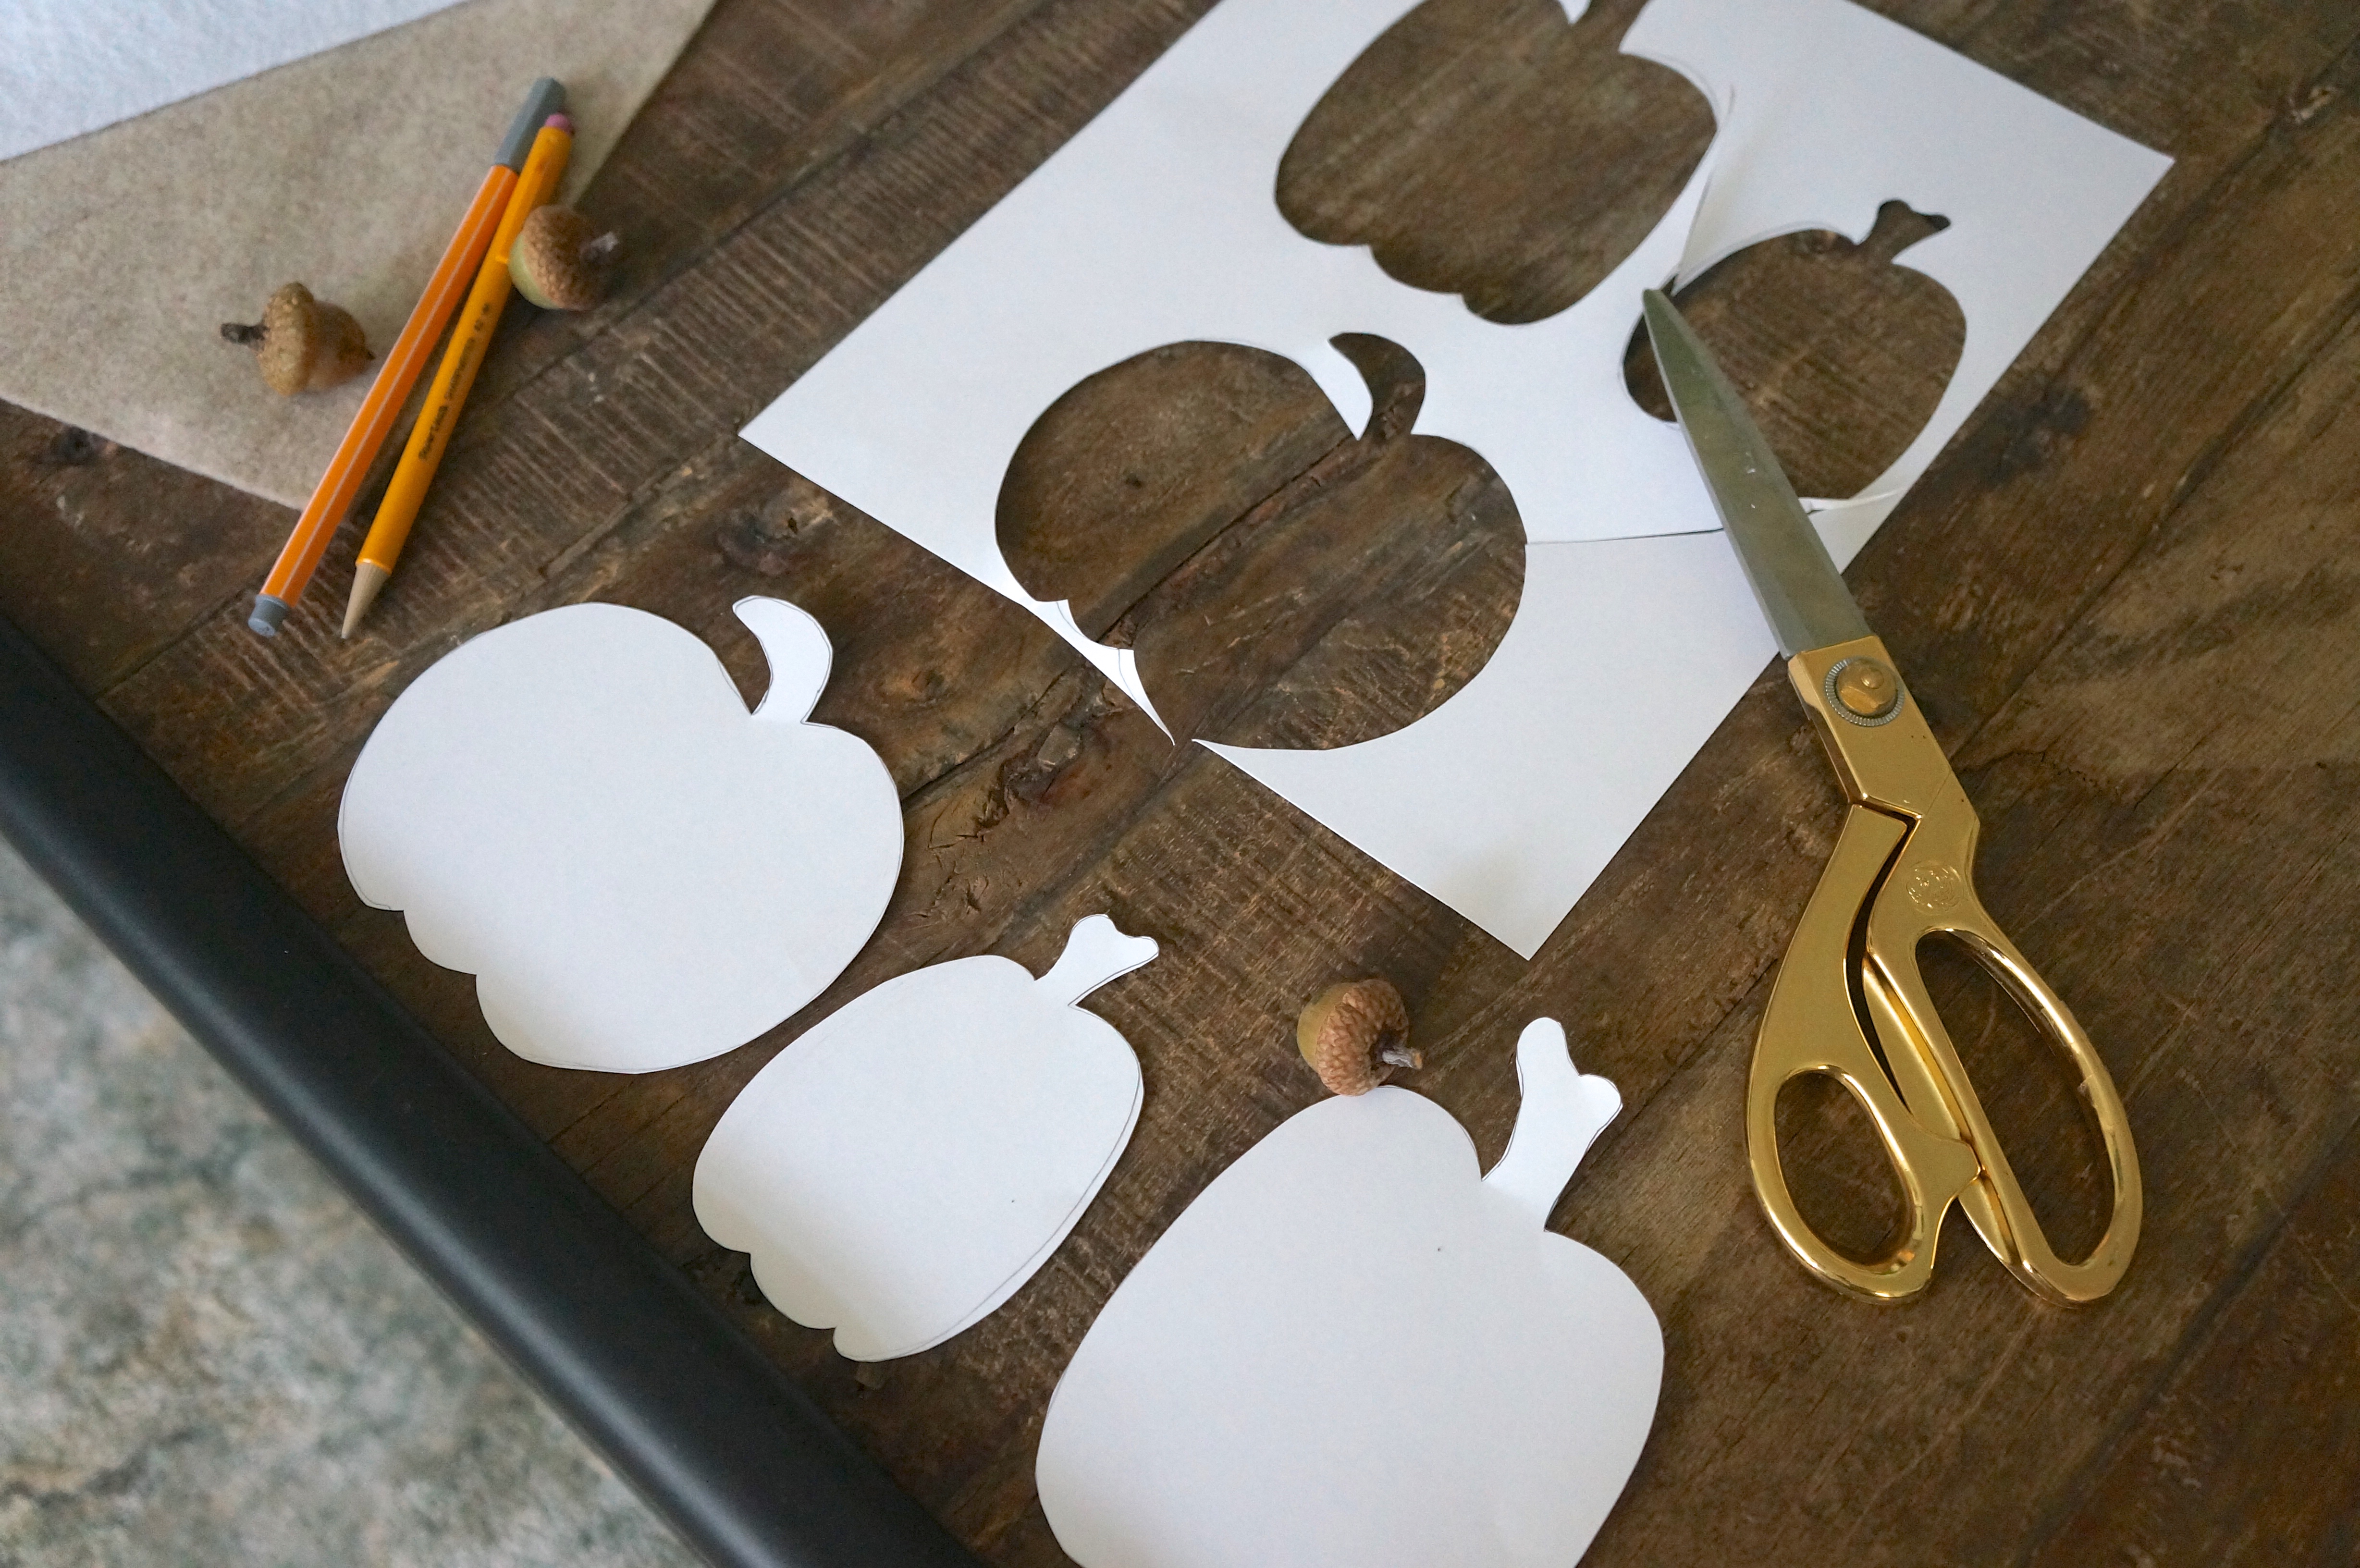
Print out free pumpkin/leaves printable and cut out the shapes
STEP TWO
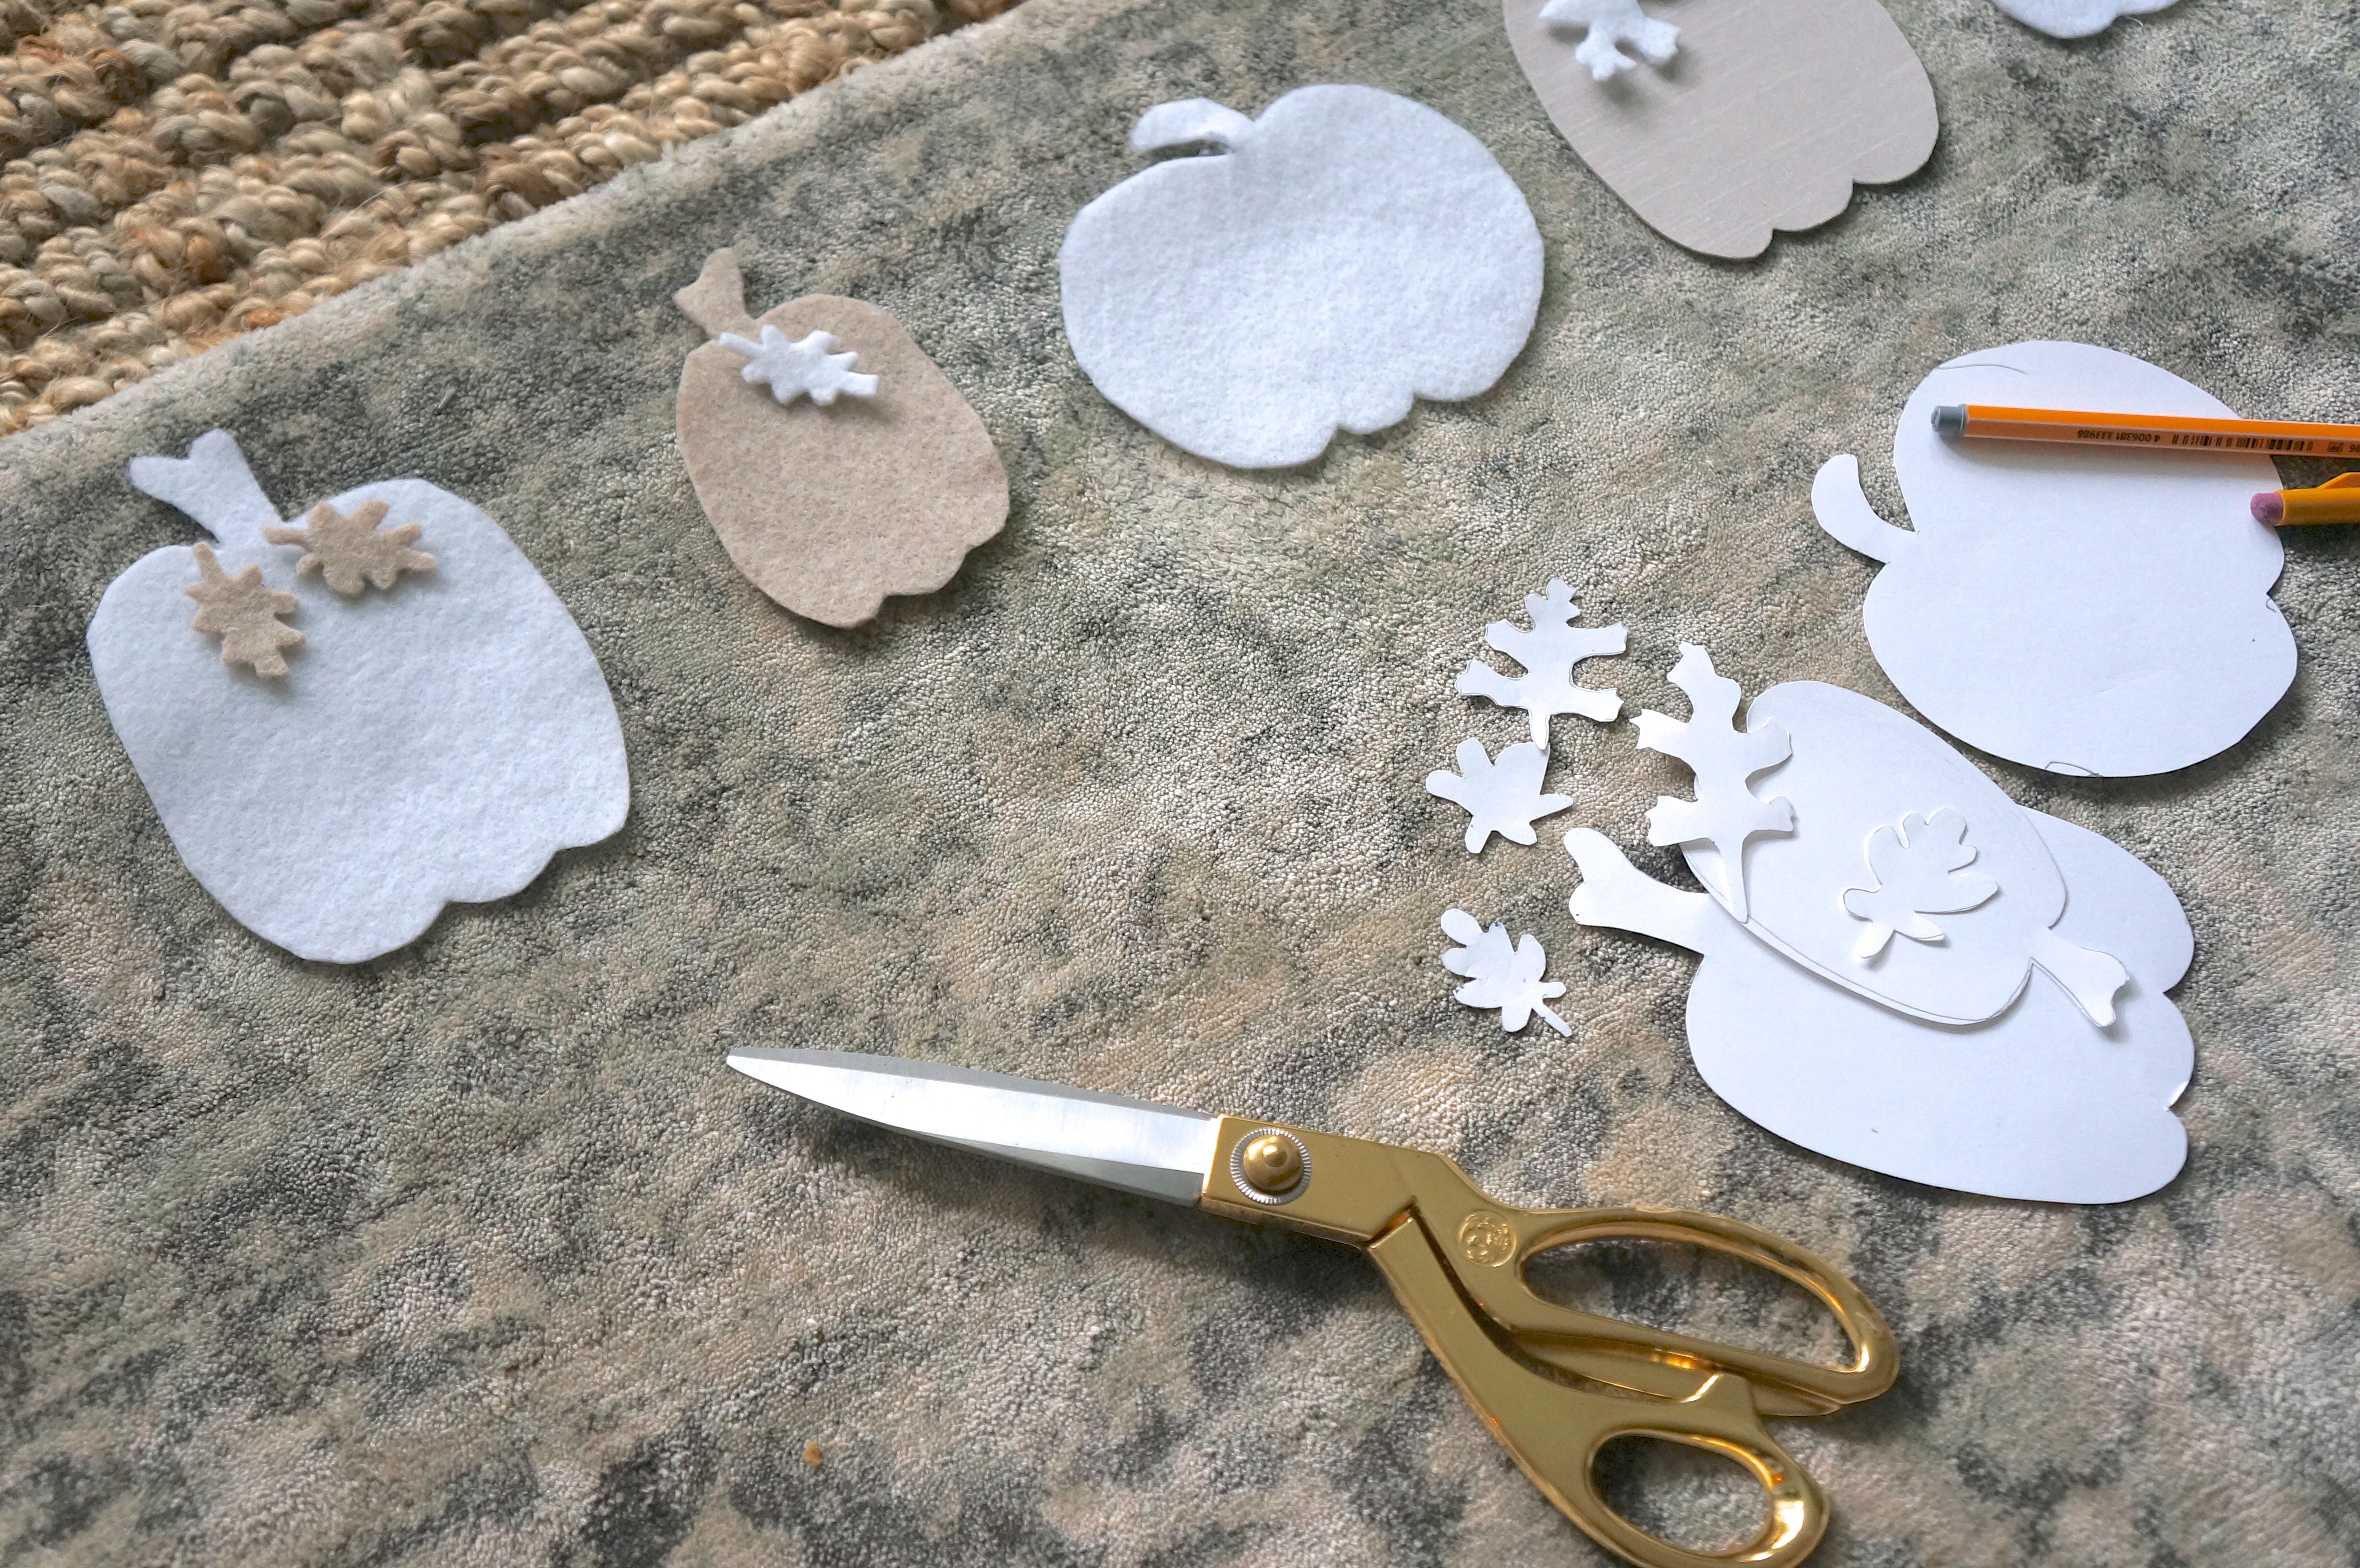
Trace pumpkin and leaves lightly onto different felts using your pen/pencil
STEP THREE
Cut out pumpkin and leaf shapes on the felt (for my ~5 ft garland I used 7 pumpkin shapes, 9 acorns, and 9 leaves of different kinds). Hot glue leaves onto your pumpkin shapes. I used a variety of different shapes to make it interesting. I used my grey marker to draw a dotted lines on the pumpkins for more pizazz.
STEP FOUR
Bake freshly collected acorns at 200 degrees for 25 minutes (this kills any bugs that may be living inside, I know I know, gross. But one year I had some moths hatch out of an acorn wreath. Lesson learned). Once cool, take acorn hats off, paint acorn bodies white. Let dry and drill small holes on either side of the acorn hat. I gave myself a couple extra in case of breakage. This felt like the trickiest part to me. I made my husband / drill master do it. He used the smallest drill bit he had which was the 1/16th of an inch.
STEP FIVE
You’re ready to assemble! Get a length of twine, about 6 feet for a 4+ foot garland (extra twine on either side for hanging). Using your small nail, poke two holes, about 1/2 inch apart at the base of the pumpkin stem on each felt pumpkin. Using the tip of the nail, help guide the waxed twine through the poked holes. Once strung, push the pumpkin down the twine to about 12 inches from the end. Next thread the twine through the two holes on the acorn top, push it down next to the pumpkin at the end. I spaced my acorns about 1.5-2 inches from the pumpkins. Once you have the acorn top where you want it, put a dab of hot glue on the inside of the “hat” and push the acorn body into it. Now you’ve got a whole acorn hanging there on your garland and it’s not going to budge. Repeat, alternating felt pumpkins with acorn tops until you have about 12″ of twine left. There you have it…a darling pumpkin garland.


 Back To Home Tour