
HOME TOUR
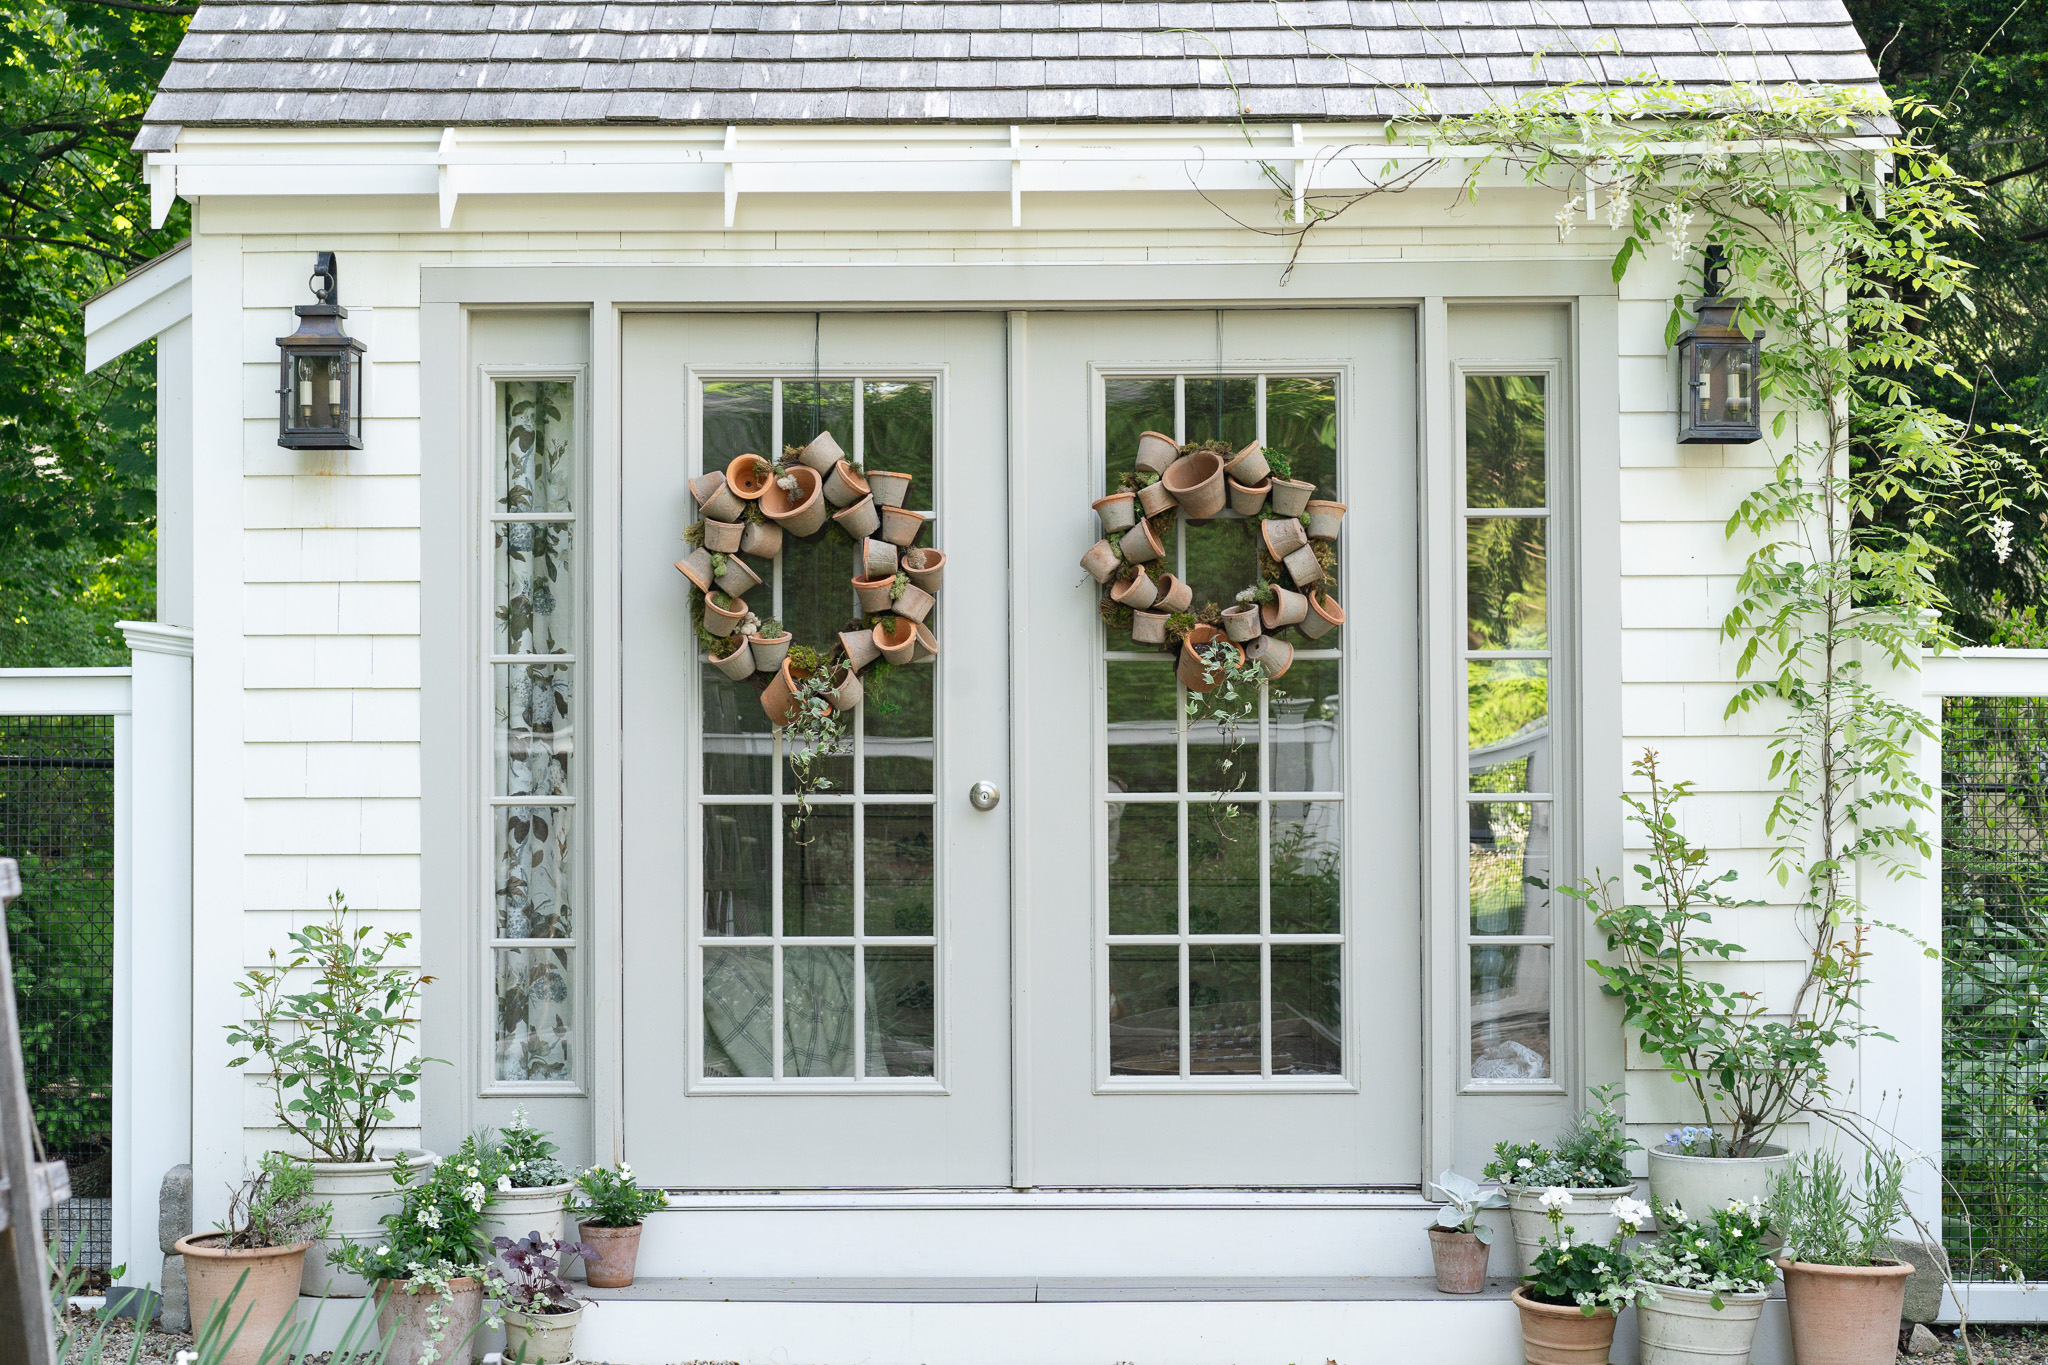
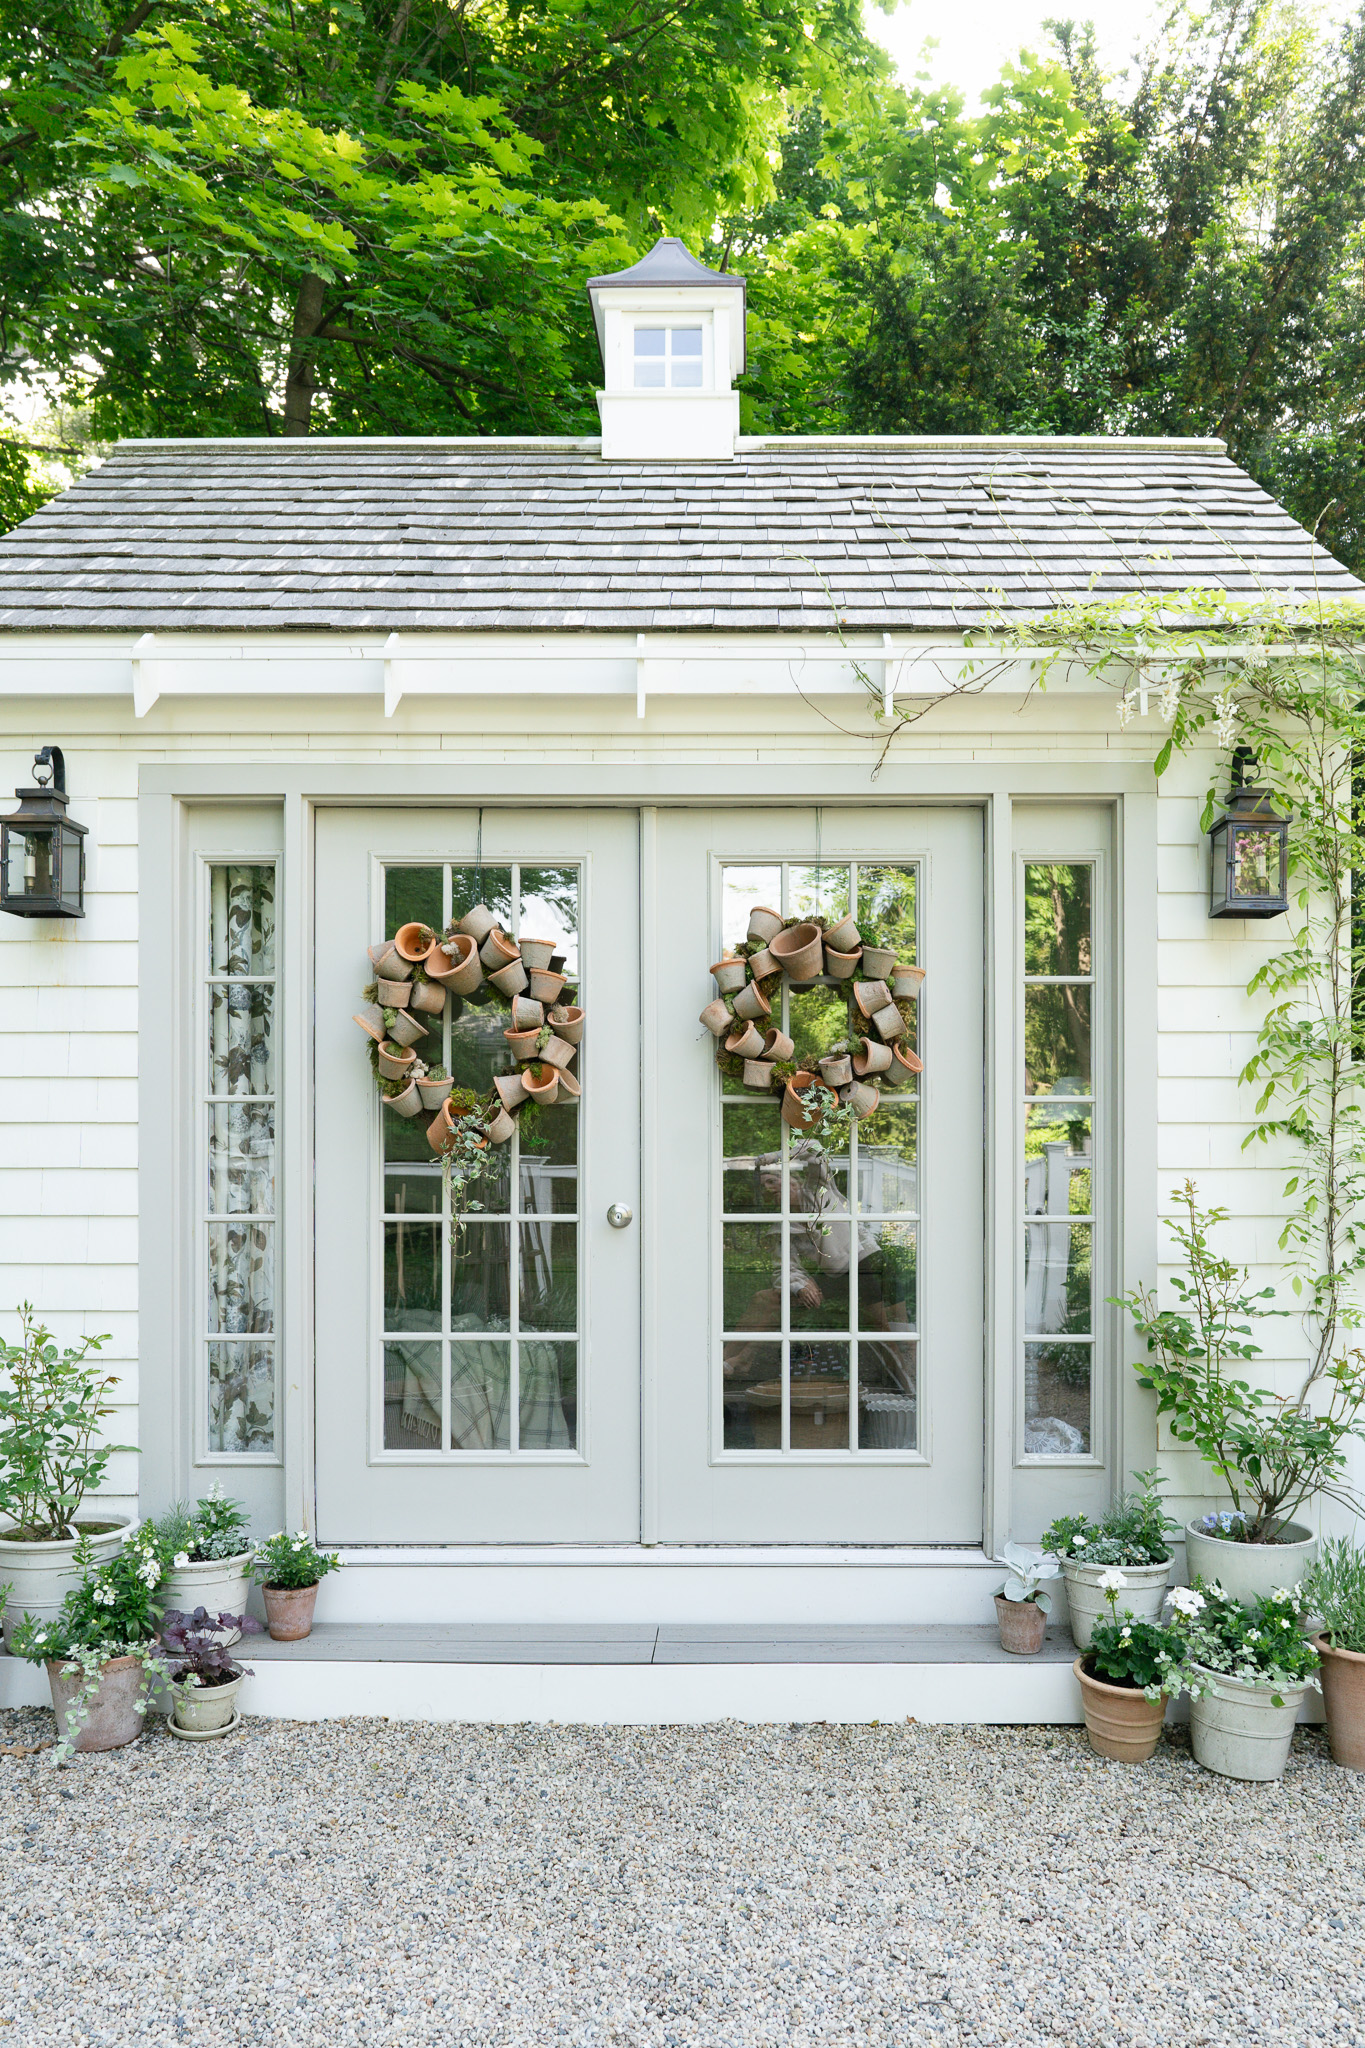
I came across a picture on Pinterest of this charming garden pot wreath filled with succulents. I loved the idea of it but wanted something that looked like it had been in my garden for years–more distressed and filled with trailing ivy. A perfect wreath for gracing my garden cottage’s French doors during the growing season. It took some searching but I found some adorable, pre-weathered pots that were small enough that when collected together on a grapevine wreath, gave me the look I was hoping for. If you are here because you want more information on my garden cottage aka “she shed” check out this post here.


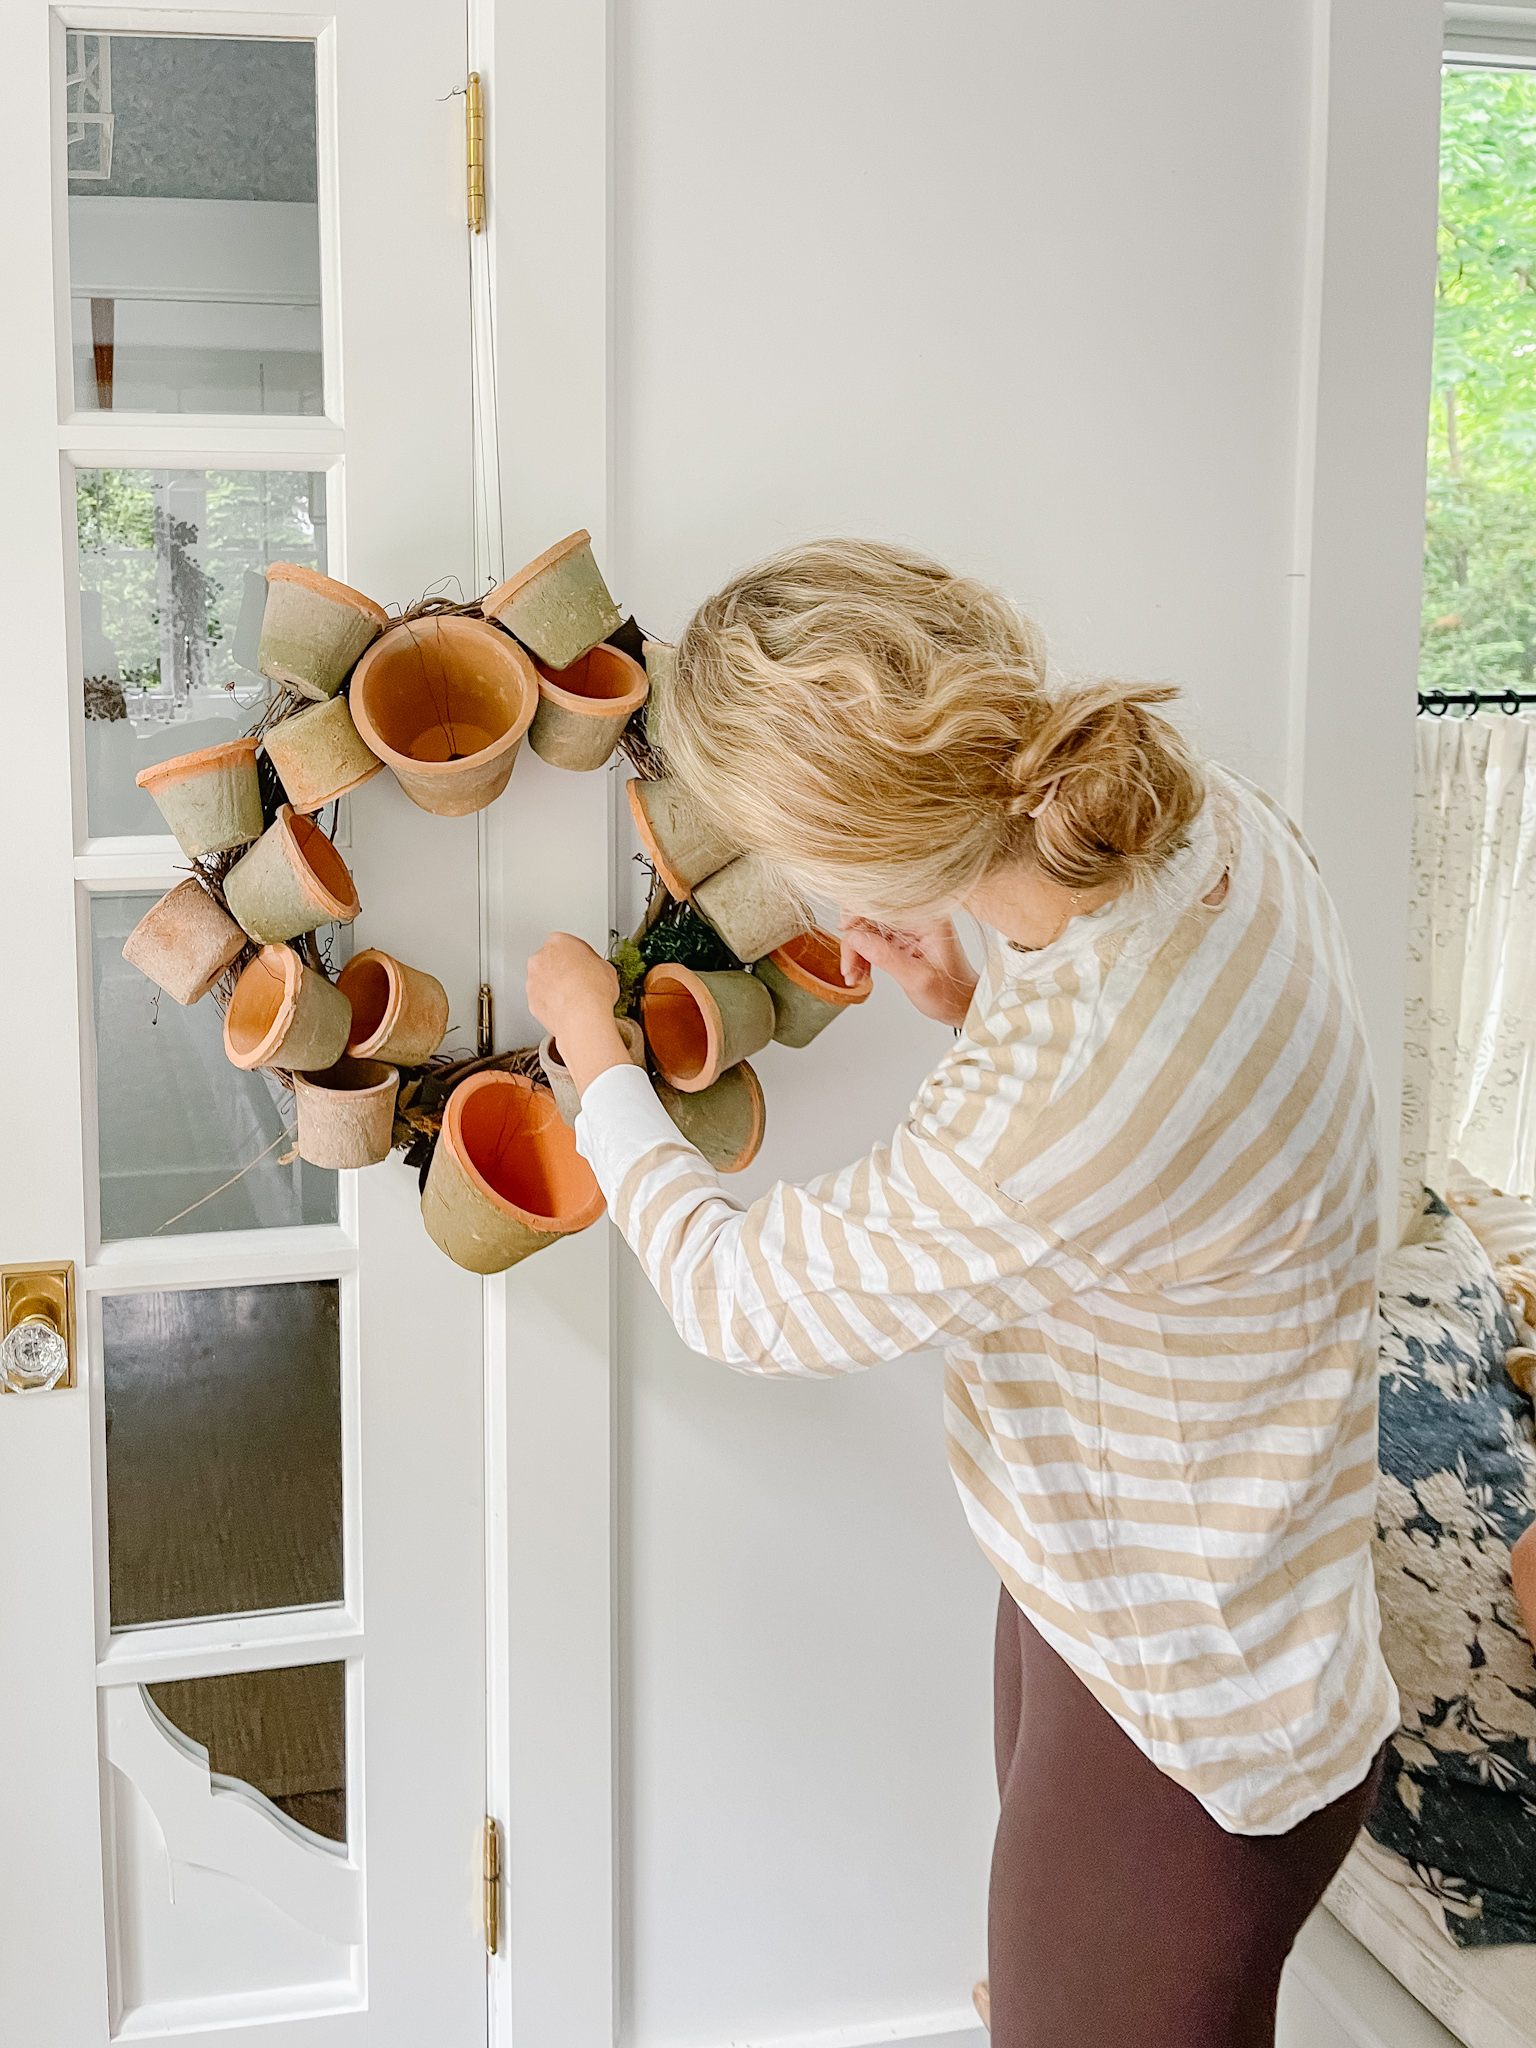
It took a solid several hours, a whole roll of floral wire and my husband’s help to pull off. They are very heavy and the pots shift when you go from horizontal placement to vertically hanging. Once I realized how much they shift, I ended up hanging them on a door hinge in my kitchen so I could wire the pots in better spots. We hung these wreaths using multiple strands of long floral wire woven together.
SUPPLIES FOR ONE WREATH (Double if making 2)
12-15 Extra Small Rimmed Pots (I bought several of the 12 count cases from Jamali Garden, listed as the 4 x 3 Mossed Redstone Standard Pot)
6 Extra Small Pots per wreath (I bought several sets of these ones from Terrain)
2 Small Pots per wreath (I bought one case of 6 x 4 Mossed Redstone Standard Pots from Jamali Garden).
Hot Glue
Scissors
TIPS AND STRATEGIES
I recommend prehanging your wreath on a hook or door hinge with several long strands of the floral wire woven together. The wreath gets very heavy (like 30+ lbs) with the addition of the pots. It will crash and break if you aren’t overly cautious and mindful of this from the onset.
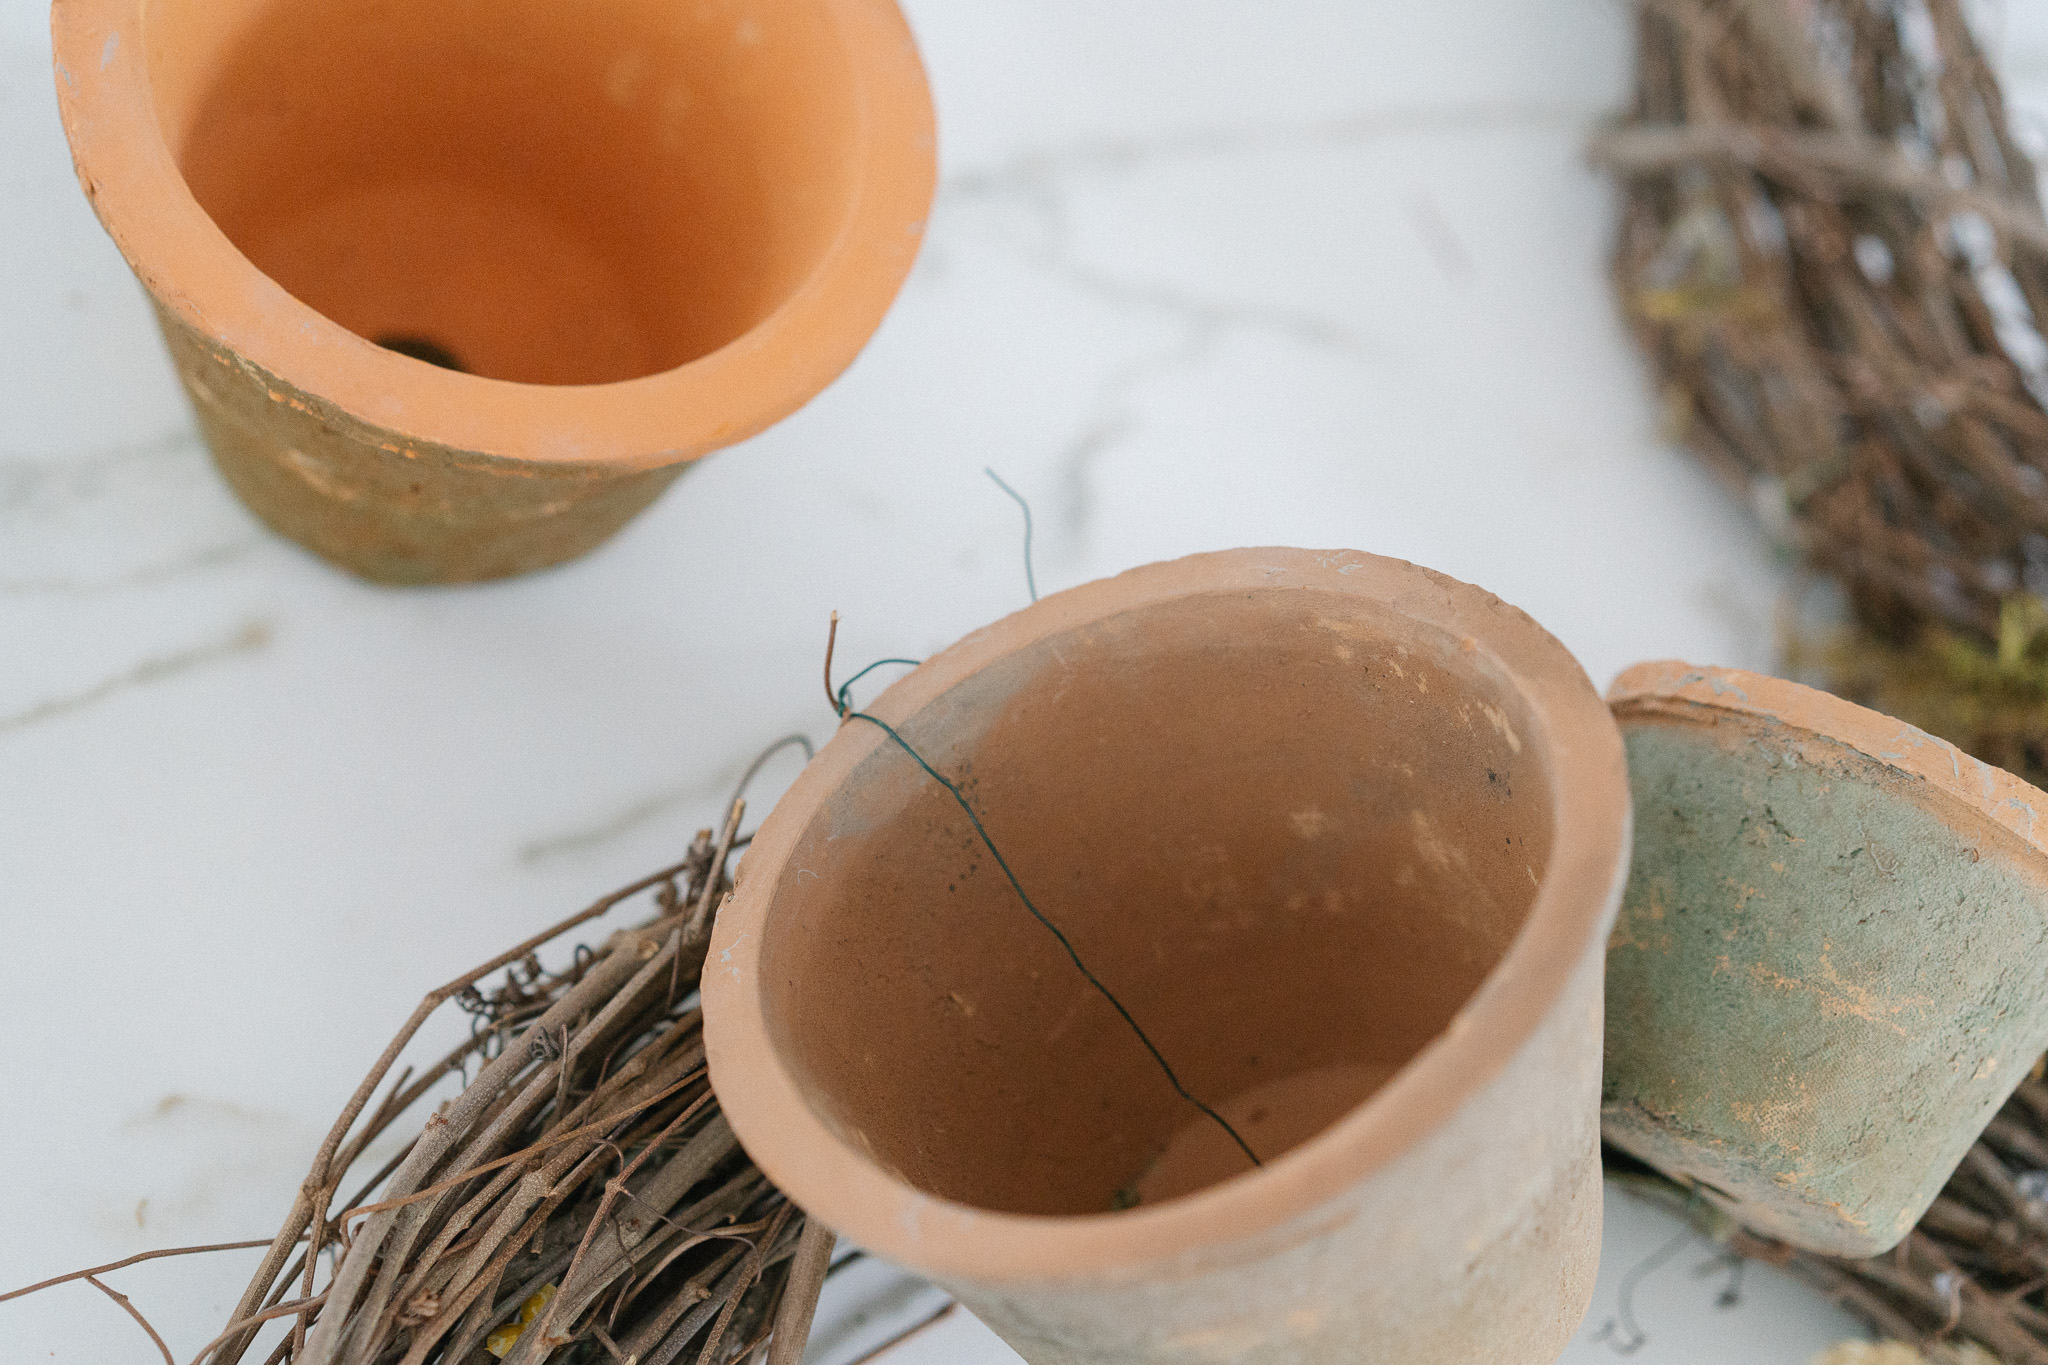
WIRING THE POTS
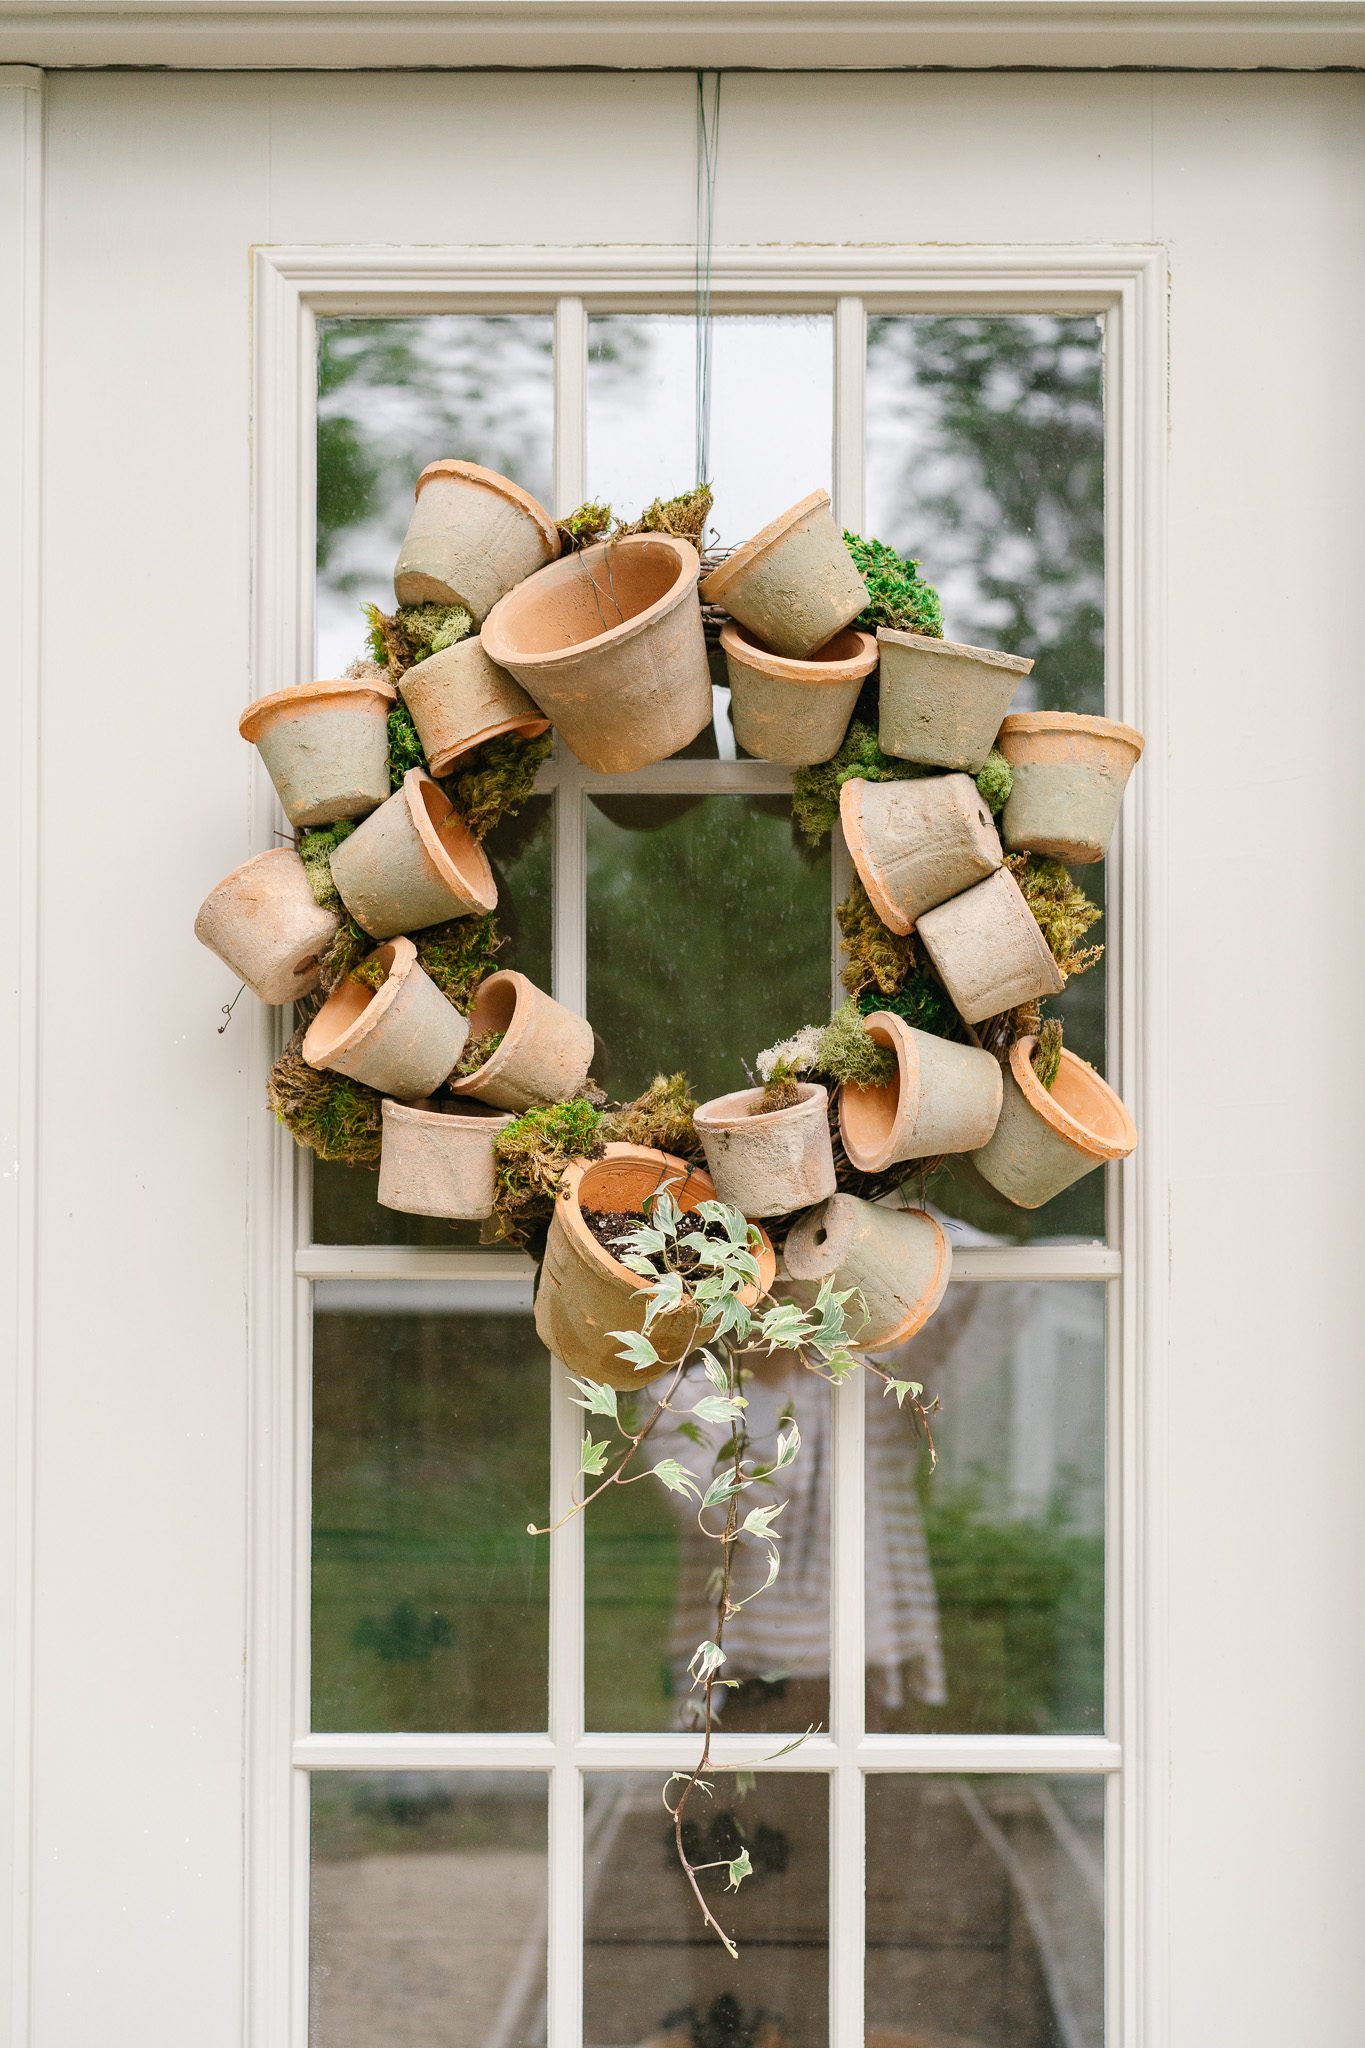
All of the pots I purchased had drainage holes. Which made it easy to put a piece of green floral wire through the hole, around the pot and thru the grapevine wreath. Be purposeful to wire it on well. I started by wiring on the 2 biggest pots first and I purposefully wired them on at angles. When you shift the directions of the pots, angling some this way and that, even upside down, you get this gentle movement to your wreath that looks aesthetically pleasing. I knew I wanted to plant something in the bigger one at the bottom (6 pm position if we pretend the wreath is a clock) so that is where I started. I worked my way around, making sure to wire each pot on really well and secure it in place deep within the grapevine wreath.

Once I had gotten the pots wired on, I hot glued moss in between the pots, trailing the moss into some of them where you could really see the wire. This helped conceal the wiring and added a nice finished look to the wreath. I added soil and a trailing ivy plant to the bigger pot on the bottom. My husband helped me hang these on a nail on the back of each of my french doors. These are very heavy wreaths.
You could absolutely make these for less, tiny ceramic pots are often less than a dollar at places like Home Depot and the Dollar Store. I purposefully chose the aged terracotta pots which made these a pricier DIY. You could always buy the inexpensive ones and try aging them yourself. I have a blog post on that here. Regardless, how sweet are these Garden Pot Wreaths!

 comment share
Lifestyle
TOP PICKS