HOME TOUR
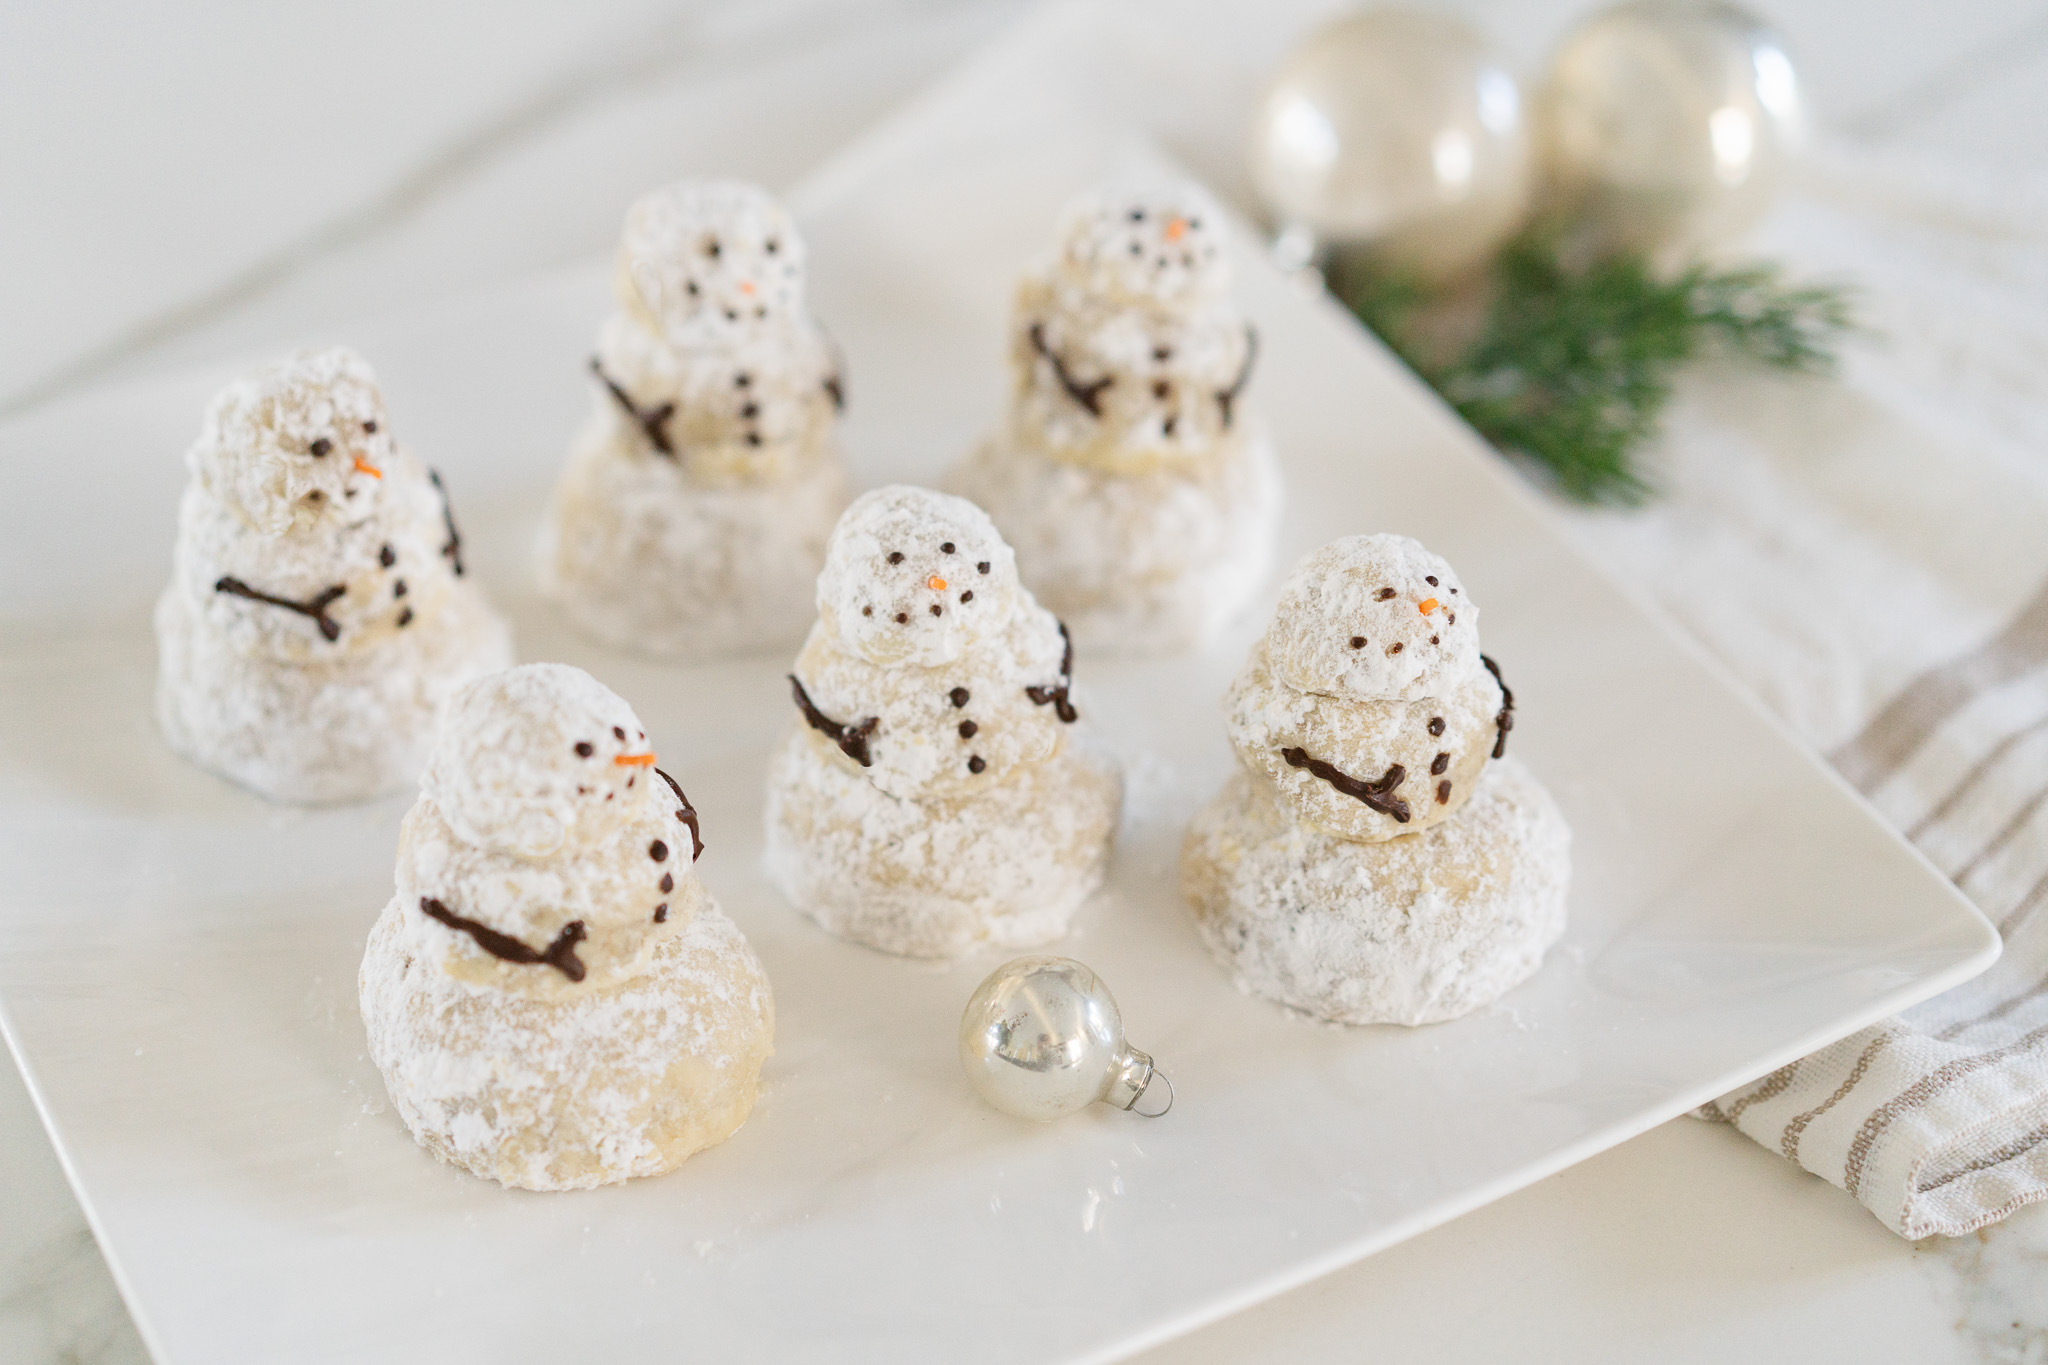
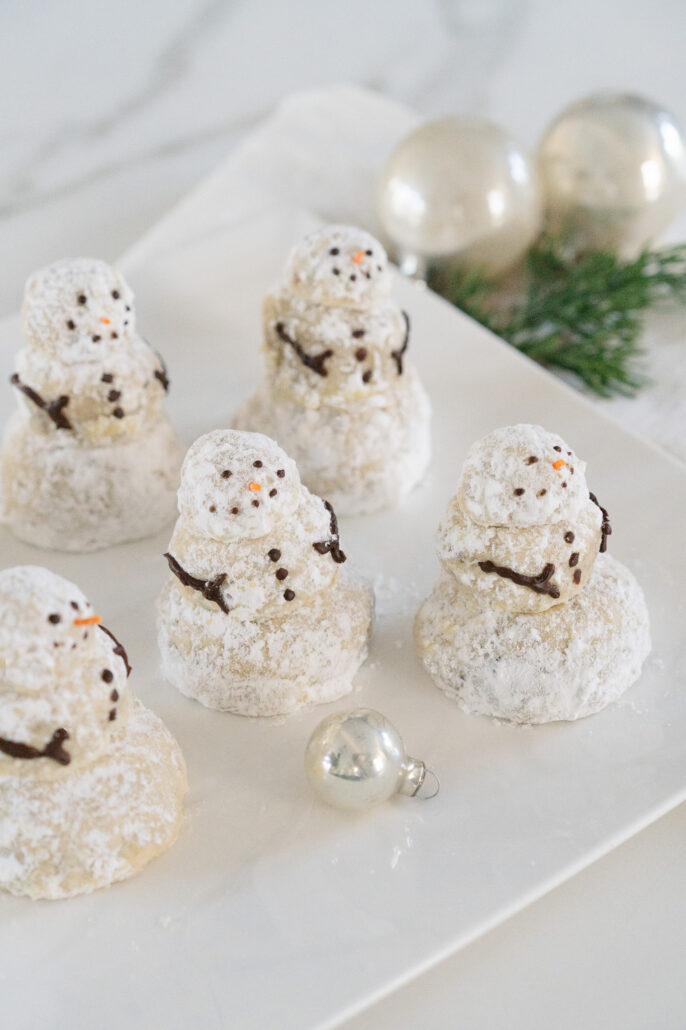
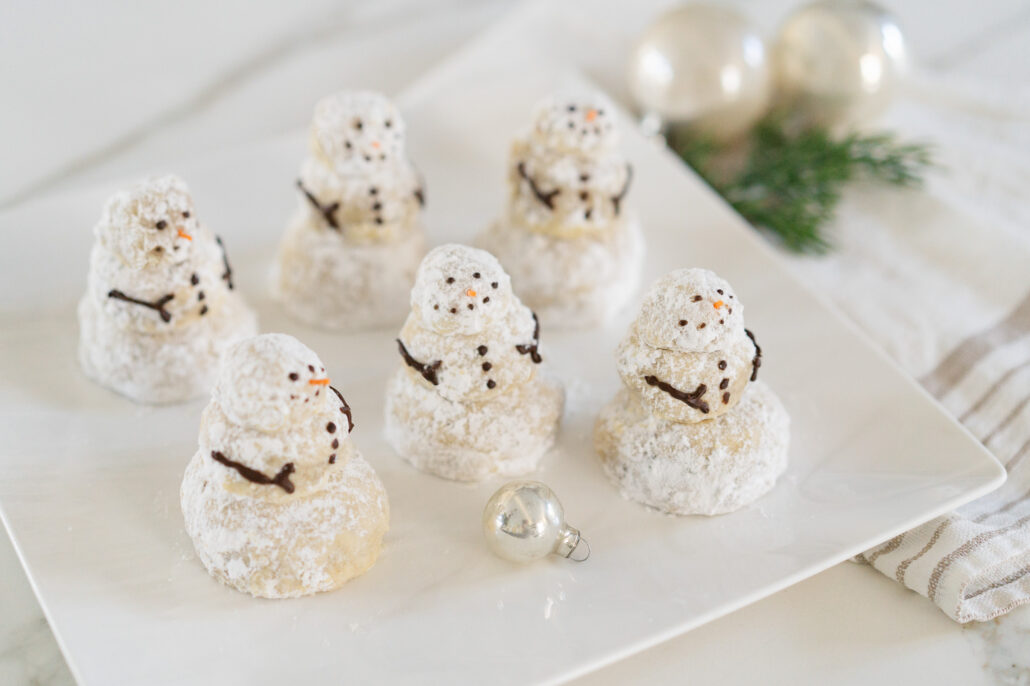
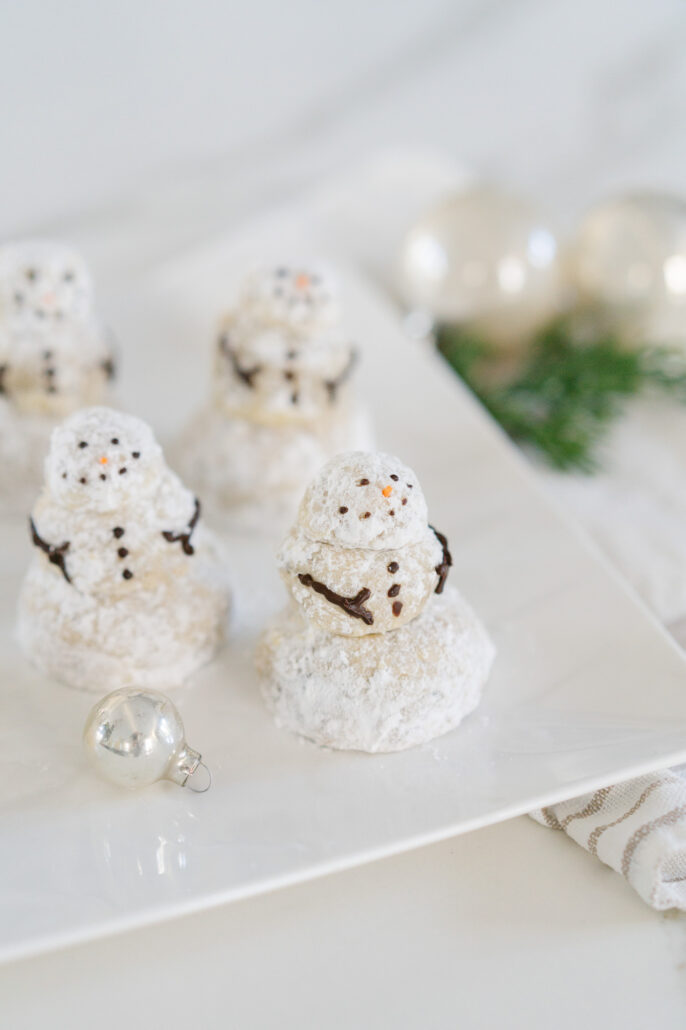
The classic snowball cookie reimagined in the sweetest of snowman forms. A hit with the littles since this is essentially three cookies, stacked to make a snowman and decorated with an orange sprinkle nose and melted chocolate. This is one of those easy holiday cookies that everyone seems to have a variation of as they are also known as Mexican Wedding Cookies, Russian Tea Cakes, Snowdrops, even Viennese Crescents when formed into a crescent shape.
I used the Snowball Cookie Recipe from Sally’s Baking Addition as a launching point and it worked well. It ended up making 8 completed snowman since you need 3 balls of different sizes for each. This is one of those tried and true, everyone-seems-to-have-in-their-cookbook recipes so feel free to use your favorite version.
INGREDIENTS
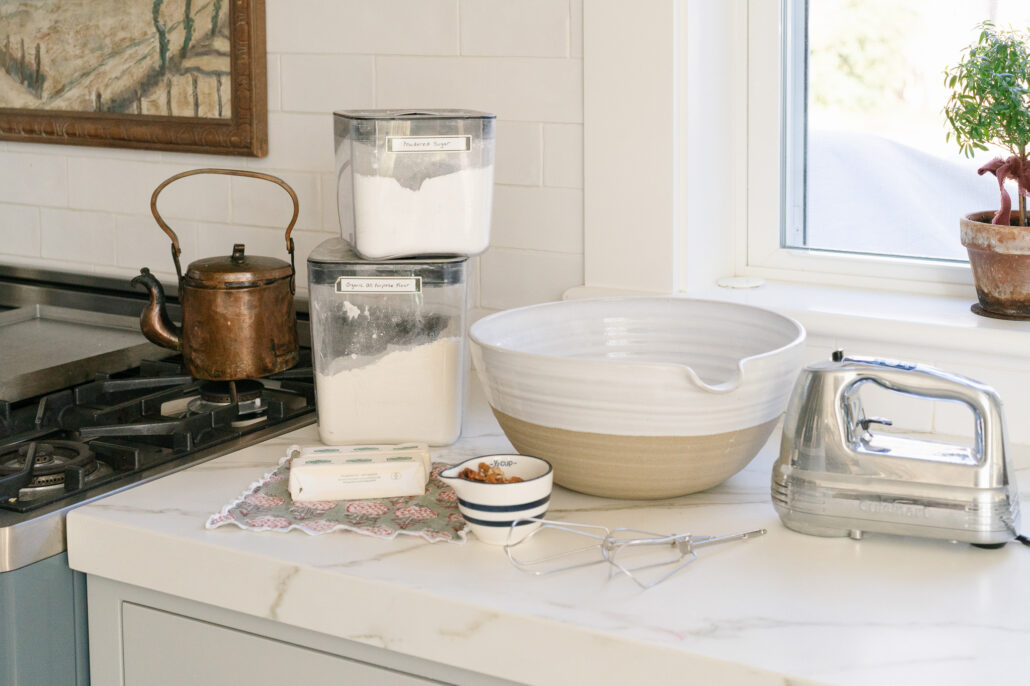
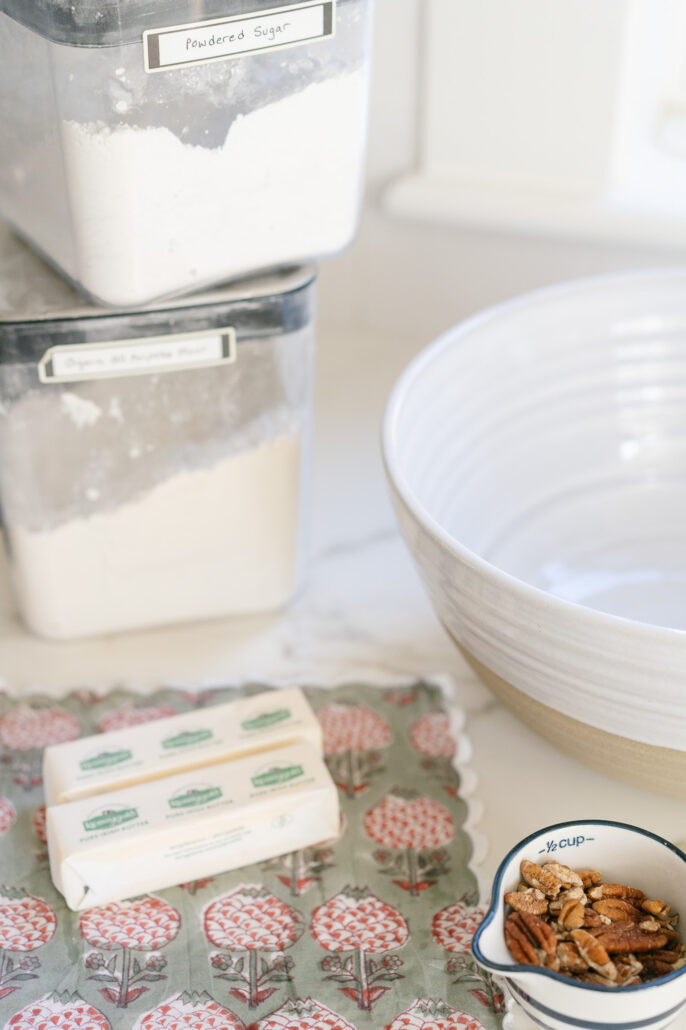
1 C Salted Butter (I use Kerry Gold)
3/4 C Powdered Confections Sugar
2 1/4 C All Purpose Flour (Spooned in and leveled, do not use your measuring cup as a scoop, take it from me)
2 tsp Vanilla
1/4 tsp Salt
1/2 C Toasted Pecans finely minced
For the Coating:
1 C Powdered Confectioners Sugar
Chocolate chips, melted and added to piping bag or applied to snowman using tooth pick
Orange Sprinkles for the nose
INSTRUCTIONS
Start by preheating the oven to 350 degrees. Cream the butter and Confectioners sugar in a large mixing bowl. I used my hand held mixers. Add the vanilla, salt, pecans and flour. Beat to combine. The Sally’s Baking Addiction website says the dough will be crumbly, keep mixing and it will come together. It’s important to use really soft, melty-in-parts butter and make sure you spoon and level your flour so you don’t get too much.
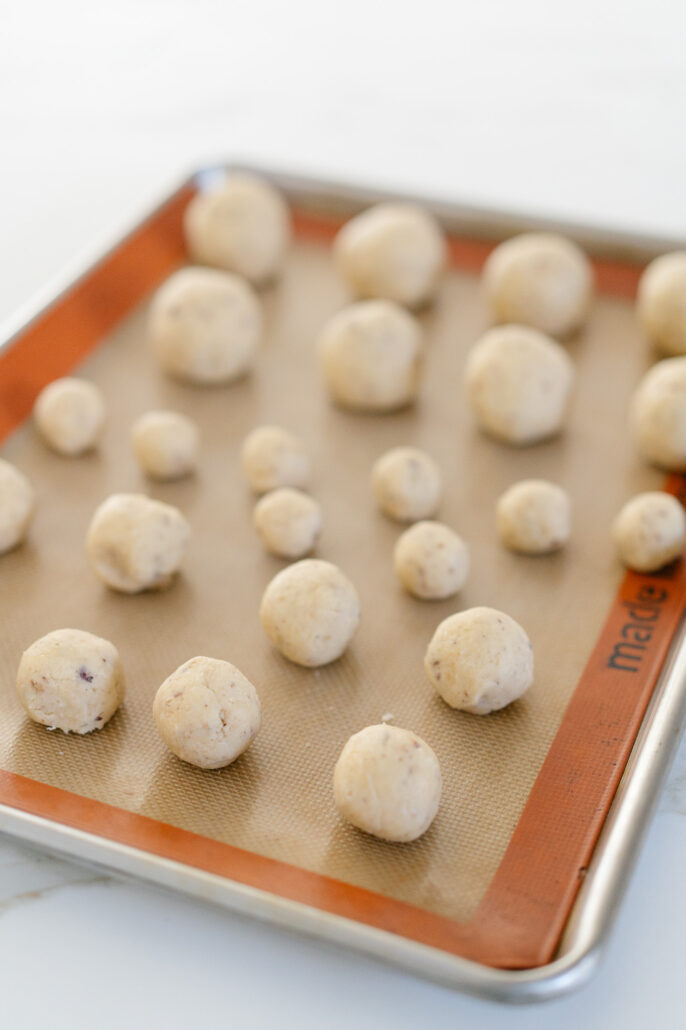
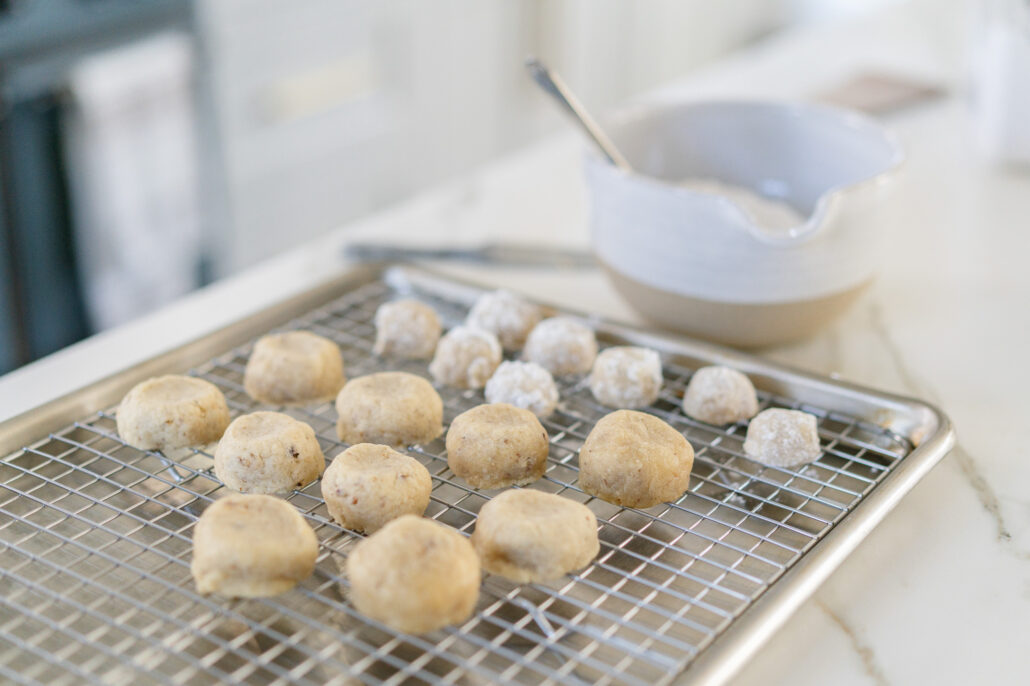
I added my cookie dough balls to a Silpat-lined baking sheet. Make three different size balls: one for the bottom, middle and head of the snowman. The cookies do not spread so keep that in mind as you determine how big to make the balls. My smallest dough ball looked like a kid’s bouncy ball. The middle one like a golf ball and the third, slightly bigger like a clementine. Aim for three different sizes. I used the back of a spoon to lightly indent the top of the large bottom ball, and the middle, medium ball so they fit together better once assembled. I then chilled the dough balls in the refrigerator for 30 minutes.
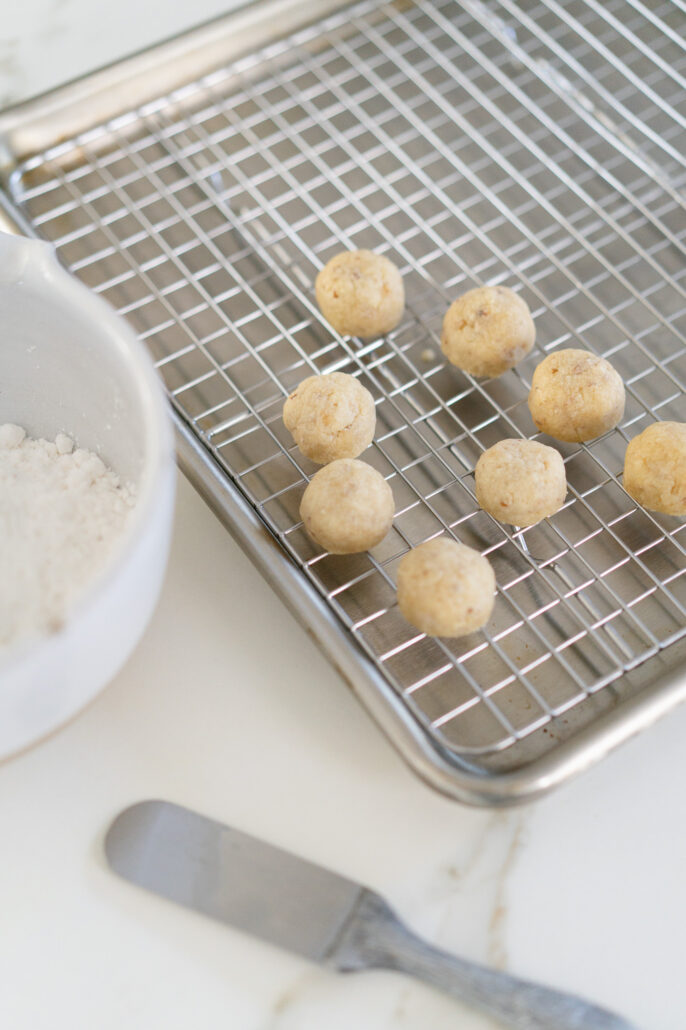
Bake the cookies at 350 degrees for 15-18 minutes however the balls will cook at different speeds given their size. After about 8 minutes I took out the sheet, quickly pulled the small balls off and onto a cooling rack and stuck the baking sheet back in the oven. I let them cool slightly, 1 minute or so and then dipped the small heads in powdered sugar, cooling them completely on a baking rack. 3-4 minutes later, I pulled the medium size balls out of the oven and repeated the powder sugar process–cooling them ever so slightly on the rack, dipping them in powder sugar and then cooling completely. Repeat with the large balls which will need a few more minutes in the oven.
I let them cool completely, rolled them for a second time in powdered sugar and stacked them. They stay together well without any frosting to hold them. Use a small orange sprinkle in the heads as a nose. A toothpick is perfect to apply the melted chocolate for the eyes and mouth. After experimenting with a few though, I had more luck getting the chocolate to stay where I wanted it when I used a clean tooth pick to trace the eyes, mouth, buttons and arms into the powdered sugar coating. I then added chocolate to the traced part. I used a plastic sandwich bag with the end barely snipped off (don’t snip too large an opening) and piped slightly cooled chocolate for the arms.
TIPS FOR SUCCESS
*Don’t use too much flour, spoon and level rather than using your measuring cup as a scoop.
*Chill the dough balls, this helps them keep their shape.
*Use the back of a spoon to lightly press the top of the large and medium dough balls making a slight indent so they stay together when assembled.
*Roll twice in the powdered sugar. The initial coating when they’re right out of the oven and then again when they are completely cool. This gives you the fluffiest looking snowman.
*The chocolate didn’t want to stick very well to the powdered sugar. I had more luck when I used the tip of a tooth pick to draw out the face, buttons and arms. This “pre-draw” almost created space for the chocolate to go.
I hope you enjoy these darling Snowman Snowball Cookies as much as my kids did! They’re cuties to make this holiday season. Looking for more inspiration, hop on over to my friends blogs to get some more cookie recipes!
Blogger’s Best Christmas Cookie Recipes
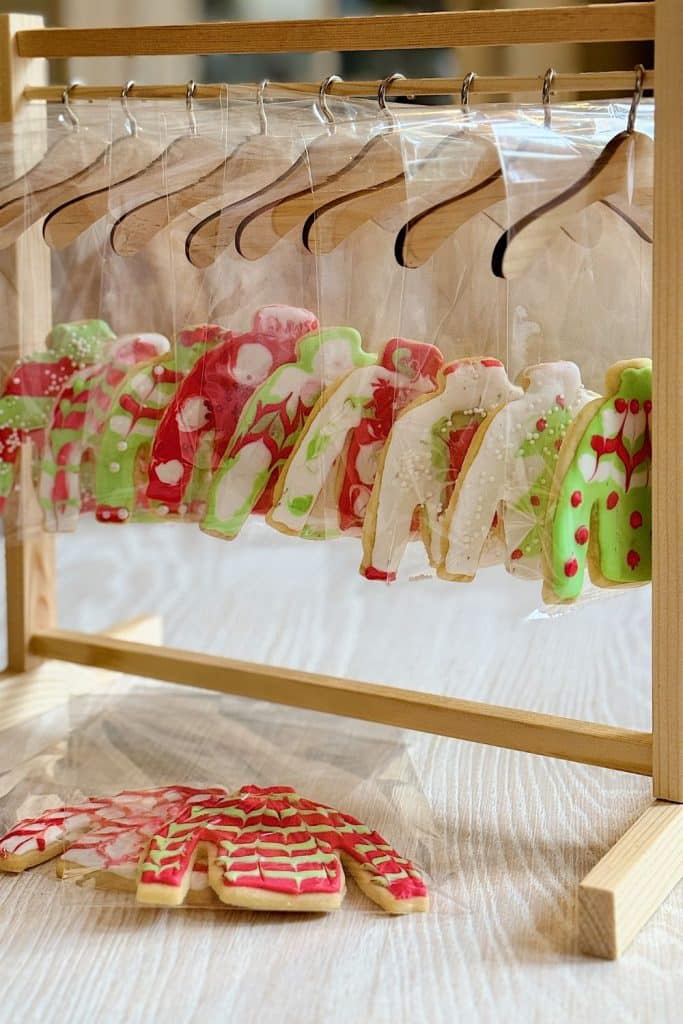
Ugly Christmas Sweater Cookies | My 100 Year Old Home
I made ugly Christmas sweater cookies! These will be the centerpiece for the dessert table at our upcoming Christmas party!
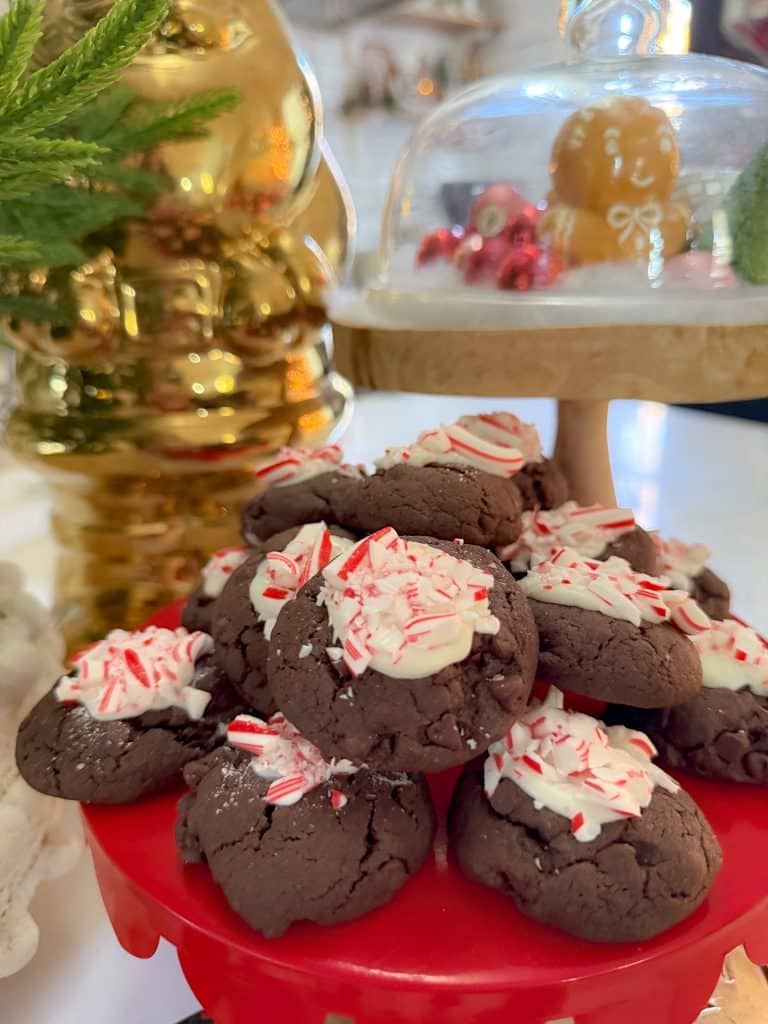
Dark Chocolate Candy Cane Cookies | Tatertots and Jello
Dark Chocolate Candy Cane Cookies are the embodiment of Christmas cheer, featuring a fudgy chocolate center, creamy white chocolate, and refreshing crushed candy canes—perfect for cookie exchanges, neighbor gifts, and holiday parties.
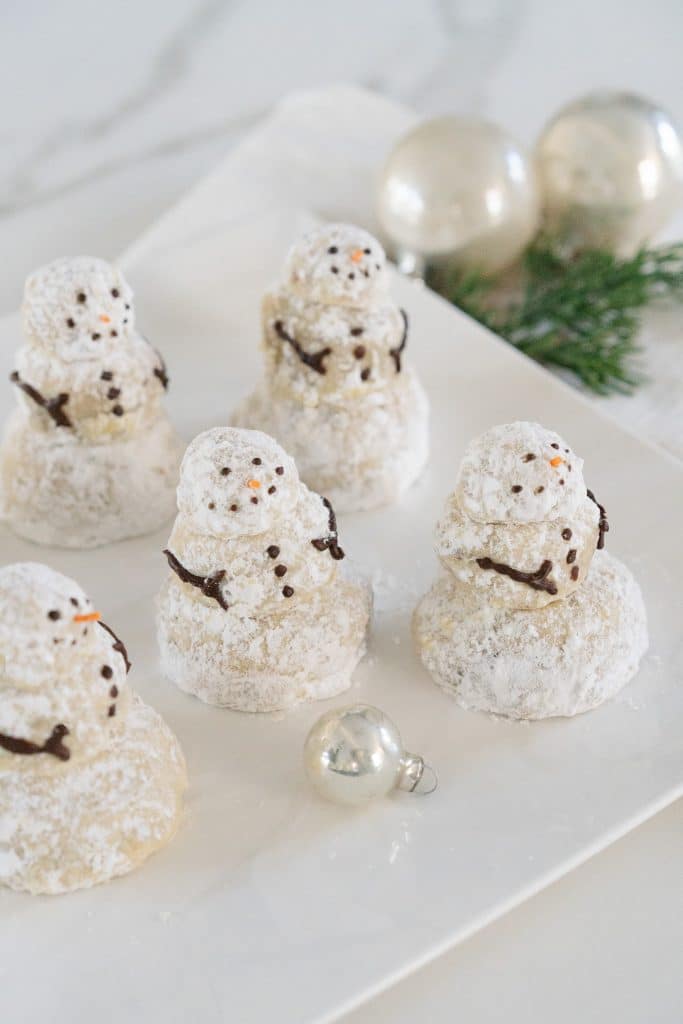
Snowman Snowball Cookies | Finding Lovely
These classic snowball cookies make festive snowman when stacked and decorated to holiday perfection.
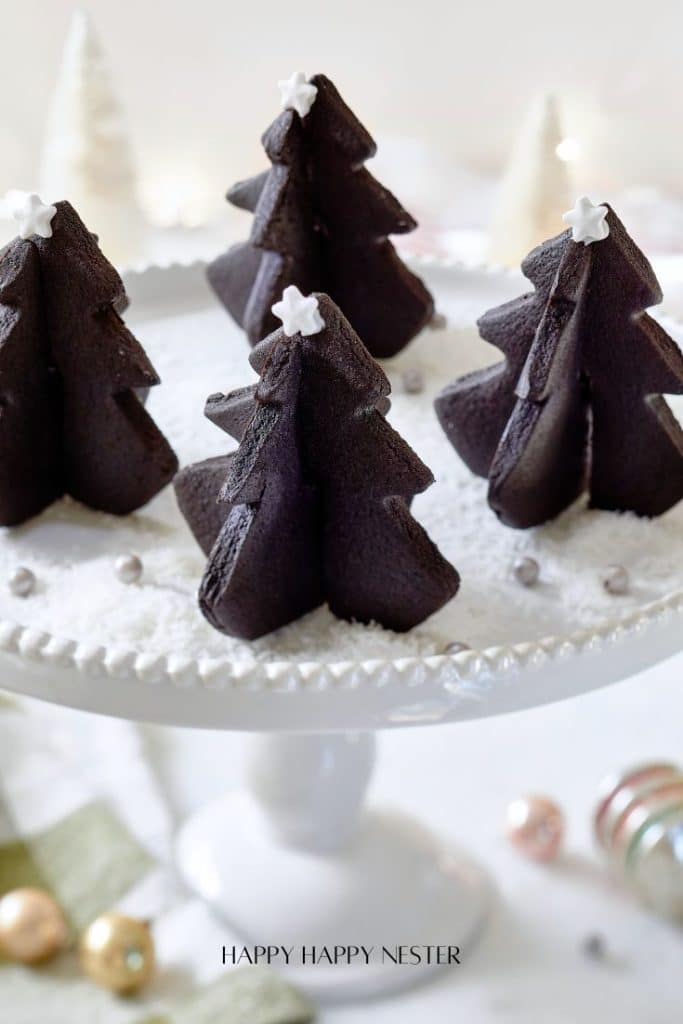
Christmas Tree Cookies | Happy Happy Nester
Christmas Tree Cookies are a must-have for the holiday season, adding festive charm to any dessert table. These 3D standup black chocolate cookies take holiday baking to a whole new level, creating a stunning visual and delicious treat all in one. Whether baking a sugar cookie Christmas tree or assembling a cookie Christmas tree centerpiece, there are endless ways to get creative.
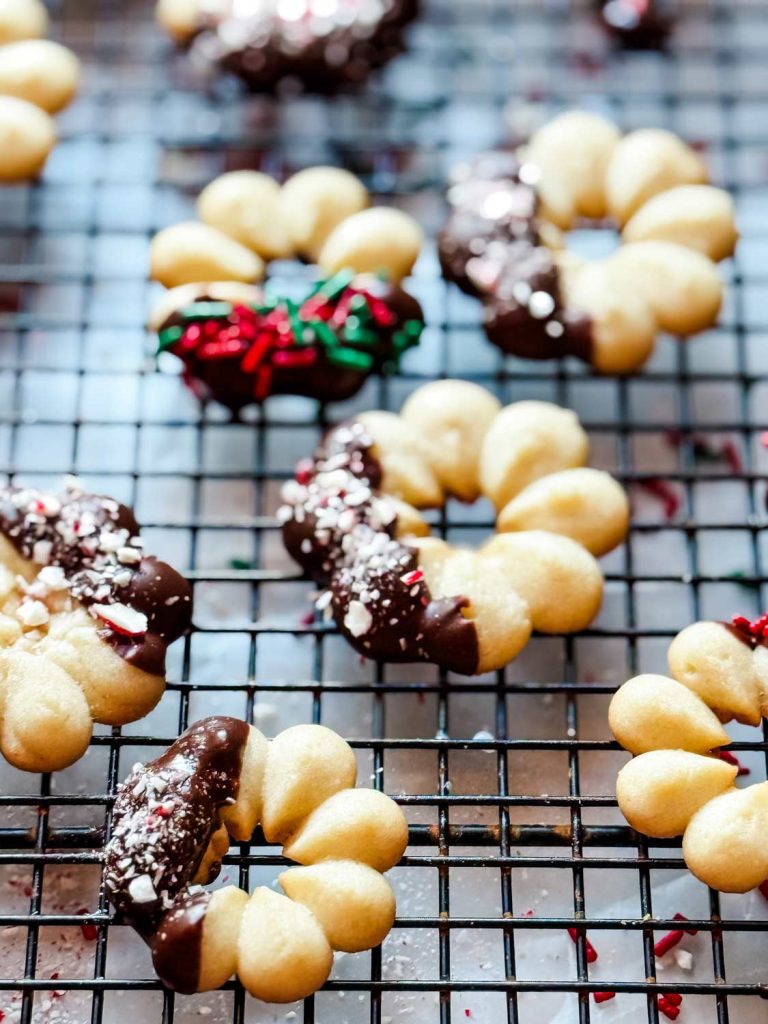
Old-Fashioned Holiday Spritz Cookies | Most Lovely Things
We made a tradtional favorite. Spritz butter cookies dipped in chocolate with festive sprinkles.
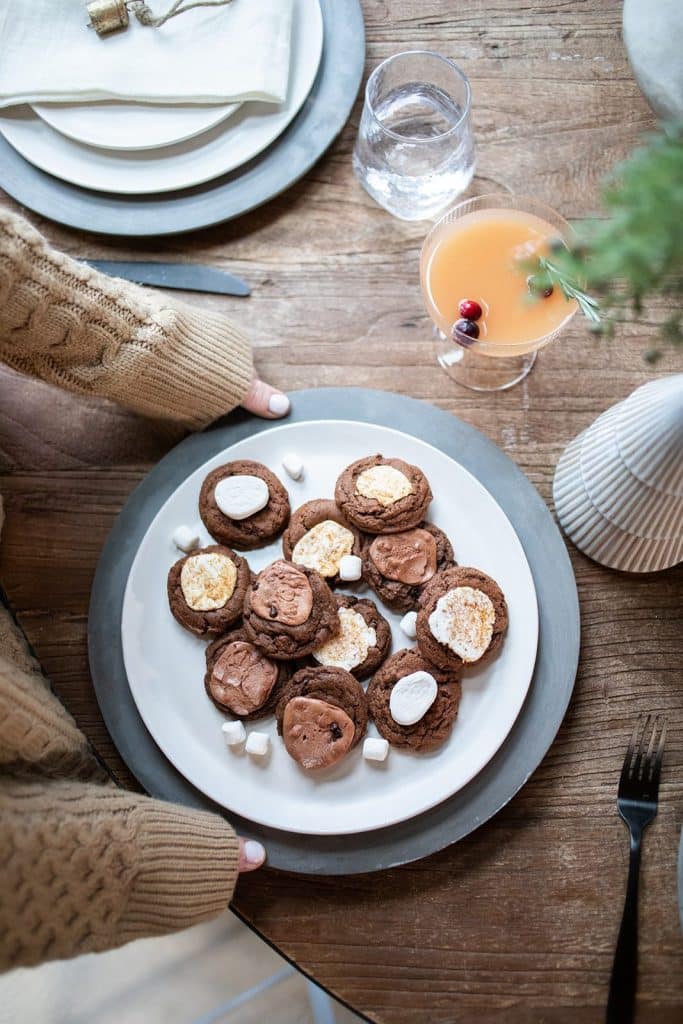
Hot Cocoa Cookies | My Sweet Savannah
These Hot Cocoa Cookies are a cozy treat that combines the rich flavors of cocoa and cinnamon with gooey chocolate chips and marshmallows. Soft and chewy, these cookies are topped with shaved chocolate for an extra touch of indulgence. Perfect for enjoying with a cup of hot cocoa or as a festive dessert!



 Back To Home Tour